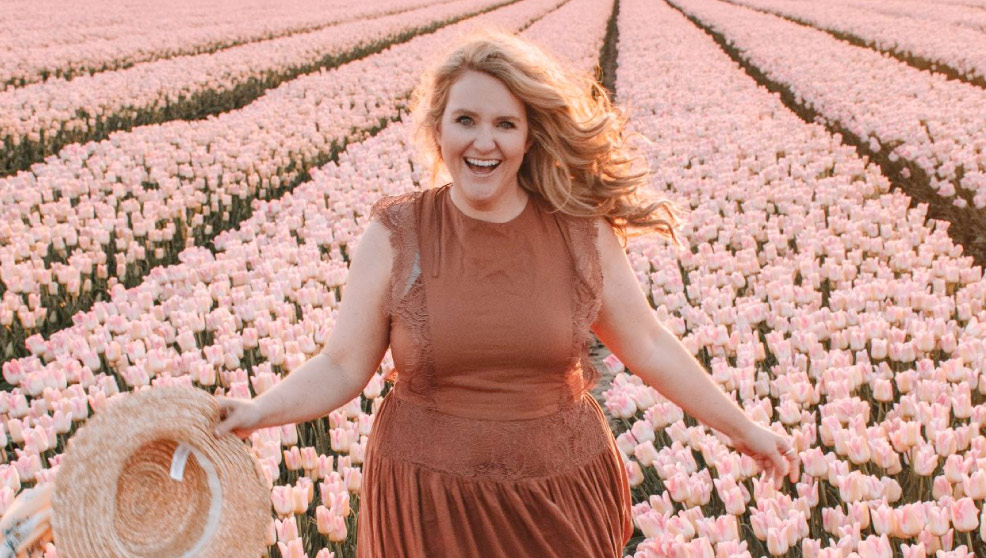
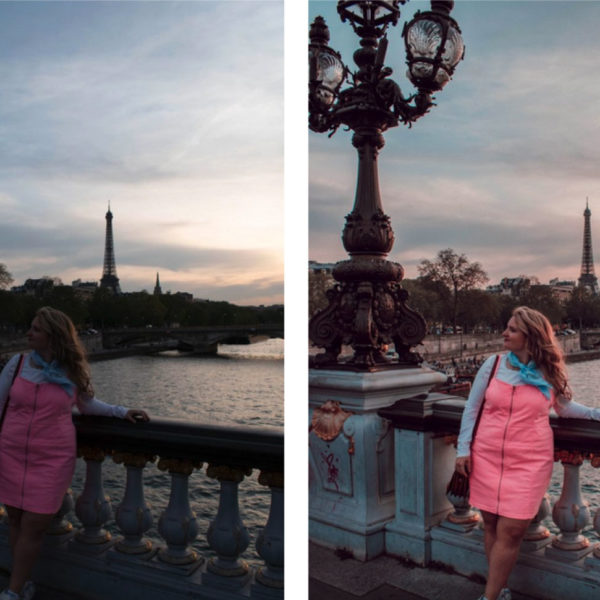
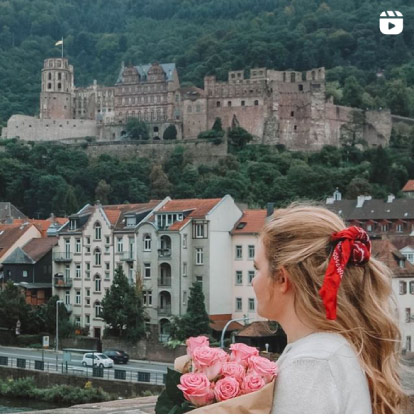
The other day I was reading a blog post about taking better blog photos. I was intrigued because I'm always interested in any way I can improve my blog. The first “tip”? Buy $300 in lighting. I don't know about you, but my blog budget doesn't include room for purchases that large. So, I set out to figure out just how to take better blog photos with everyone's favorite camera: their phone.
Smartphones have come such a long way that for many pictures your iPhone or Android phone works exceptionally well. Do not let people tell you that you can't use your iPhone and that you must get a “real” camera.
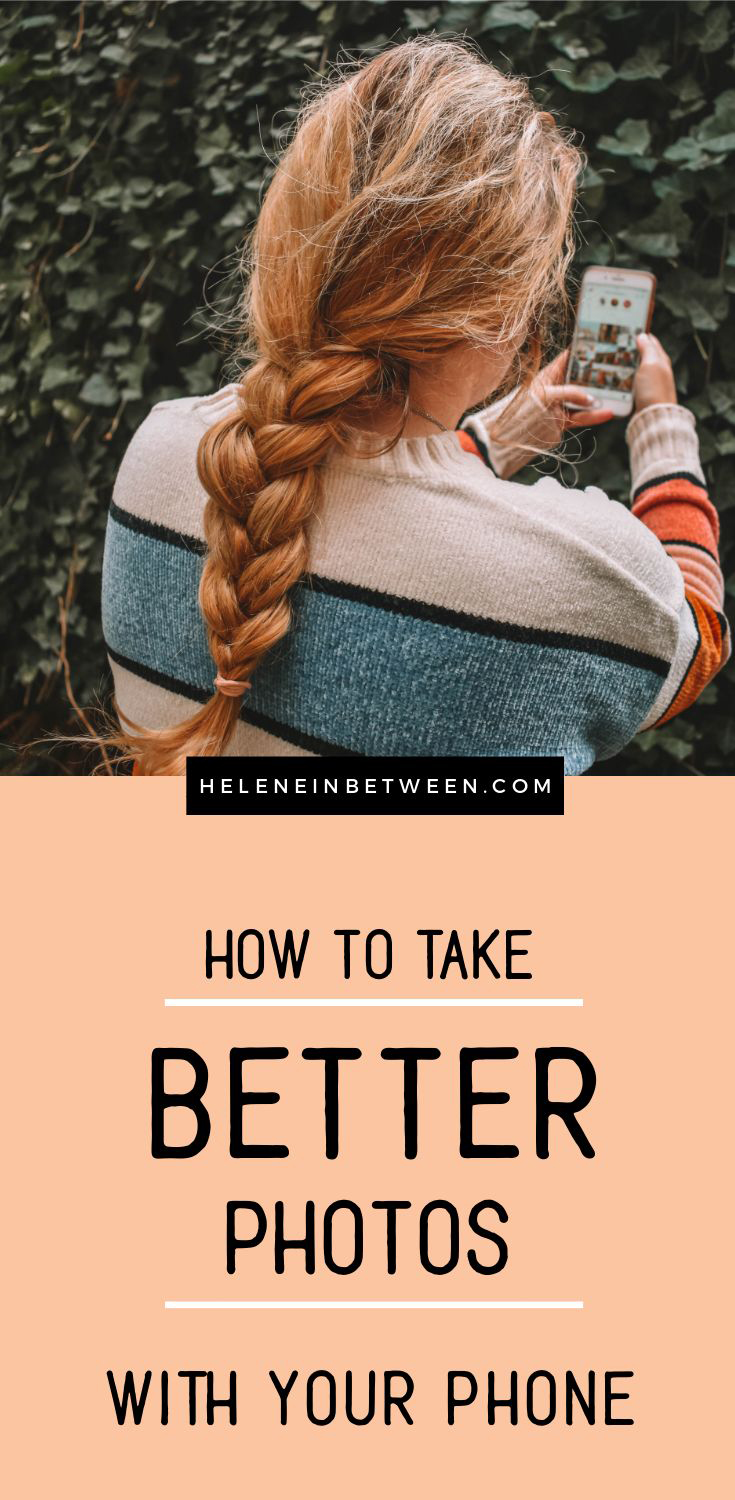
Almost every single picture you see on this blog is with my DSLR Camera but sometiems you just don't have it with you! But my iPhone on the other hand? I always have it with me, it's my best resource to document everything.
Tips For Better Blog Photos with Your Phone
1. Lighting. It really is all about good lighting. Outside is a great place to take photos or where there are a large windows. The more natural light, the better.
2. Timing. I like taking pictures between at the “golden hour” that's usually sunrise and sunset. Of course, sometimes that doesn't really matter because I don't have time. Whenever there is good lighting- natural light, I jump at the chance. Getting near a window, facing the light really helps you master your photos. With the sun at these hour there is less harsh light and shadows to is makes it easy to nail the perfect picture.
3. I recommend having some negative space. This helps the viewer focus on the subject. You can do this for a travel image or a flatlay shot. Get a solid background or non distracting surface, such as a white board. Yes, y'all. That is seriously the secret of so many bloggers. Buy a $2 white board for pictures you want to have a white background. Not everyone has a white desk. You can also use a wooden table or a blanket.
4. Placement. Take a look at the picture you're shooting, then readjust everything. If you want it symmetrical, use a book to make lines straight. Or fiddle with the objects until you like it. I usually take a good 15 pictures and move stuff around a few times before I'm satisfied.
5. Steady hands. Tap your screen to focus on something. Unlike a DSLR it's not going to make the rest of the image appear blurred, but it will pull in focus to what you want to show. You can also use the “portrait” mode on iPhone to pull in the frame in the picture and focus on the subject, rather than the background. What I like about DSLR cameras is that you can manipulate certain aspects of the photo. But smart phones are becoming so much better and making it easier for you to capture the depth and intensity that a an expensive camera can. If you're interested in learning what camera I use (and why) check out this in-depth post.
6. EDITING IS KEY. Really, I think this is the most important point. Editing can transform your photos. I believe that Lightroom is the absolute best way to edit your photos. This is what all the pros use. Here's how to edit photos with Lightroom, did you know there's even a mobile app that you can use for free? Here's how edit with the mobile app. I've written posts about my photo editing process and I consistently edit my photos the same way each time. My top picks for other phone apps are VSCOcam, Camera+, and Afterlight. I rarely use any of Instagram's tools, except for Lux (the button you see in the middle after clicking next on Instagram.)
7. Don't use the zoom. Get in as close as you can. Crop later. This is where you really start losing image quality. If you see photos that look grainy on Instagram of on blogs this could be the reason. Try to not zoom in.
8. Take a class or read an eBook. It can really help you to learn what works for smart phones and what works before for Instagram pictures. For example, vertical images work best on Instagram since it take up more real estate space. Here's an eBook you might like!
9. Try using auto HDR. This features combines light and dark to create the right amount of exposure in a photo. This is especially useful if you're outside. Think about it, if there is harsh lighting, direct sunlight, or dramatic shadows, this can be distracting for your photos. Turning on HDR (high dynamic range) you can soften up these dark shadows and lower the brightness that distracts the viewer.
10. Use the volume button. I hardly ever click on the phone's camera button to take a picture. I find myself taking more steady photos using the side camera button on the iPhone. This is also a great way to take shots from above or quickly snap a great photo.
11. Use grid lines/follow the rule of three. The rule of three means that it breaks up the screen with lines and you want to put the focal point inside of one of those boxes. This helps balance out the image and give it some symmetry. Make sure your image fits together
12. Take candid shots. My favorite shots are ones that MOVE. When movement is in the image I feel like I'm sucked in and part of the story. To do this I recommend taking more than one picture, move around, throw up your hands, etc. This can be a hard skill to master, but as you go you'll learn along the way.
13. No flash. Flash can really distort the image and really act more like a flashlight than actually illuminating the scene.
14. Lastly, and maybe most importantly, don't forget to clean the lens! This can make a huge difference in your image quality.
Those are my tips on how to take better photos with your phone for your blog, or anything else! Do you have any tips?
Read more: 14 Photo Ideas for Instagram
Want to learn how I grew from under 4,000 followers to over 15,000 in one year? Click below.
Learn to create an engaged Instagram with this free ebook!


