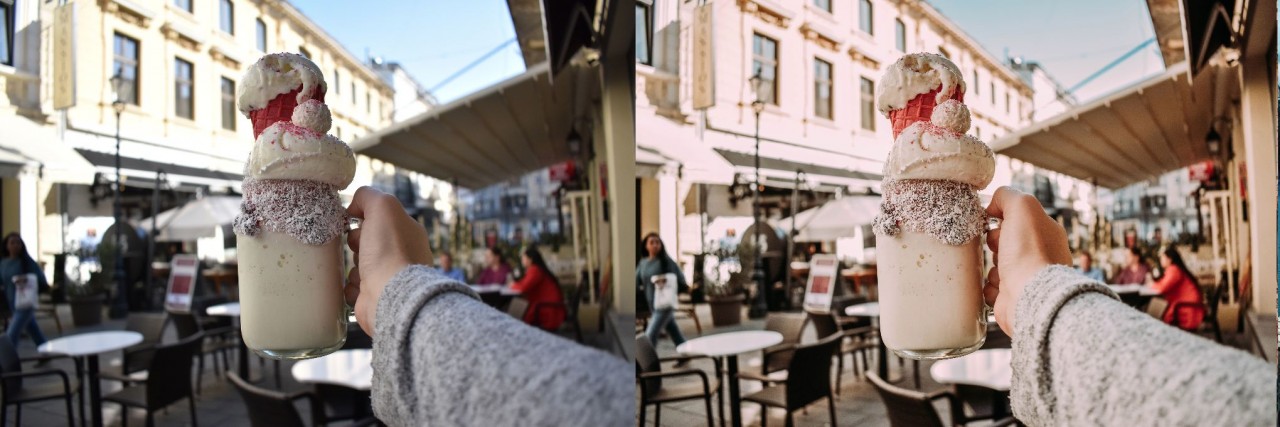
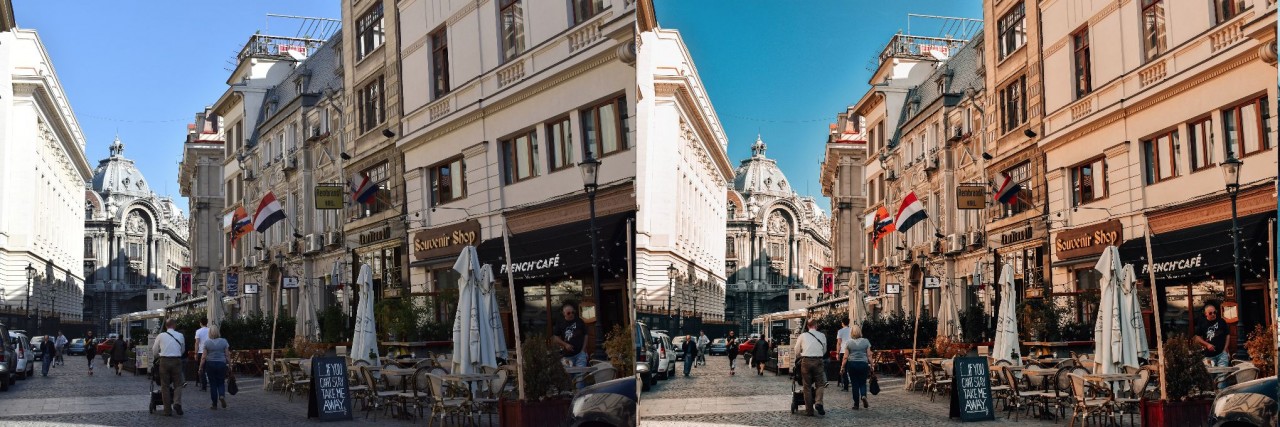
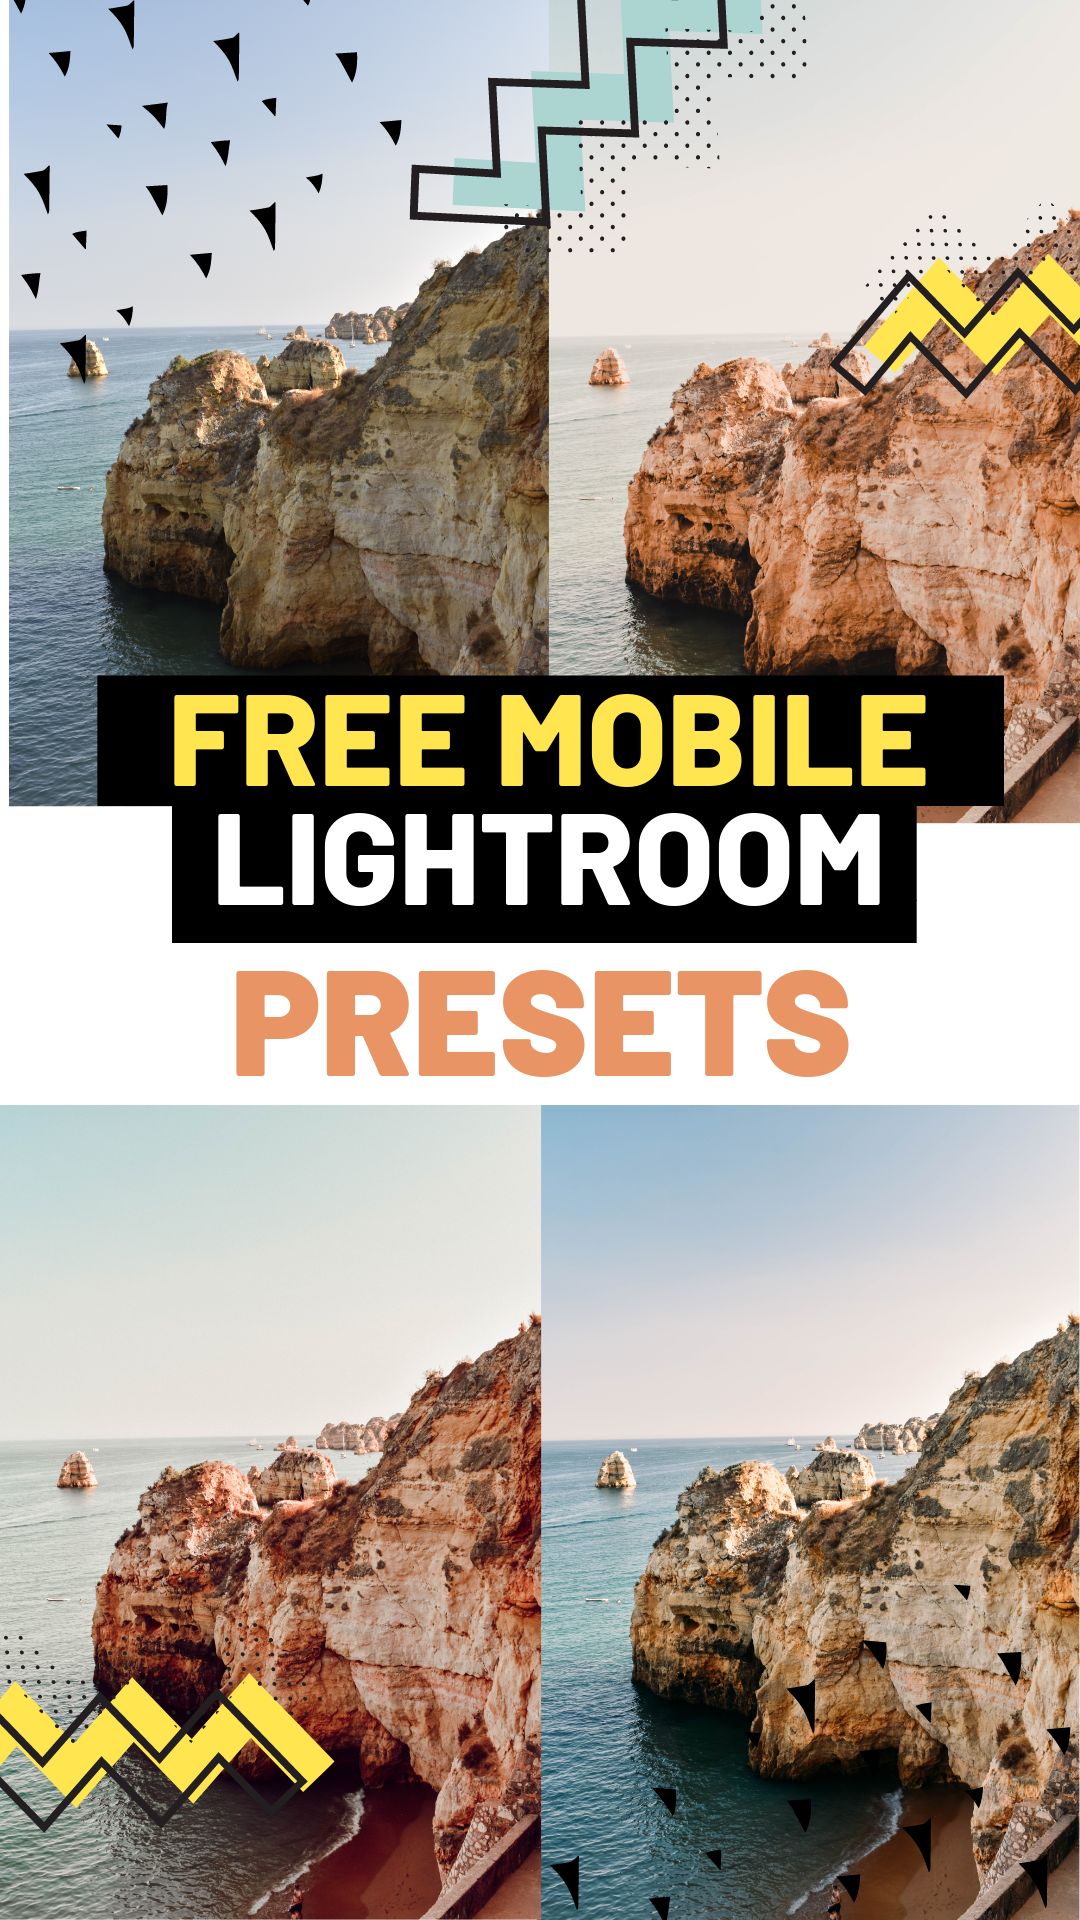
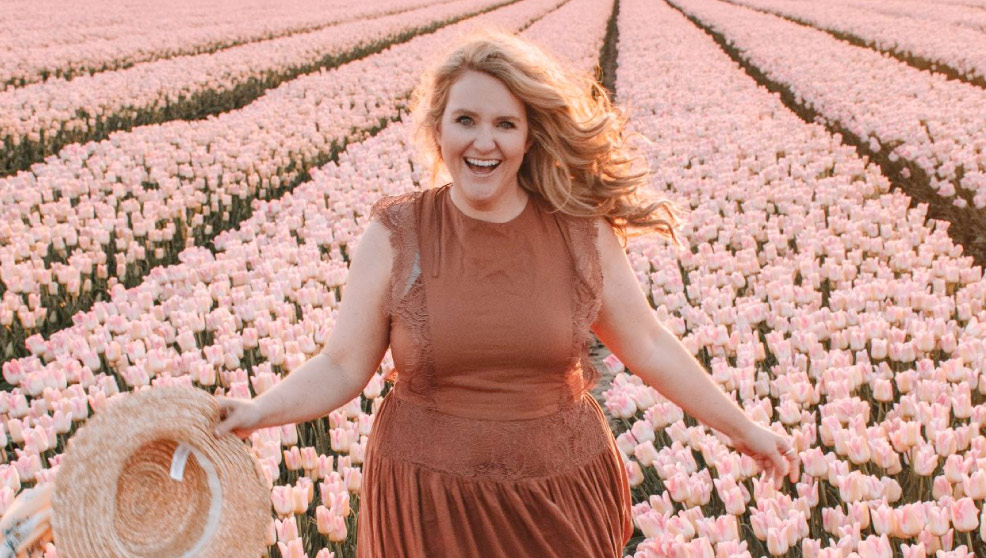
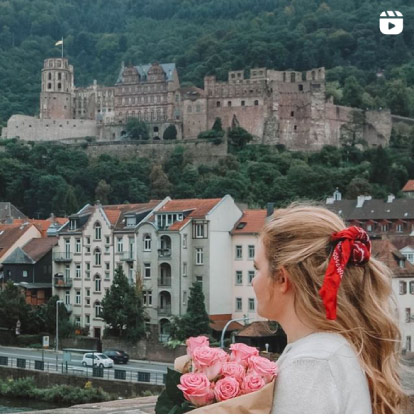
If I could describe my photo editing process in one word it would be: warm. I like my pictures to look warm and bright, like you could easily step right on into them. When I go to edit my photos for my blog or Instagram I want them to feel enhanced, not overly saturated or too sharp. I've had a lot of questions about how I edit photos and what I use, so today I want to share how I use Lightroom and how in one click I can batch edit all of my photos- a total game changer!
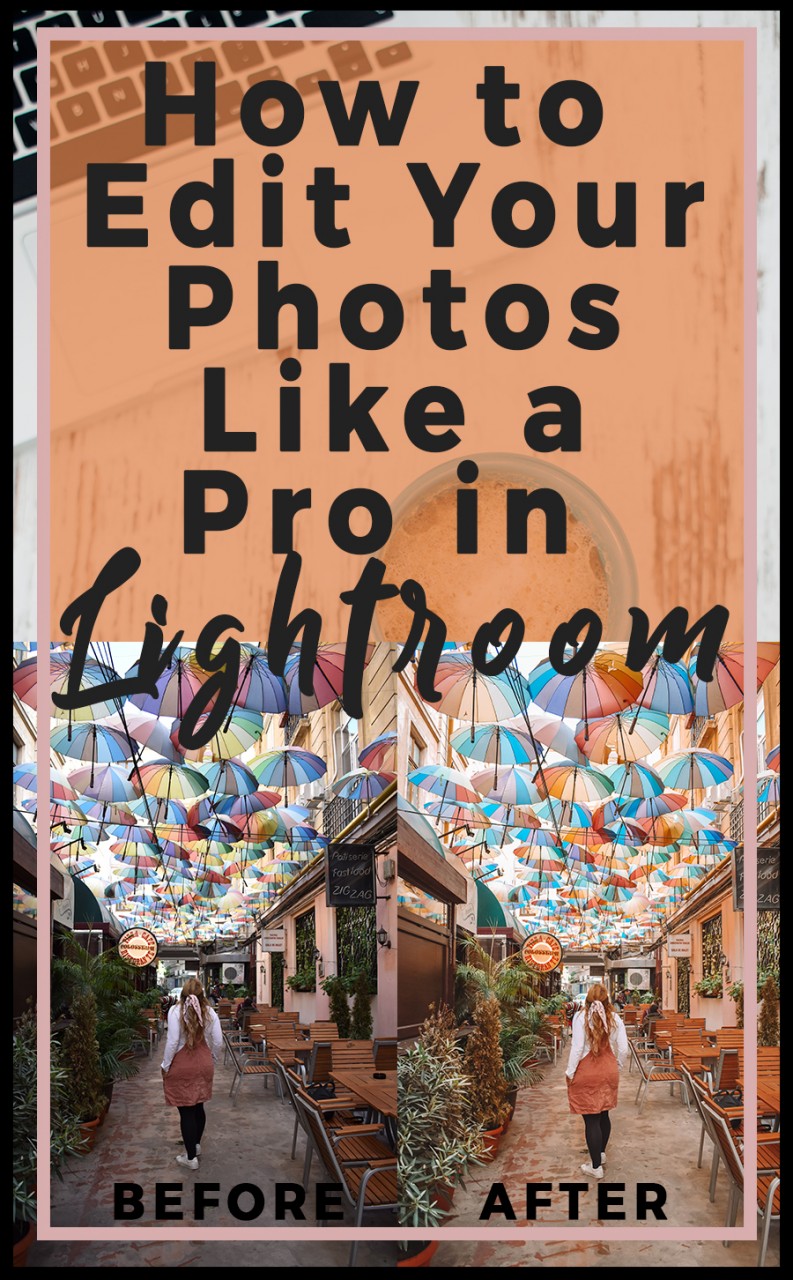
How to Edit Your Photos Like a Pro in Lightroom
Why Lightroom?
First and foremost, all the pros use Lightroom. It's by far one of the most powerful tools to edit your photos. You have the ability to custom create presets or buy presets to create the intended effects you want. The best part? You can do this in just one click. I know that Lightroom has saved me countless hours.
So many people ask how I edit my photos. It's actually become one of my favorite things to do because Lightroom makes the editing process so straightforward. My pictures look better yet take me less time. I can edit 50 photos in one click. And I'm able to filter through what works best for my photos. In short, it's been life changing for my blog and photography to use Lightroom and I recommend it to EVERYONE.
Lastly, whenever I find photos I like, I ask what people use to edit and the answer is ALWAYS Lightroom. I developed my own presets (think of presets in Lightroom as custom filters that work magic on your photos) that make my editing process seamless.
What you need
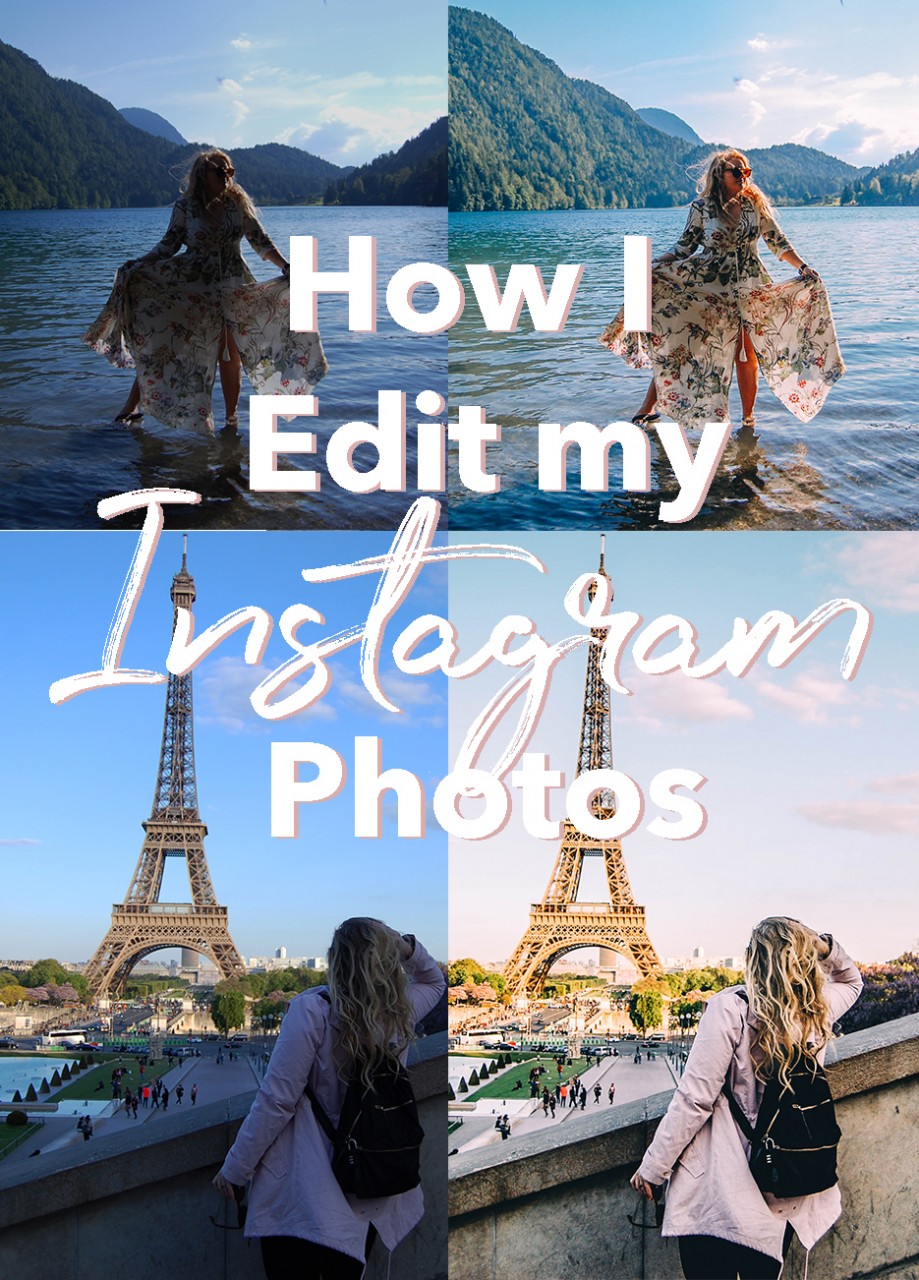
I suggest getting Lightroom and Photoshop together. It actually ends up being cheaper that way. I do use Photoshop to create text overlays and create graphics, like the one above! You'll spend just under $10 a month and this is one of my most important investments in my blog. To me, being able to quickly and beautifully edit my photos is totally worth it.
Cameras and shooting mode
First up, let's talk cameras. Many people think you need a fancy camera in order to edit your photos in Lightroom. But that's not true! You can edit photos from your smartphone or your camera. I personally use a Nikon d5600 and discuss in depth my process of choosing a camera here. The fact is, cameras are expensive and you want to get one that suits your needs. For years, I actually used a an older DSLR camera. Many people talk about the benefits of expensive cameras but I think you can still create beautiful images with simple technology.
In reality, the camera is not what does the magic. It's your eye and the way you edit. Again, another pro of using Lightroom. As far as shooting goes, I suggest that you shoot in RAW and not JPG in order to have more options for editing. The RAW files are bigger and hold more data than JPG, therefore it makes it easier to make slight changes in the color, hue, and tones in an image without it looking unrealistic.
Editing Style
Everyone shoots in different ways and sees things differently. When I talk about Instagram growth, I highly recommend creating an Instagram theme. This can mean a lot of different things, and I explain that more here, but I also think it does have a lot to do with the way you edit your photos. I personally like to edit my photos in a way that hopes to invoke happiness, warmth, and wanderlust. I want people to look at my photos and not just say, “I want to go there!” but, “I AM going there!”
I focus on bright photos that make you want to stop and look.
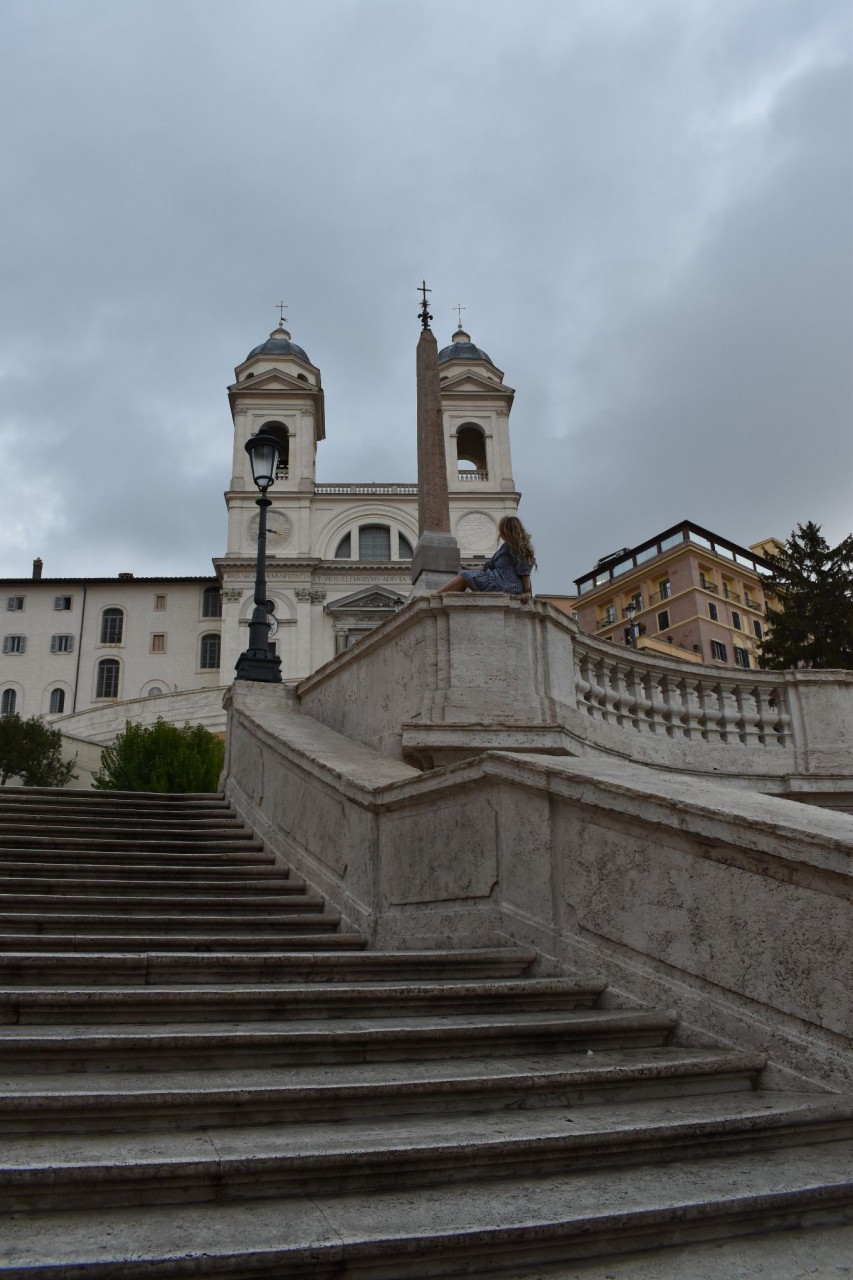
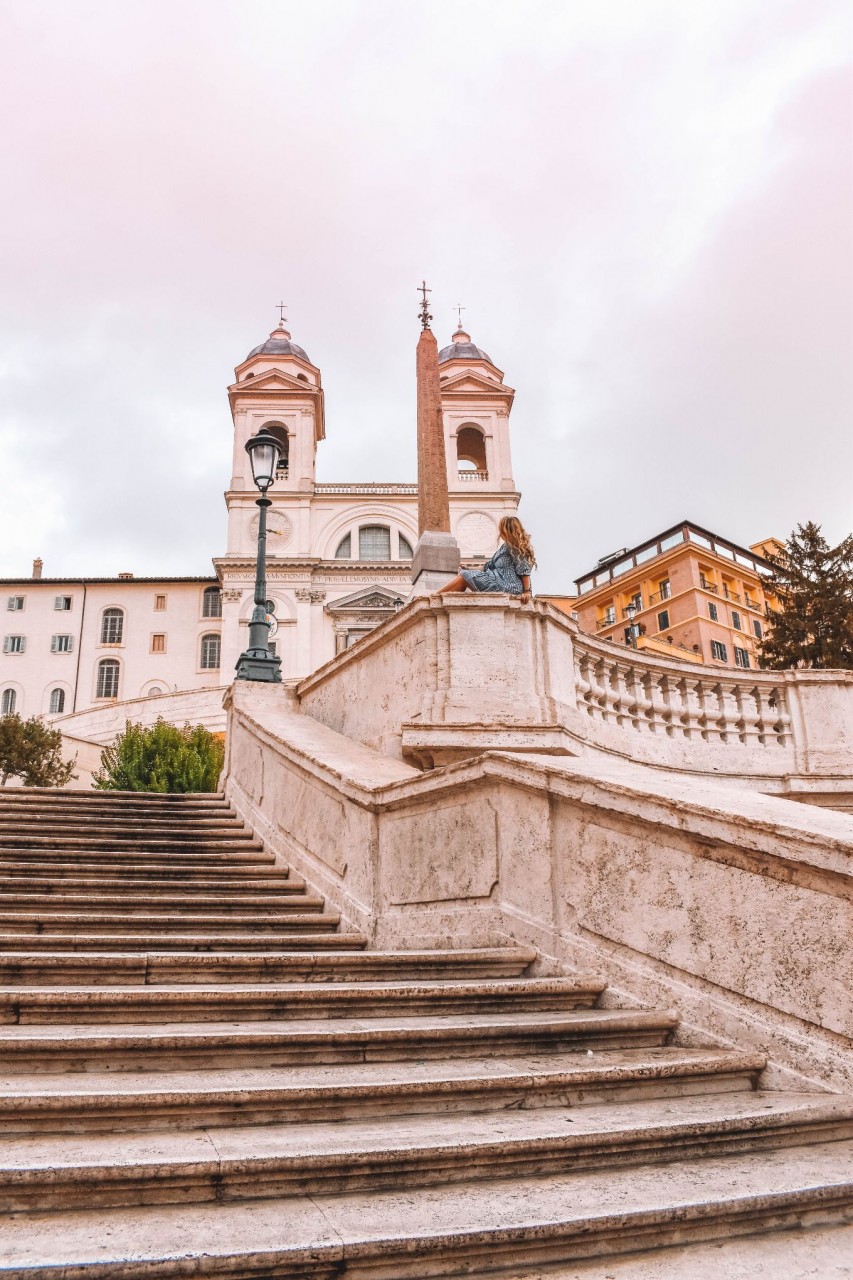
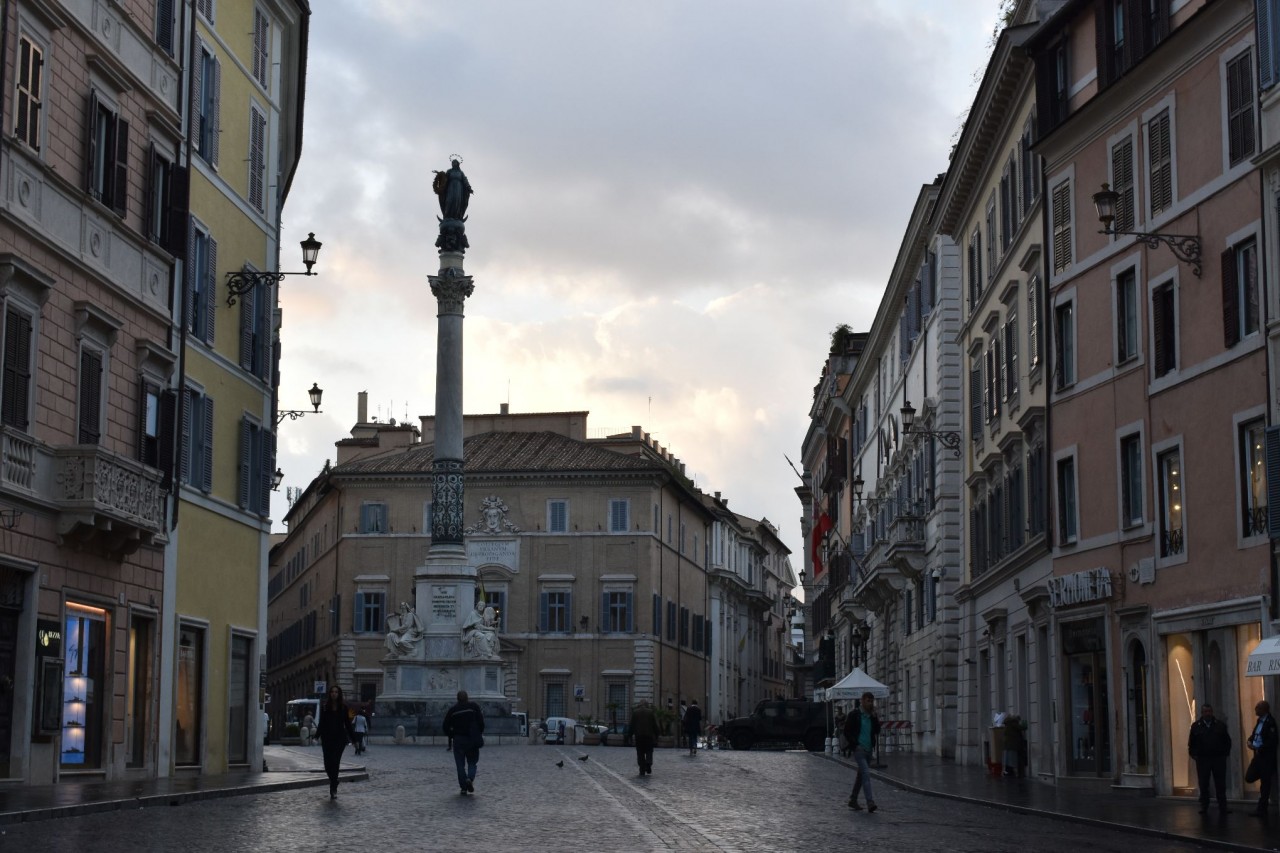
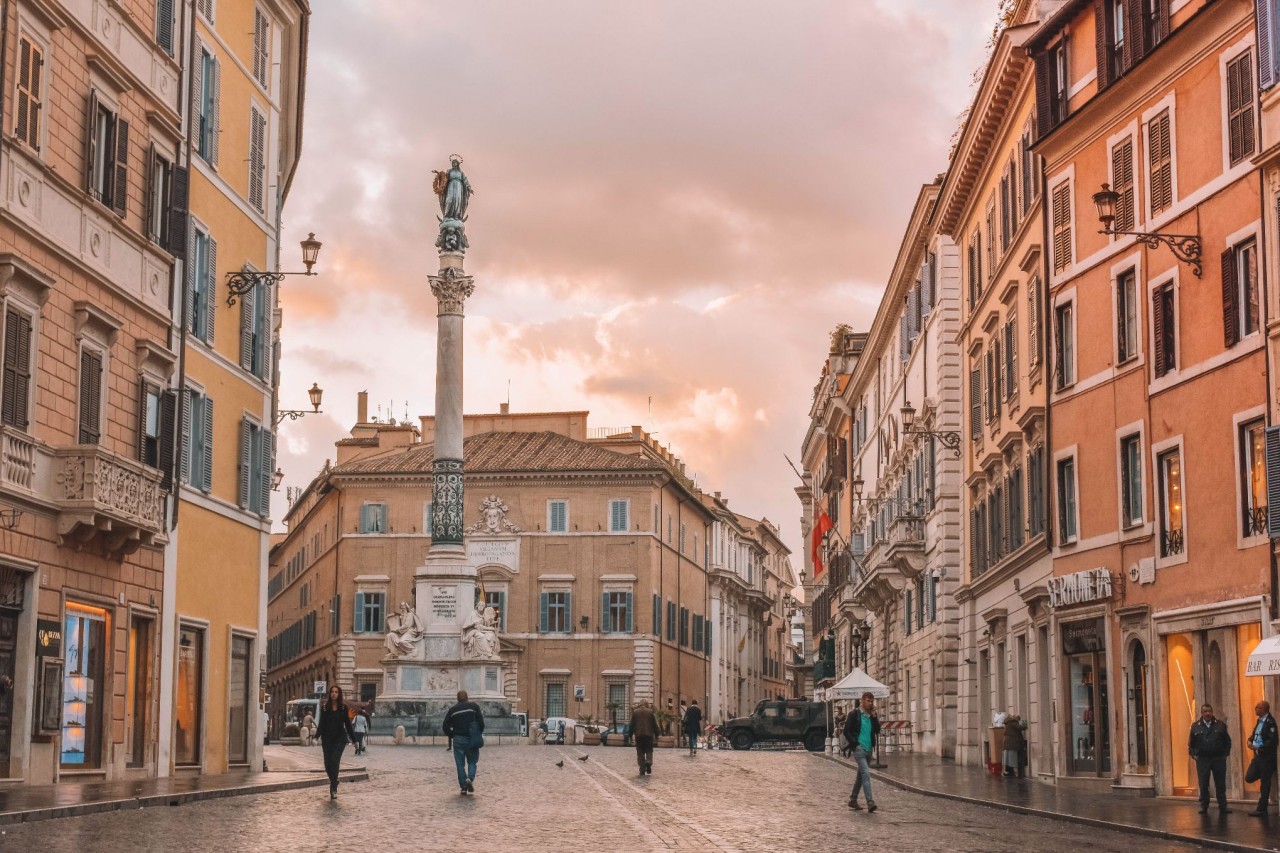
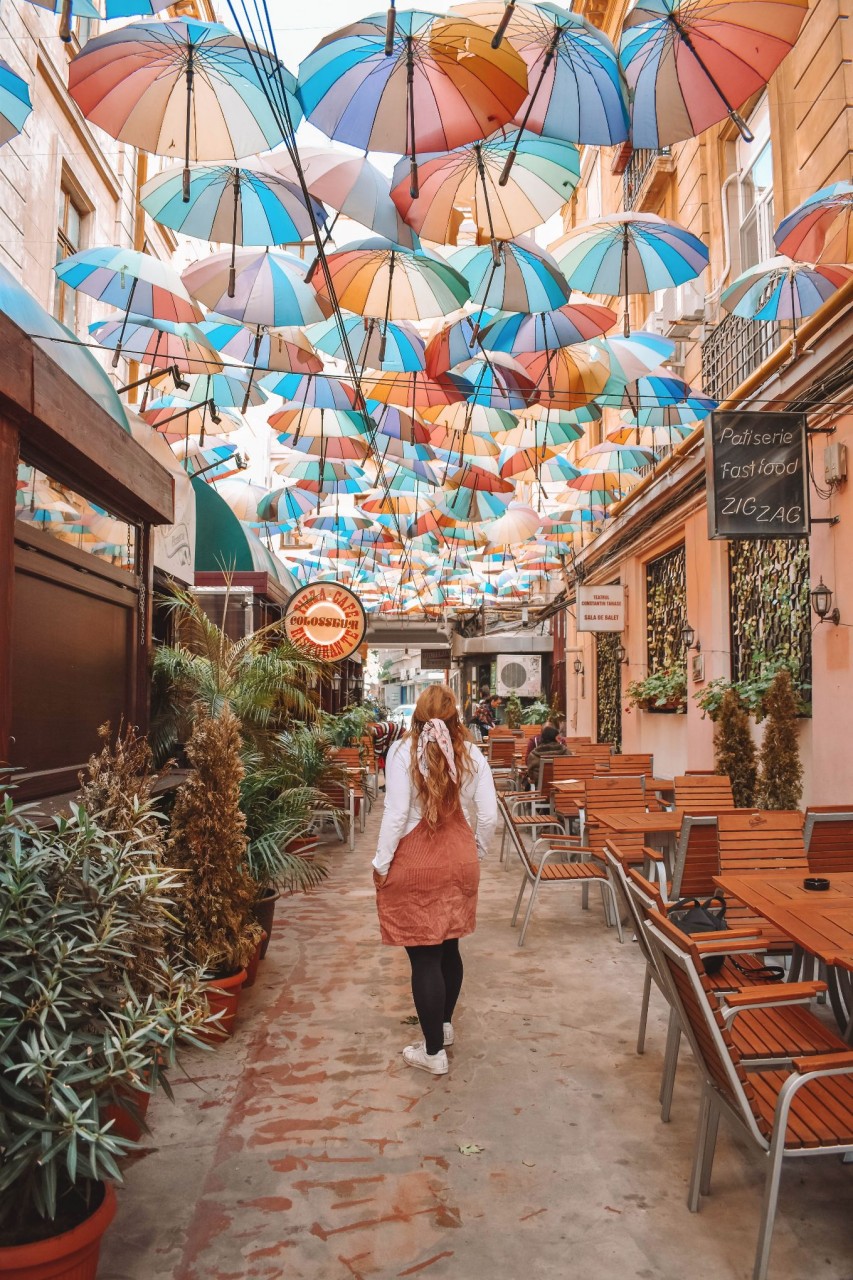
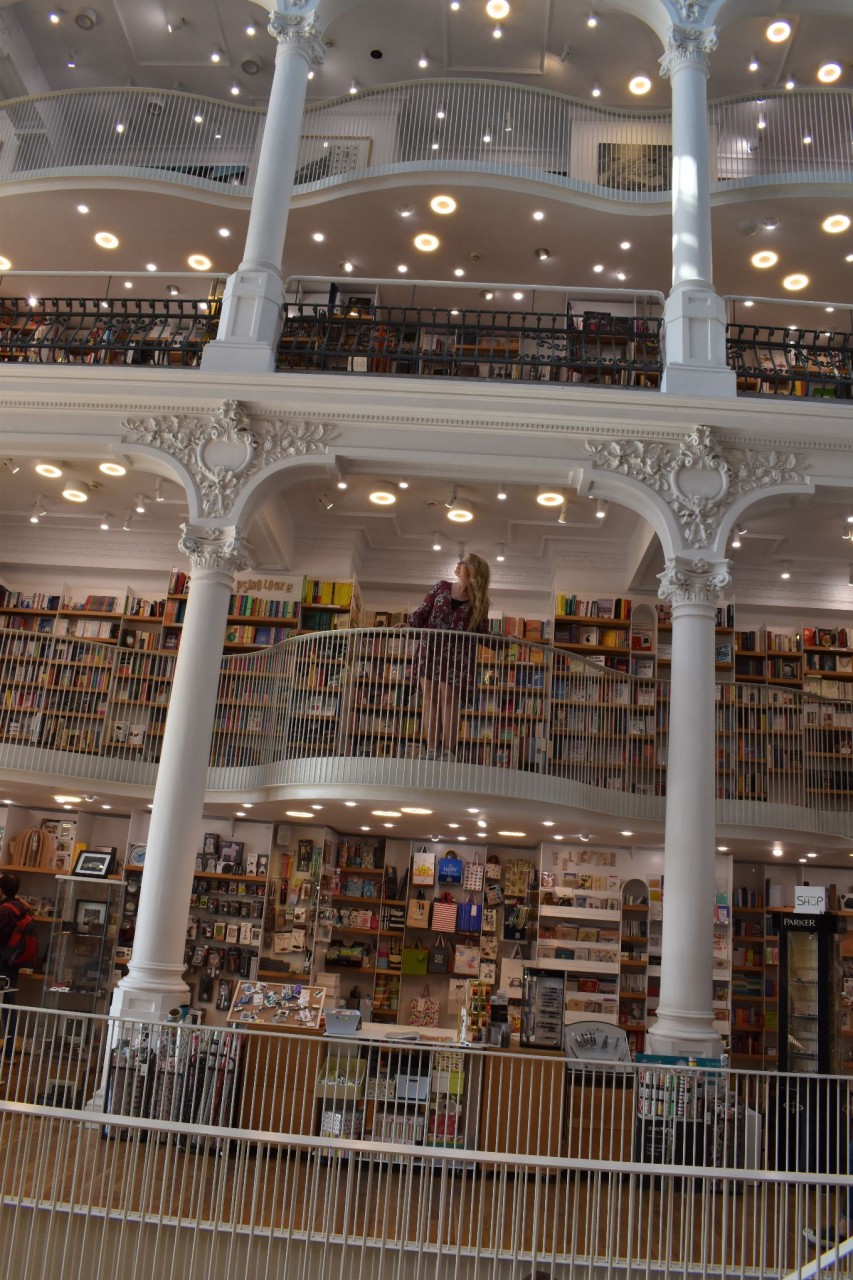
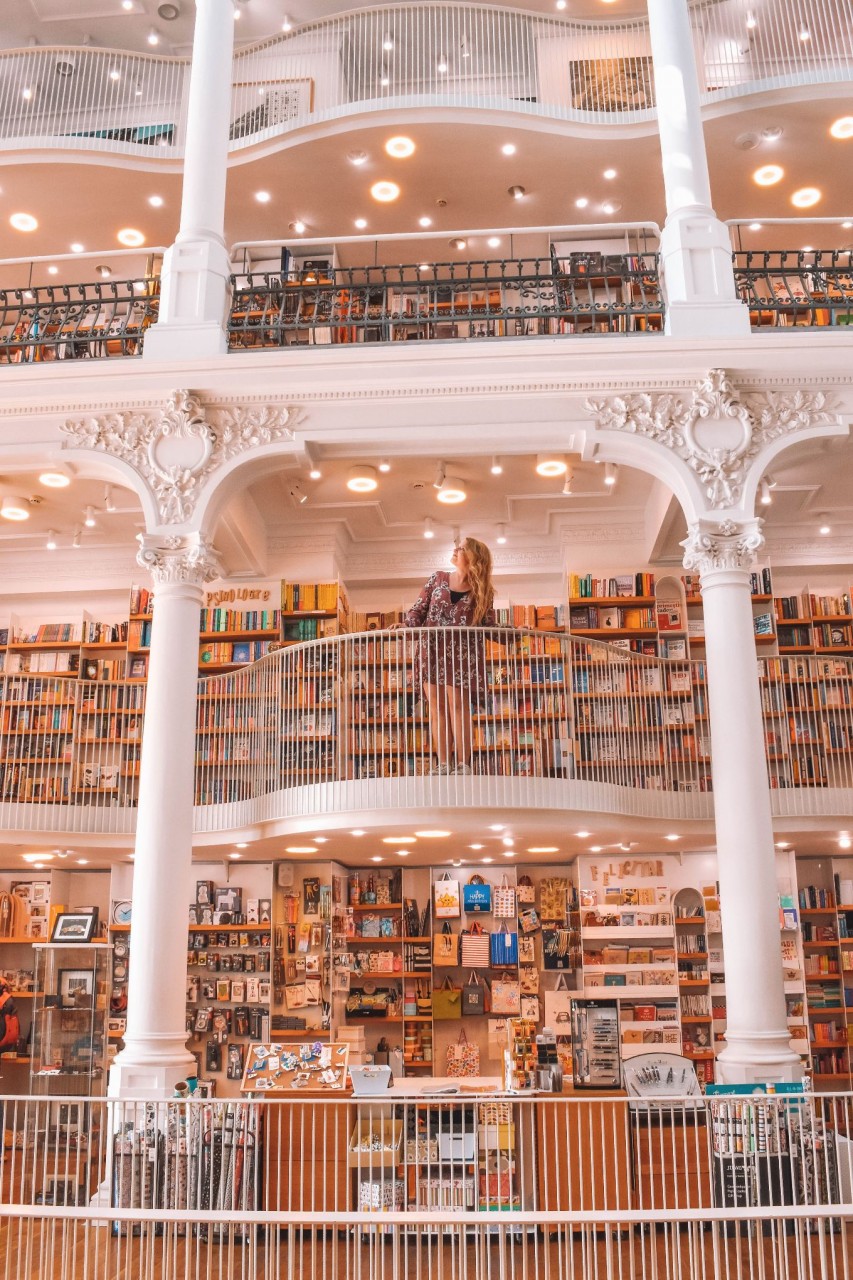
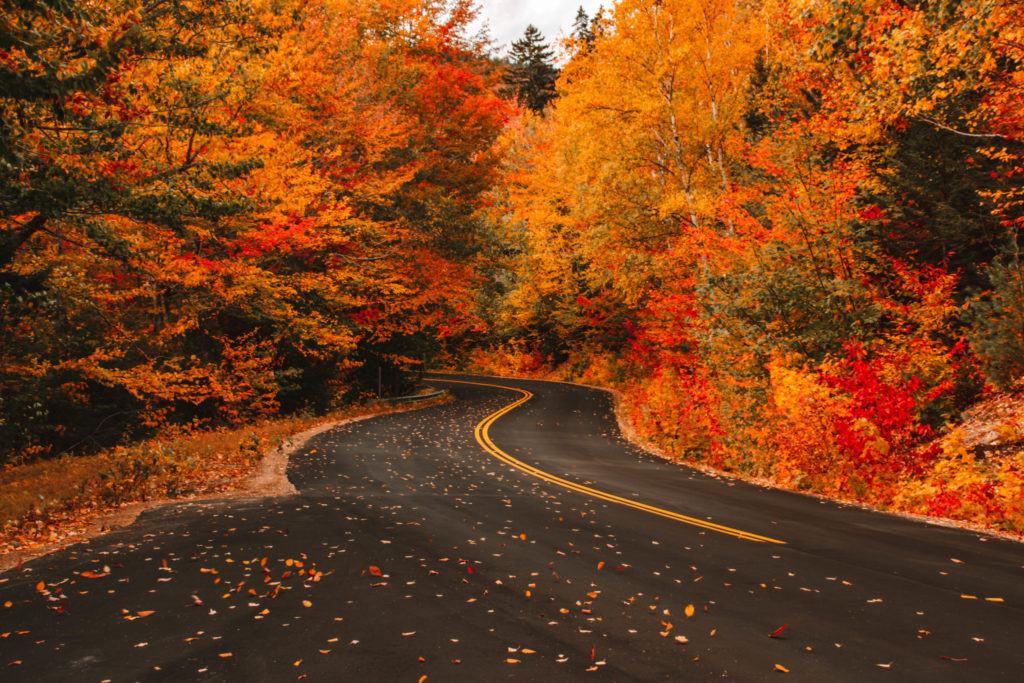
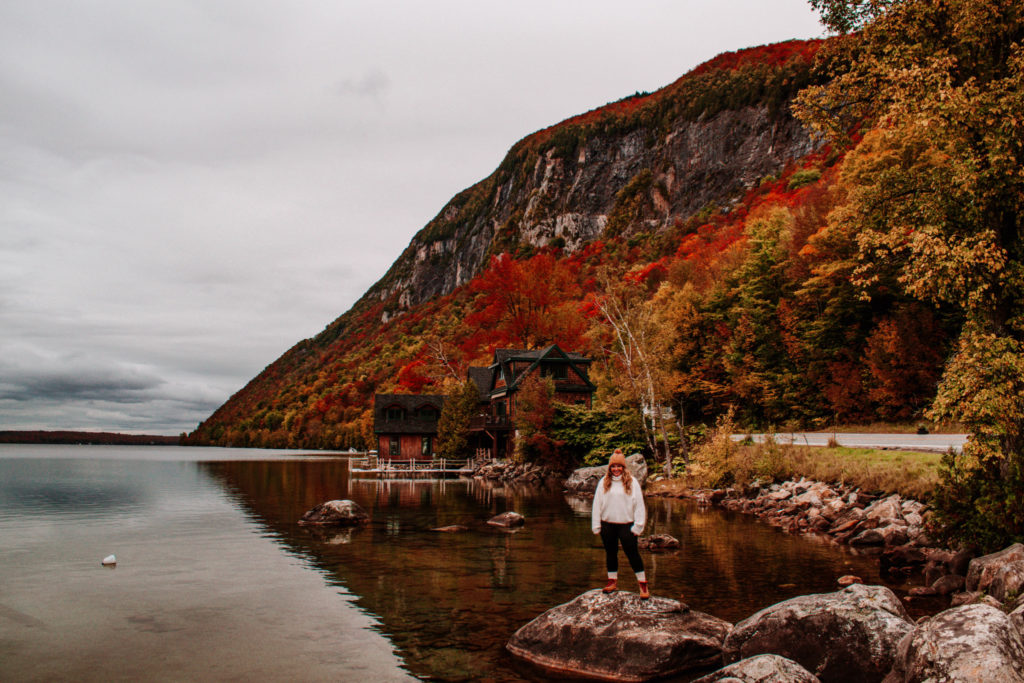
BEFORE // AFTER
Yes, a good camera can help with this but being patient when shooting and knowing how to edit is really the secret to success. Lightroom is fantastic because I can create styles that I like and easily recreate those in every image.
How to Edit Photos in Lightroom
Now, let's focus on the actual editing process. MANY people are worried that the editing process is overwhelming. I admit, when you first look at Lightroom it can feel that way. But I promise it's easier than it might look. I'll walk you through! And knowing a few simple tools can help you understand the basics.
I always start by moving my images from my SD card into a folder on my computer. I usually name the folder with the location and the date, that keeps it more organized.
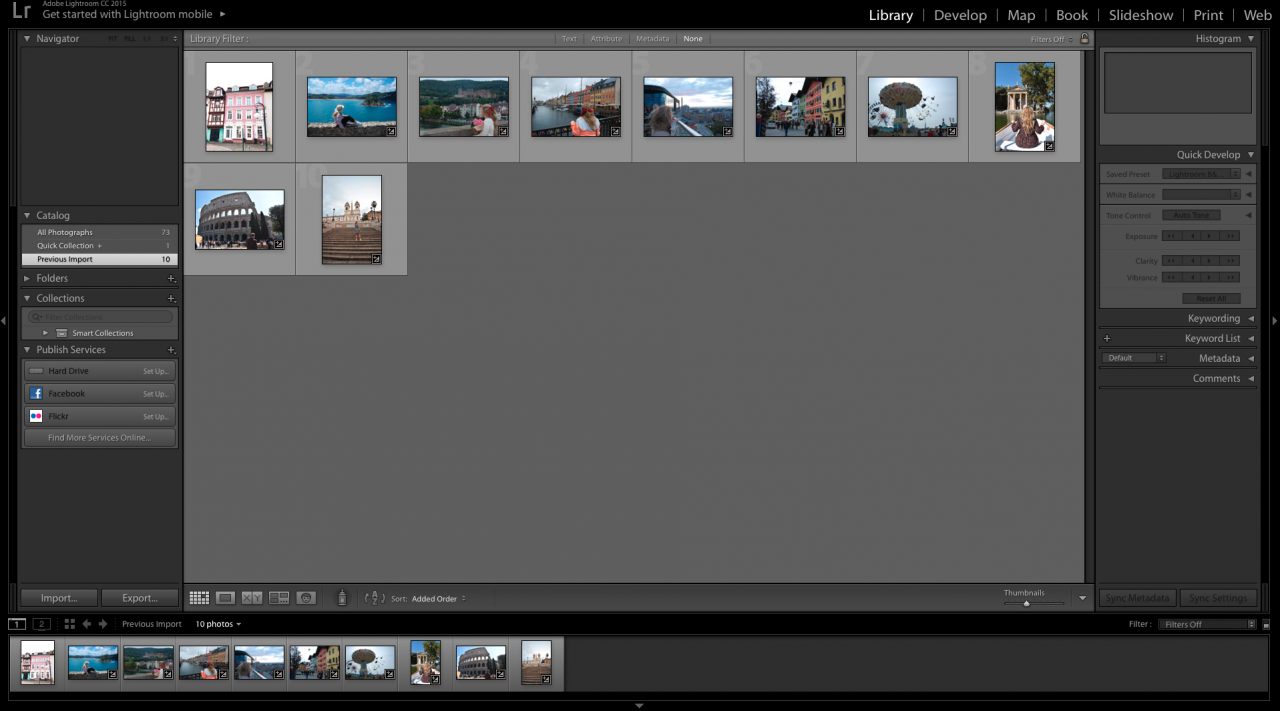
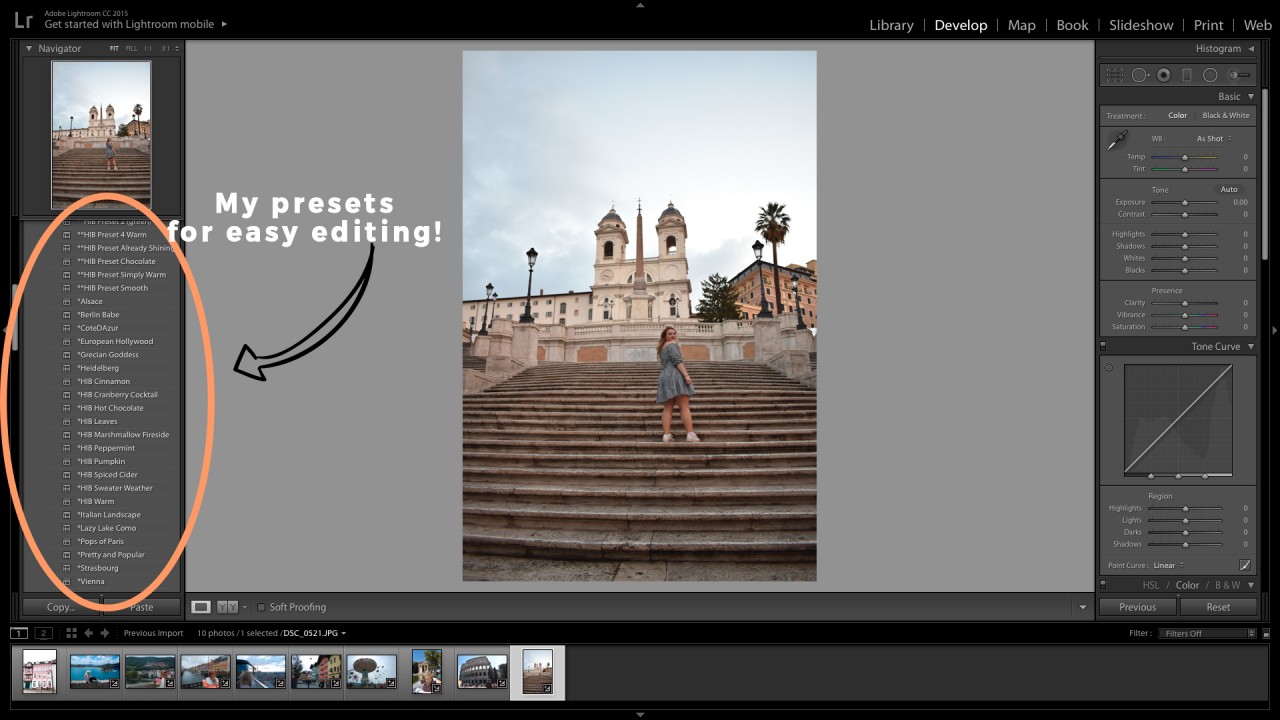
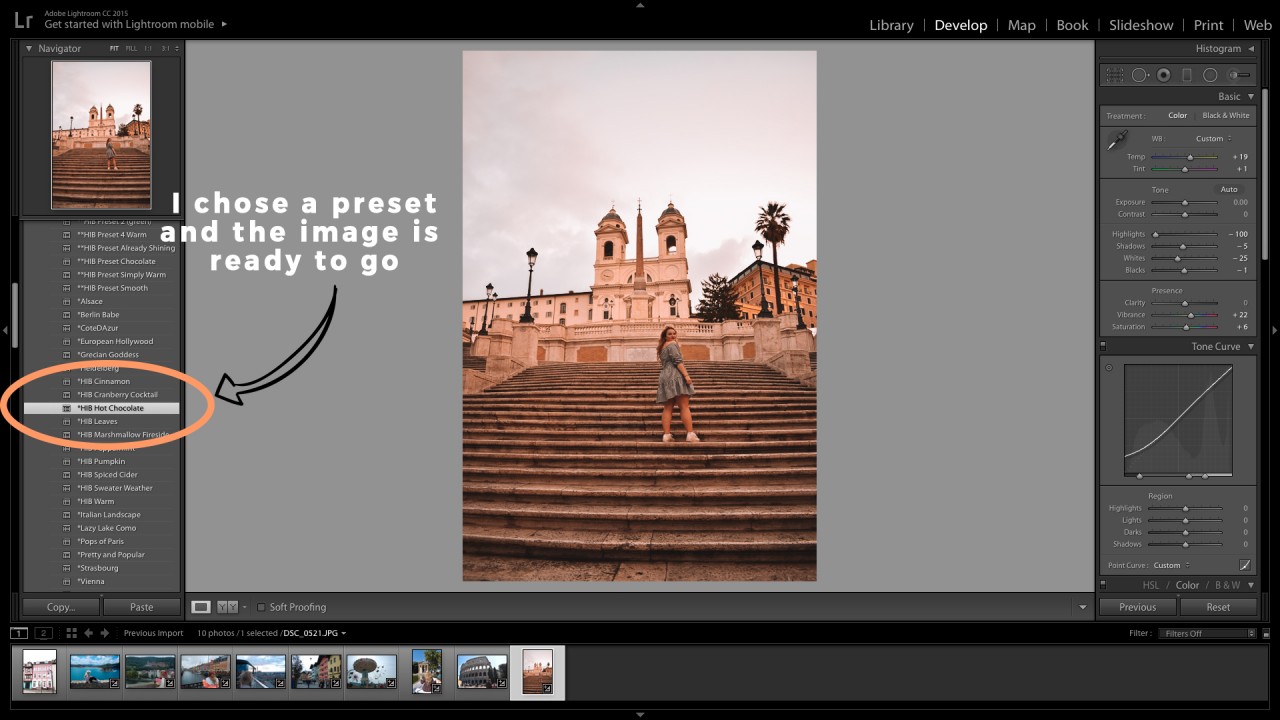
I start by importing my photos I'd like to edit into Lightroom. I usually click “File” then “Import Photos and Videos” then I add the photos from the folder. You can either add the whole folder, or you can select which images to edit. Next, I click “Develop” on the top right. I have created presets for SUPER easy editing (see the menu on the left side).
I simply click on a preset (in this case, I chose “Hot Chocolate” and the image is edited and ready to go. These are presets I've worked on creating for the past year to give the effects I want in a photo.
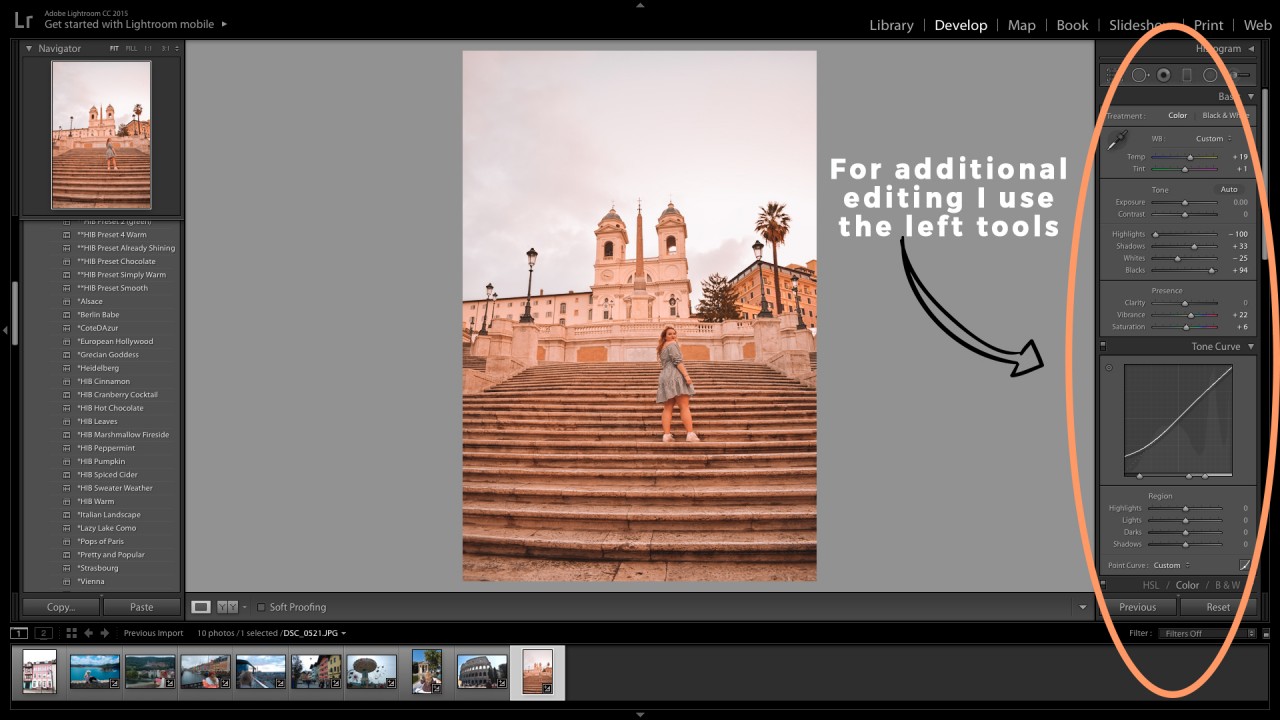
Now, let's say I choose a preset and, I like it, but I'd like to make it a little brighter, increase exposure, sharpness, or anything else. I simply go to the right side and can edit the image with the tools on that side.
For example, in this photo I upped the shadows and the blacks to make the image be slightly brighter. The thing is, every image is different, so your editing style is different for each photo.
Here are some tools I often adjust in editing:
White Balance – this is how you can make your image warmer, so I often bump up the “Temp.”
Tone – Let's say an image is too over exposed or under exposed. You can slightly up the exposure or contrast levels here. BE CAREFUL not to over do it. If I under or over expose I stick around the .05 to .10 mark.
Highlights, Shadows, Whites, Blacks – This section is for making blacks blacker (or lighter), whites whiter (or darker), increasing or decreasing shadows, or dimming or exposing more of the highlight. I usually mess with these slightly. Sometimes images are taken in lower light or it's brighter outside. I like to decrease the highlight to show more of the sky or feature the clouds.
Saving Your Images
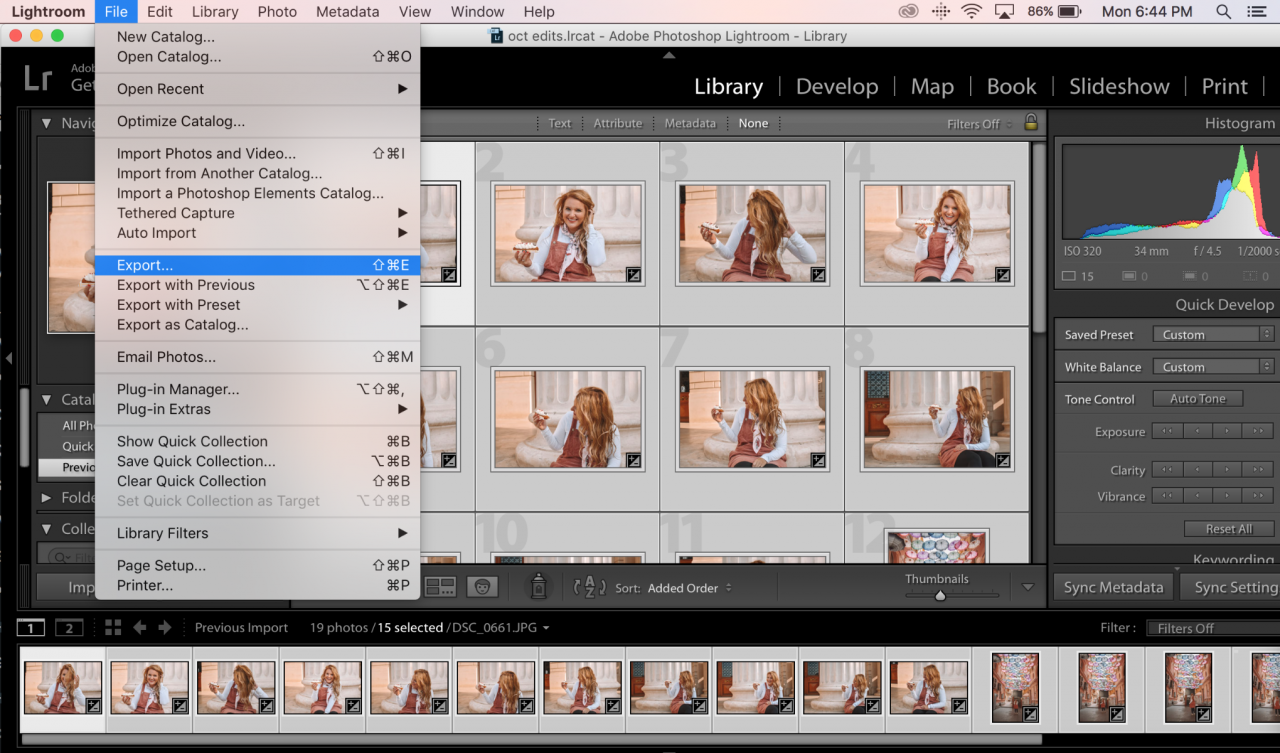
After I am done editing, I export them to JPGs so I can use them on my blog or Instagram. To do this I select all the images by clicking the first image, holding down the shift key, and clicking the last. Once all the photos are selected I click “File” then “Export”, as displayed below:
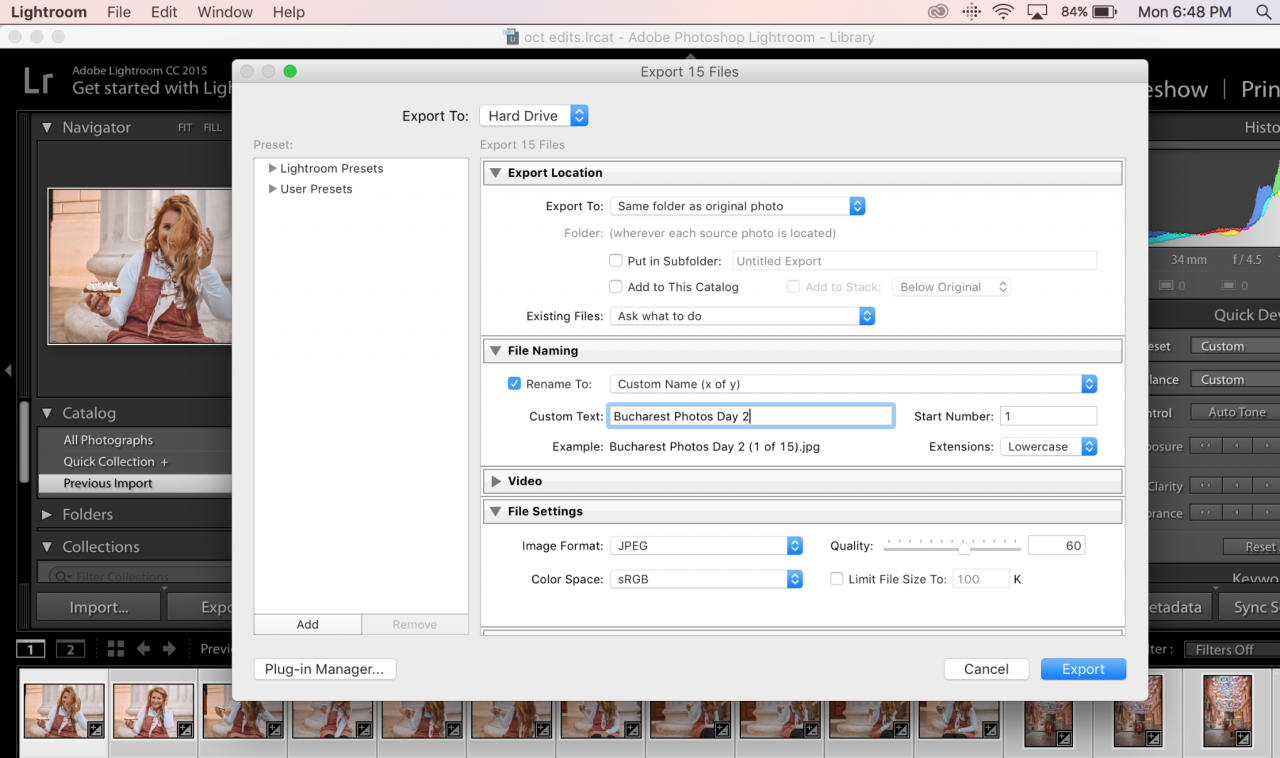
A new window will pop up and here you'll be able to save your photos to a specific folder (you can choose the original folder or make a new one) and also name them.
From there, your images are saved and ready to go!
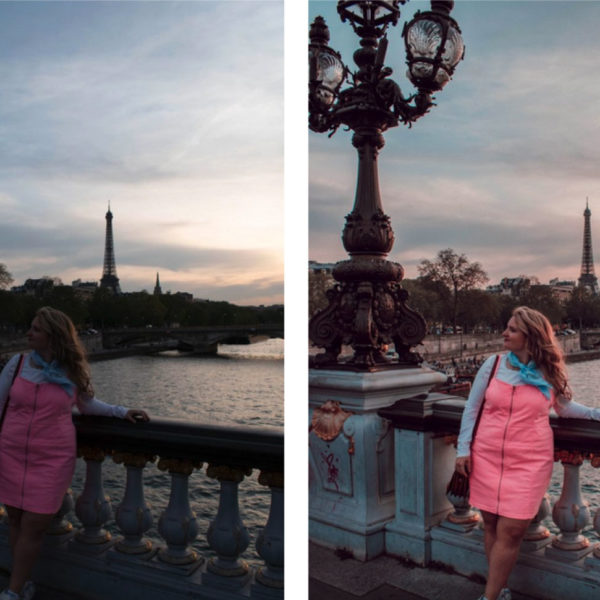
Before and After
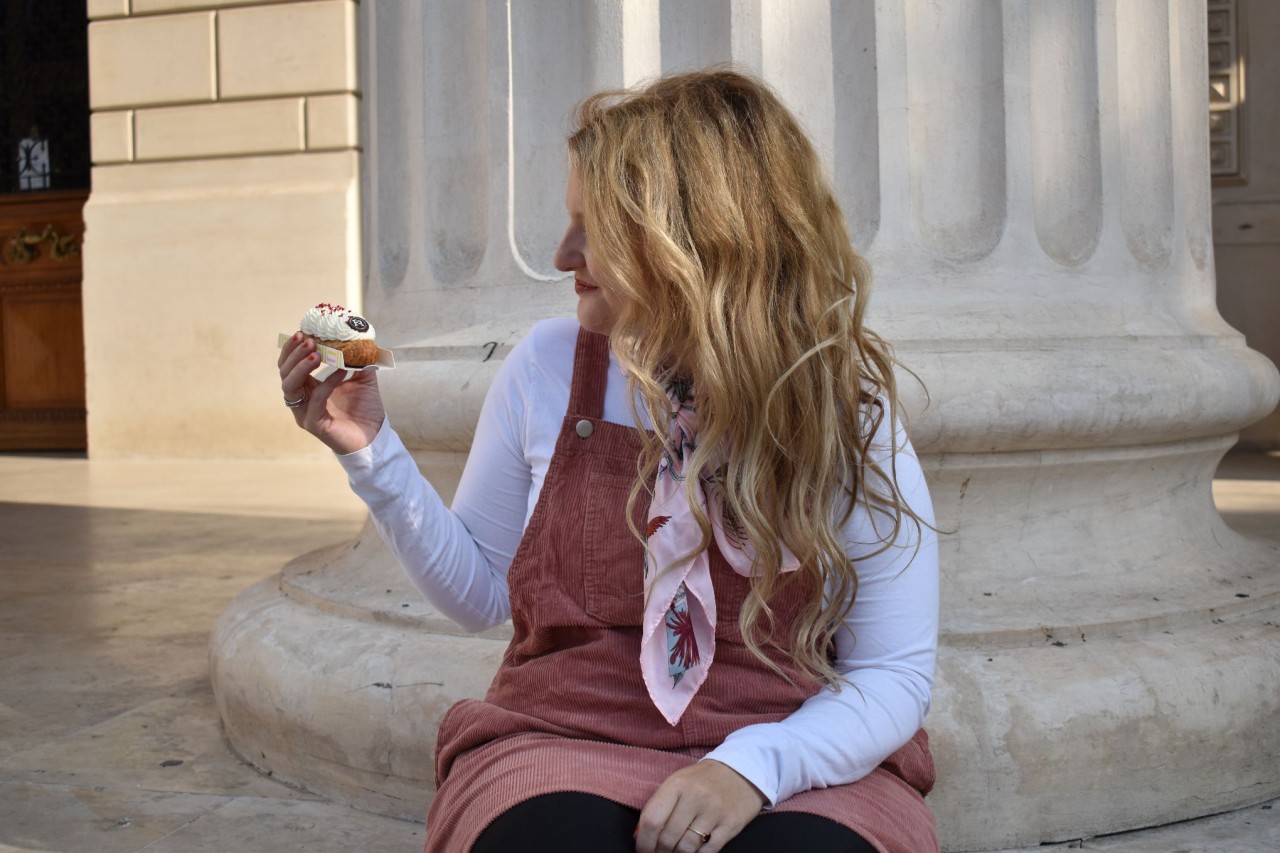
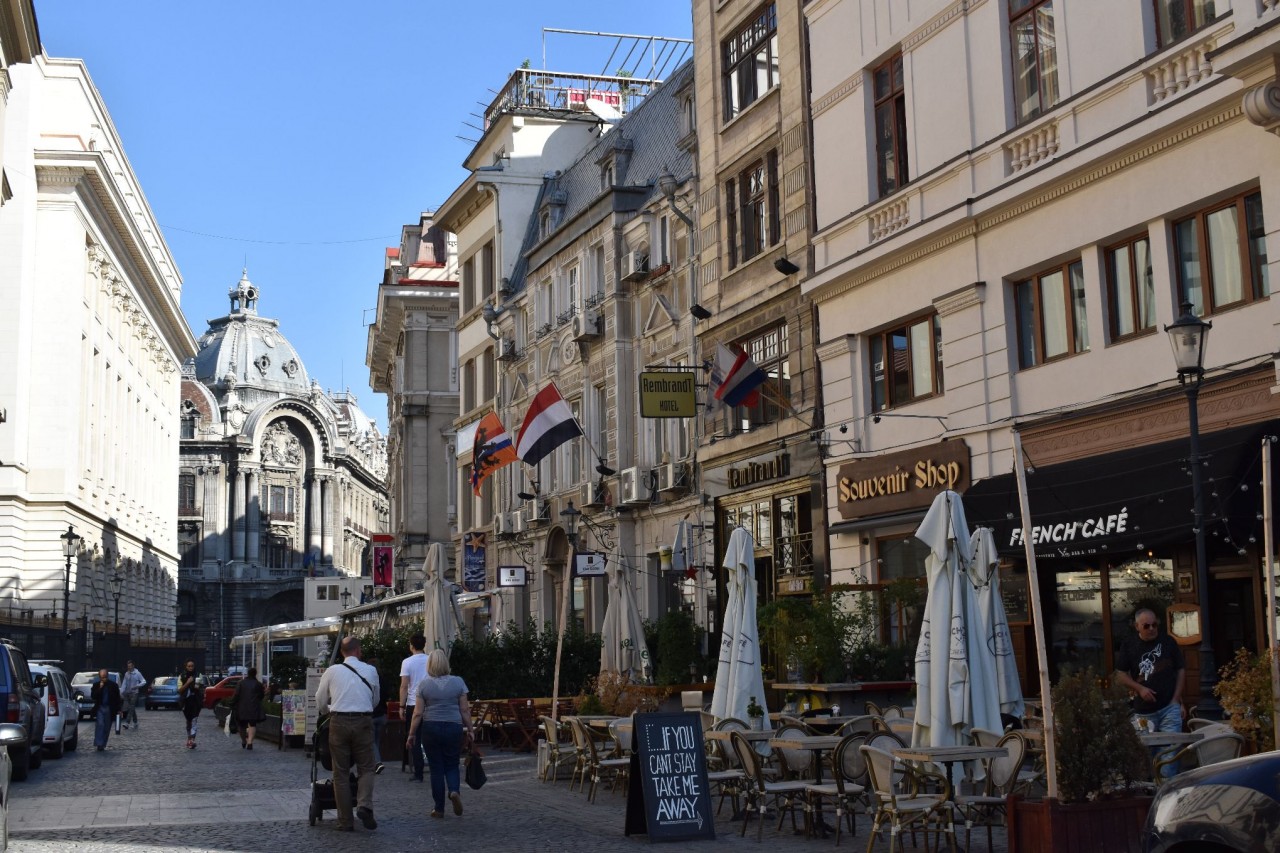
I think the best way to show you the power of editing is to show you before and after of the images:

