The best decision I ever made was to start a travel blog.
When I started my blog I had no idea this would lead me to do some of the most incredible things like move abroad, quit my job, work with my husband, and get paid to go to some of the coolest places on earth.

Not only does my blog help me live out my dreams, it's something I genuinely love doing! In this step-by-step guide I'm going to show you exactly how to start a travel blog and how you can monetize it and get paid to travel.
I've been blogging for nearly ten years and this has been my full-time job for 6. I make 6 figures every year with my blog. And while I will warn you that it's a lot of work, it's been so incredibly rewarding.
The top question I receive: how can I start a travel blog and make money from it?
You're in luck! Not only am I proof that you can do it, my background is in social media and marketing, and I have made it my goal to help others on their journey to starting and growing their blogs and social media.
[toc]
Why should you start a blog?
You might feel that sharing your thoughts, experience, or expertise is over done. Actually, after the “how do I start a blog” question, the next one I most often get is: “Isn't it over-saturated?” The answer is no.
No one else shares your life experience. I think a blog is the absolute best way to connect online, establish your goals, and even make money or a side income. When you start making that connection online, it's like it clicks, and you realize just how incredible it is to share your thoughts with others.
Before you begin, think about WHY you want to start a blog. While I think money can and should be part of it, I think it should go deeper than that. Your blog can be all about anything- your experiences, travels, fashion, tips, your job, where you live, your hobbies or even just how you feel today. There are six simple steps below on how to start a travel blog and make money from it.
Read More: Why You Need to Start a Blog
My Background
Before we get into the nitty gritty of how to start a travel blog, I want to tell you my story.
Back in 2012 I was working in the corporate world in events and social media. And then I fell rock climbing.
I broke my ankle and leg and was unable to work for a few months. Bored, I started a blog.

At first, this was not a travel blog. Instead, it was just a catalog of my life and what I was going through. Slowly, it started morphing into a blog that focuses on my life but also the topic of travel came up again and again.
I started sharing more and more about my previous travels. I made guides and maps and people seemed to be interested.
Even though I was unable to travel at the time, I knew this was the right path for me. Not only
When you can connect your passion along with expertise and purpose that is magic. That is when you're able to start truly making a difference. You go from feeling like you “have” to get a blog post out, to wanting to get a blog post out.
Now one thing you must know is that I don't recommend that you stick to one niche. If you have one niche and that sets your soul on fire and it's all you want to write about, great!
This blog is a travel blog, but it's more than that. Because, to me, travel is more than just going to a place. It's documenting your experience, how it changed you, what you do after, what you learned and so much more.
My blog is a travel and lifestyle blog. I share my detailed guides, but I also share what I wear on trips, blogging and social media guides (especially because that's such a big part of my background), and what's going on in my life.
I once had a niche site, but it fell flat because I lost my passion quickly. I'm a multi-dimensional person with multiple interests and a blog let's me share all those interests.
Read More: Is It Okay to NOT Have a Niche Blog?
How to Start a Travel Blog in 2021
I know it can feel overwhelming – there are so many options out there! But I promise when you follow my step-by-step guide you'll be up and running in no time!
To get started with your own travel blog, you'll need a domain name and hosting. I recommend using the provider that we've been recommending for years here — it's easy to use and highly affordable!
Since my background is in social media and marketing I've tried all the recommended platforms out there. Wiz, Squarespace, Weebly, Blogger, you name it! But WordPress is the clear winner.
It's super flexible, well-supported and constantly updated. Plus you can use any theme or plugin for your blog- which makes designing your blog a breeze.
Read More: Why WordPress is the Best Blogging Platform
Step 1: Pick a Name for your Travel Blog
I always recommend coming up with a name before you start your blog. It helps add focus and clarity to your brand.
Not only that, but it's much easier to build your following when you have a clear idea of the direction you want to go.
Choose something unique, catchy, and easy-to-spell! Think of what you might want to be known for, or, use your own name!
I know this can feel like a lot of pressure, but know that the name of your blog can change. My blog was first called “Do Dallas Cheap.”
After a year I realized that wasn't the direction I wanted to go, so I changed it.
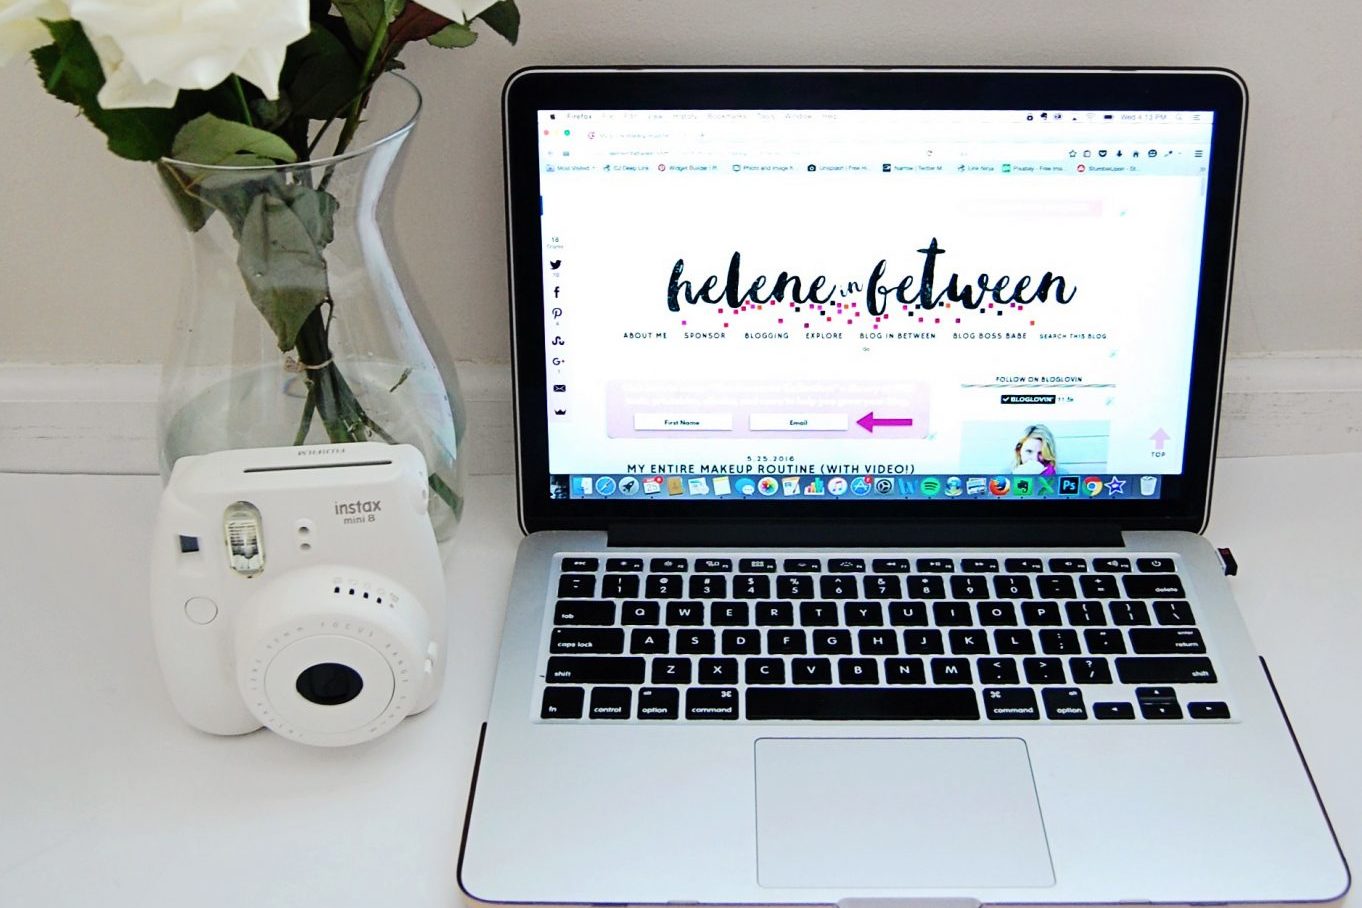
The main thing you want to think about when naming your blog is to keep it short and easy to memorize. Think about someone typing in your website or Googling you.
Ask your partner, friends, or family for advice and bounce ideas off them!
Step 2: Choose Hosting
First, you'll need to choose a hosting provider.
A host is basically the place where your site stores it's data. You want a host that's cost effective but also has great customer service.
SiteGround is the best of both worlds. Not only are they super affordable, but you can chat with them day and night if you ever have issues or need help! They also offer 24/7 live support which I've found to be very helpful in my experience since their plans start at just $4.99 (Through this link!) a month–the cheapest out there by far!
After signing up, you will be prompted to buy a domain name. I think it's worth spending just a little bit of money so that you can make some in return! Blogging has allowed me to travel the world and live life as if my dreams are coming true–and that happened because blogging opened doors for me when I had no idea what was going on at first.
> Choose a hosting plan:
Click here to grab your hosting and domain name for just $4.99 with SiteGround. Choose a plan by clicking “choose a plan” and selecting one that suits you. I'd start with “Startup” since it's always possible to change this as you grow.
> Choose a Domain
You can choose to Register a New Domain (this is where you put in www.yoursitename.com) or, if you're transferring your site choose “I already have a Domain.”
> Review and Complete
Now you'll enter in your personal information and pay! I do recommend adding Domain Privacy Protection. Anyone can check out who owns your site to discover your contact information, giving them access to your data. They won't be able to do so adding this protection.
At any moment, if you get lost, simply click “Live Chat” and talk to someone immediately! Alternatively, you may call the number in the upper right corner. If you get really stuck, I recommend WPHelp– they will troubleshoot anything!
Step 3: Set up and Install WordPress
After you've purchased a domain and selected a hosting provider for your blog, it's time to set up WordPress. It may appear daunting at first, but I assure you that it isn't! SiteGround also has a Wizard that can assist you with the installation process. You have two alternatives: do it yourself or let SiteGround handle it for you.
have SiteGround set it up for you:
When you go to your SiteGround Customer Area, you'll find a pop-up informing you that WordPress will be preinstalled on your account if you choose “Yes.” Select this option and press “Proceed.”
Then, under the Login tab, you'll need to type in your WordPress login information. This is your admin email address, username, and password. Choose a WordPress theme (I'll list some options for designs and more below!). Simply choose one and begin using it.
Finally, you'll get an overview of your WordPress installation, including where to log in and what your username and password are.
Check your email confirming your WordPress installation.
You're almost ready!
Do it yourself:
You can also set this up on your own! To do so, log into SiteGround and click on “My Accounts” then click the red button on the top left that says “Go to cPanel”, and click WordPress Installer.
Now click “Install.”
Fill in all of the empty spaces with your information. You may leave the protocol as “http://,” select a domain from the drop-down menu, or leave the directory blank. Create a Site Name for yourself, such as your tag line. For example, “a travel and lifestyle blog.” Choose a username and password, as well as the email you used to sign up your account.
Choose your site language and a theme. You can choose a theme provided, or you can upload one later. I use the Genesis Framework and I like the themes from Restored 316.
Now you're ready to go! Login to your WordPress blog using the username and password you just set up. http://www.YOURNEWDOMAIN.com/wp-admin is the URL you'll use to access your admin area.
Step 4: Install Plugins
What really makes WordPress great are the plugins. These plugins help make your site more secure, provide greater flexibility, and help you get the most out of your site.
There are two types of plugins: those that are free to download and install from WordPress.org (or any other source), and those that are premium options. While there is a plugin for nearly every function, there are some I'd highly recommend.
- WordPress Map Plugin – Create an interactive map.
- Google Analytics – See how often your blog is visited.
- Yoast SEO – Optimize your blog for search engines.
- Social Warfare – Run social media contests, share buttons at the bottom of posts.
- SumoMe – Get more traffic to your site (great for getting email subscribers).
See my full guide to Plugins Here!
Step 5: Write a Post!
Now that you've got your WordPress site set up, you're ready to start using it! Click on the “Posts” tab in the left-hand menu.
At first, you'll see a list of posts with an option to “Add New” underneath.
Simply title your blog post and begin writing! When I write a post, I like to add relevant images that connect with the content. If you're adding several images, simply upload them in the Media Library and then insert them into your blog post by clicking on “Add Media” at the top of your page.
You'll see an image appear above your newly created post!
Step 6: Grow Your Blog
You started a blog, hooray! Now it's time to get traffic. Here's how I grew my traffic to 250,000 hits every month.
Here are some key ways to grow your blog:
- Create awesome content (this is the most important!). This guide shares how to create, what I like to call, “Foundational content“
- Share your site on social media
- Use Pinterest to grow your blog
- SEO is a great way to drive traffic to your site
- Start making money blogging also learn how to land sponsored travel deals
- Use free tools to grow your blog
- Continue to learn and grow your blog
- Create a community around your blog – this is KEY for growing your blog and will also help keep you motivated.
- Hone in on your blogging voice
Let's review!
- Decide on a blog and a name
- Set up hosting and domain with SiteGround
- If you need help moving your site, help with design (or stuck with anything WordPress Related) I suggest hiring WP Help
- Start blogging!
- Create a successful travel blog by consistently posting awesome content and growing your audience.
Remember, growing a travel blog doesn't mean you always need to be traveling. Share past trips, your travel process, how you plan, how you pack, and so much more! You'll never run out of content ideas!
You also don't need to have a fancy camera. Your smartphone can take great photos as well. The most important thing is just to START. As you begin you'll learn more along the way.
Now that you've got your blog and you're ready to start, don't forget to reach out and connect with others. You don't have to do it alone. I'm here if you need any help. Feel free to contact me with questions.


FREE EBOOK! 14 Days to A Better Blog

Free, 32 Page eBook to help you grow your blog.

