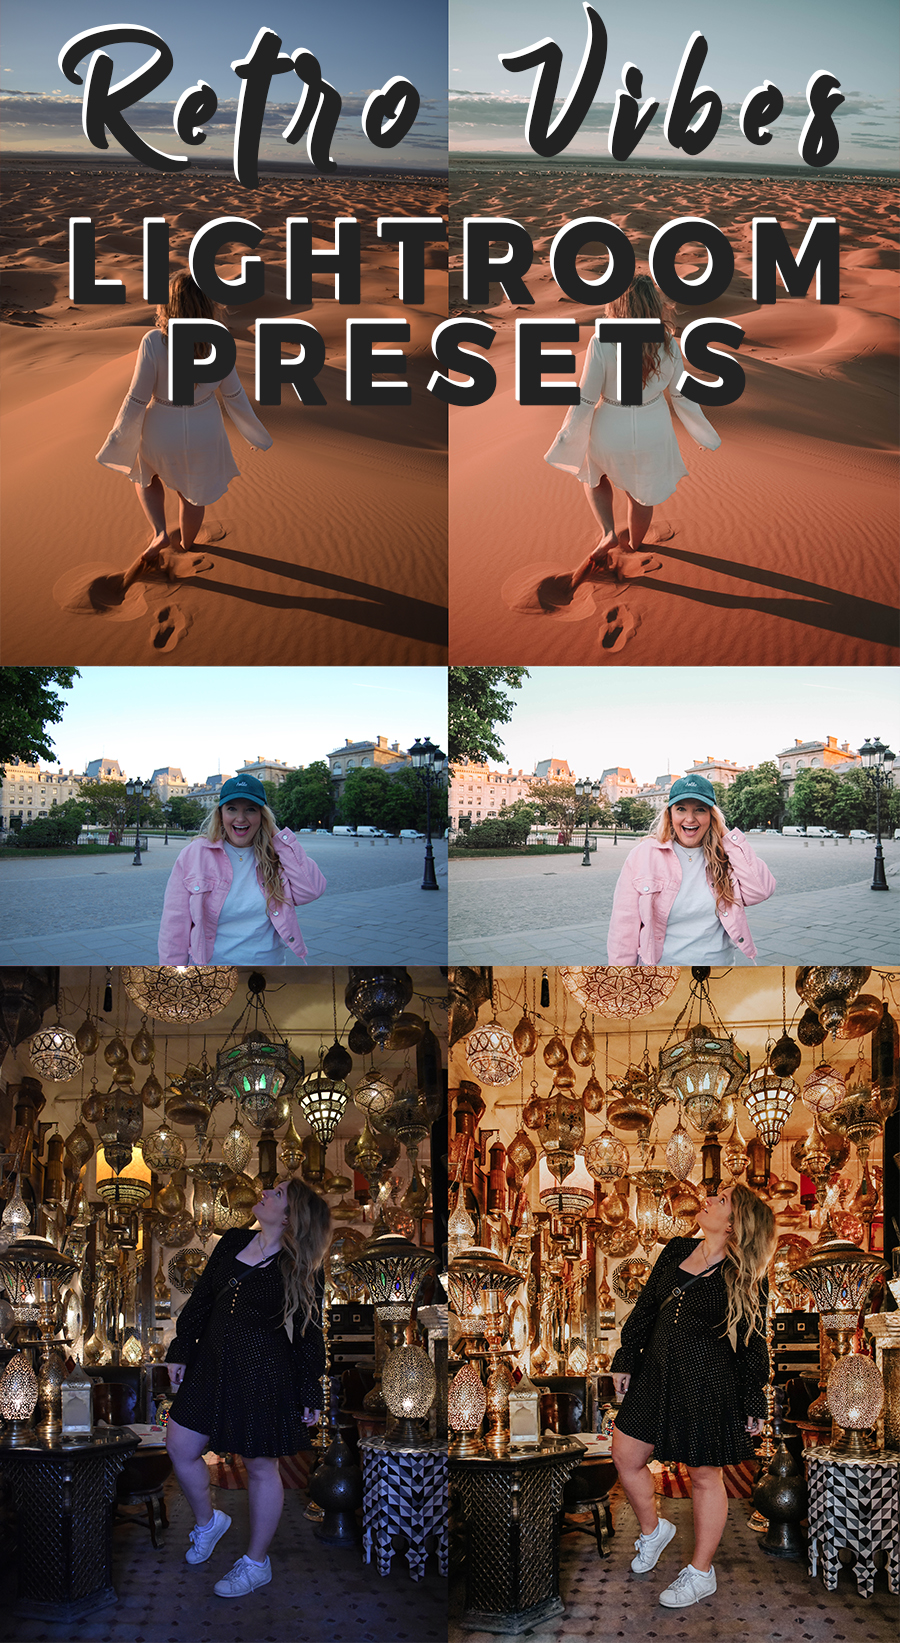
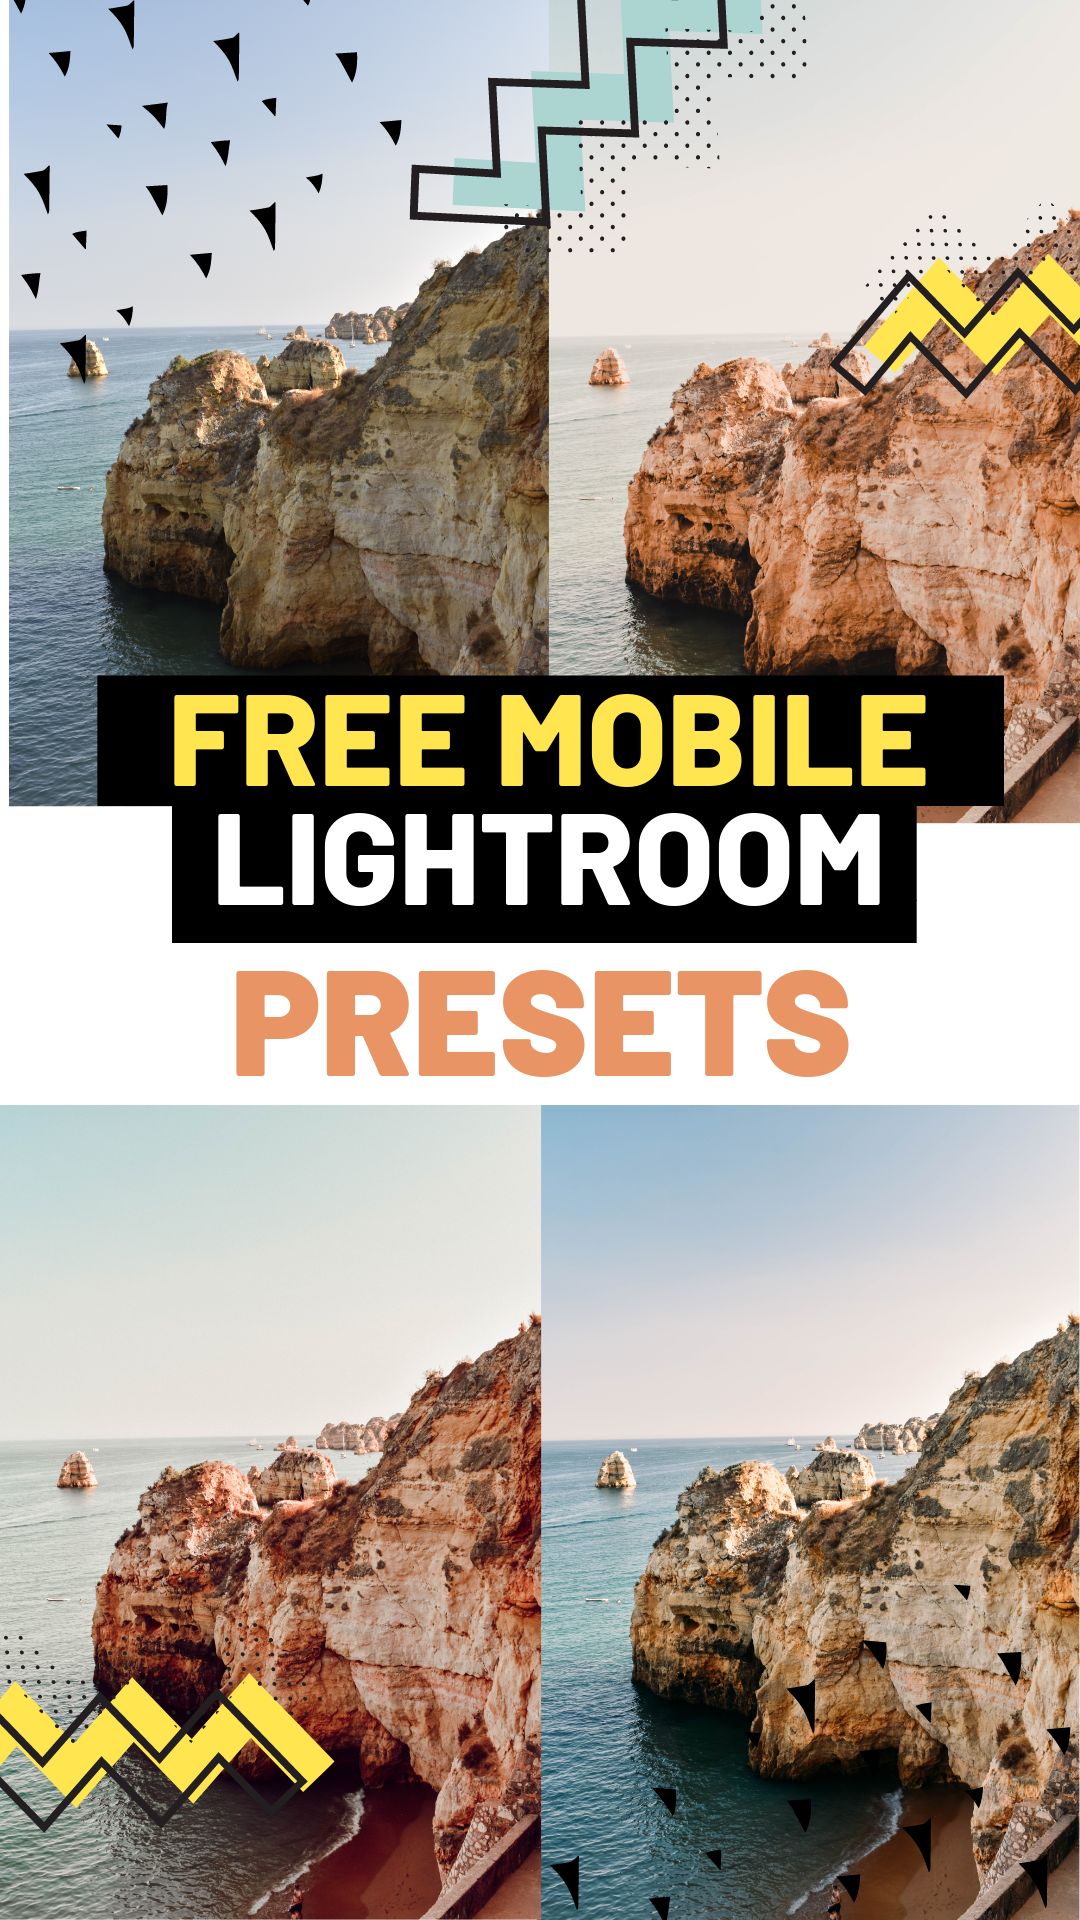
I'm so excited to finally introduce a BRAND NEW Lightroom preset pack! Inspired by my recent travels in Morocco and Europe I bring you the dreamiest pack yet. And the best part? It also comes in a mobile version! That means you can use these for free, without having to buy Lightroom for your desktop! I'm going to break down how to use Lightroom presets for mobile and share my new pack with you.
If you're BRAND new to Lightroom then check out this post breaking down what it is and how to use it.
How to Use Lightroom Presets on Mobile
Now, let's get to how to use Lightroom presets on your phone. As a note, I still edit 99% of my photos on desktop. You have more control, more options, and I find it a lot easier. But of course, in a pinch, it's nice to have the mobile version too! Or, if you'd rather not spend the money on Lightroom, then the mobile version will work.
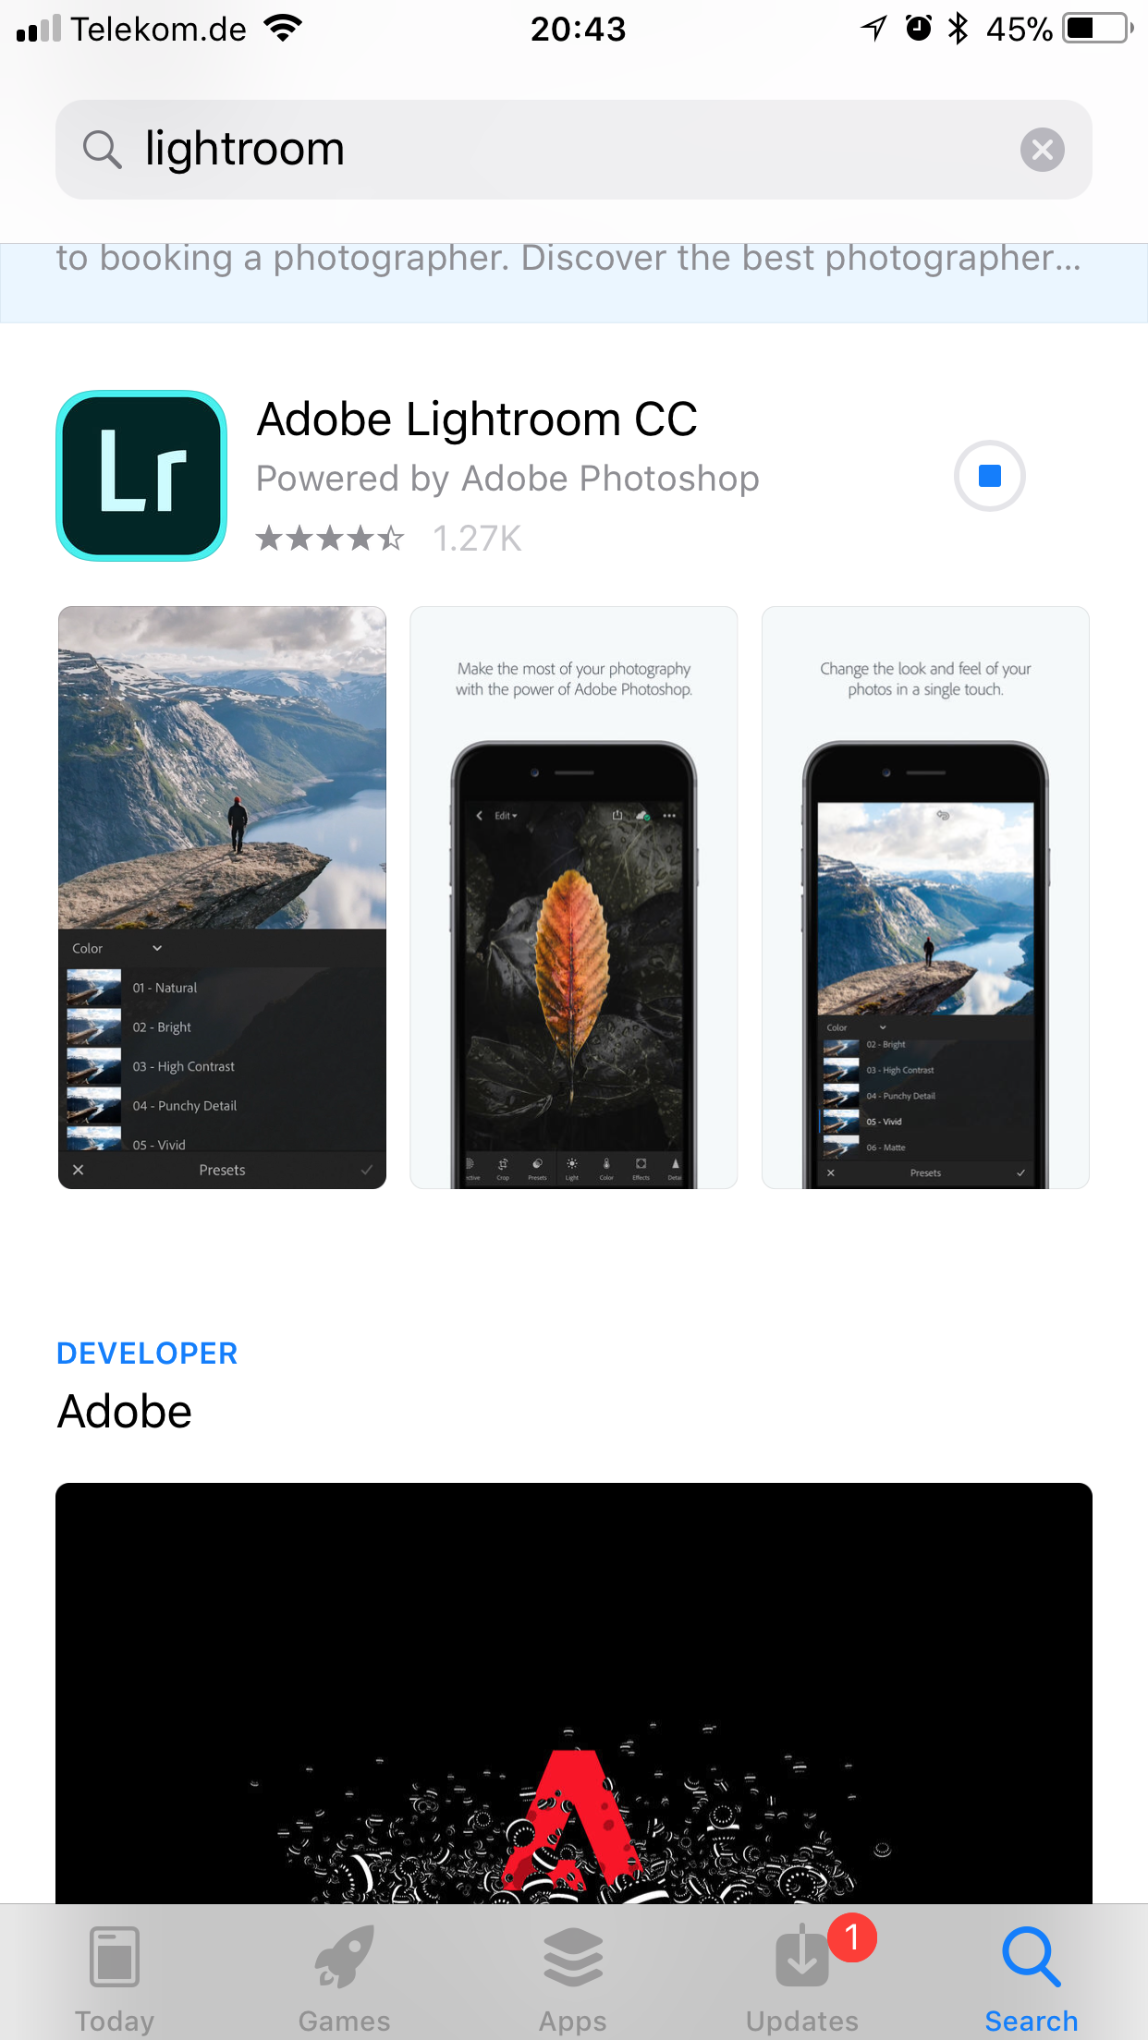
1. Make sure you have downloaded Adobe Lightroom CC
on your phone. Remember, it's free! But you will need to register. The app looks like this:
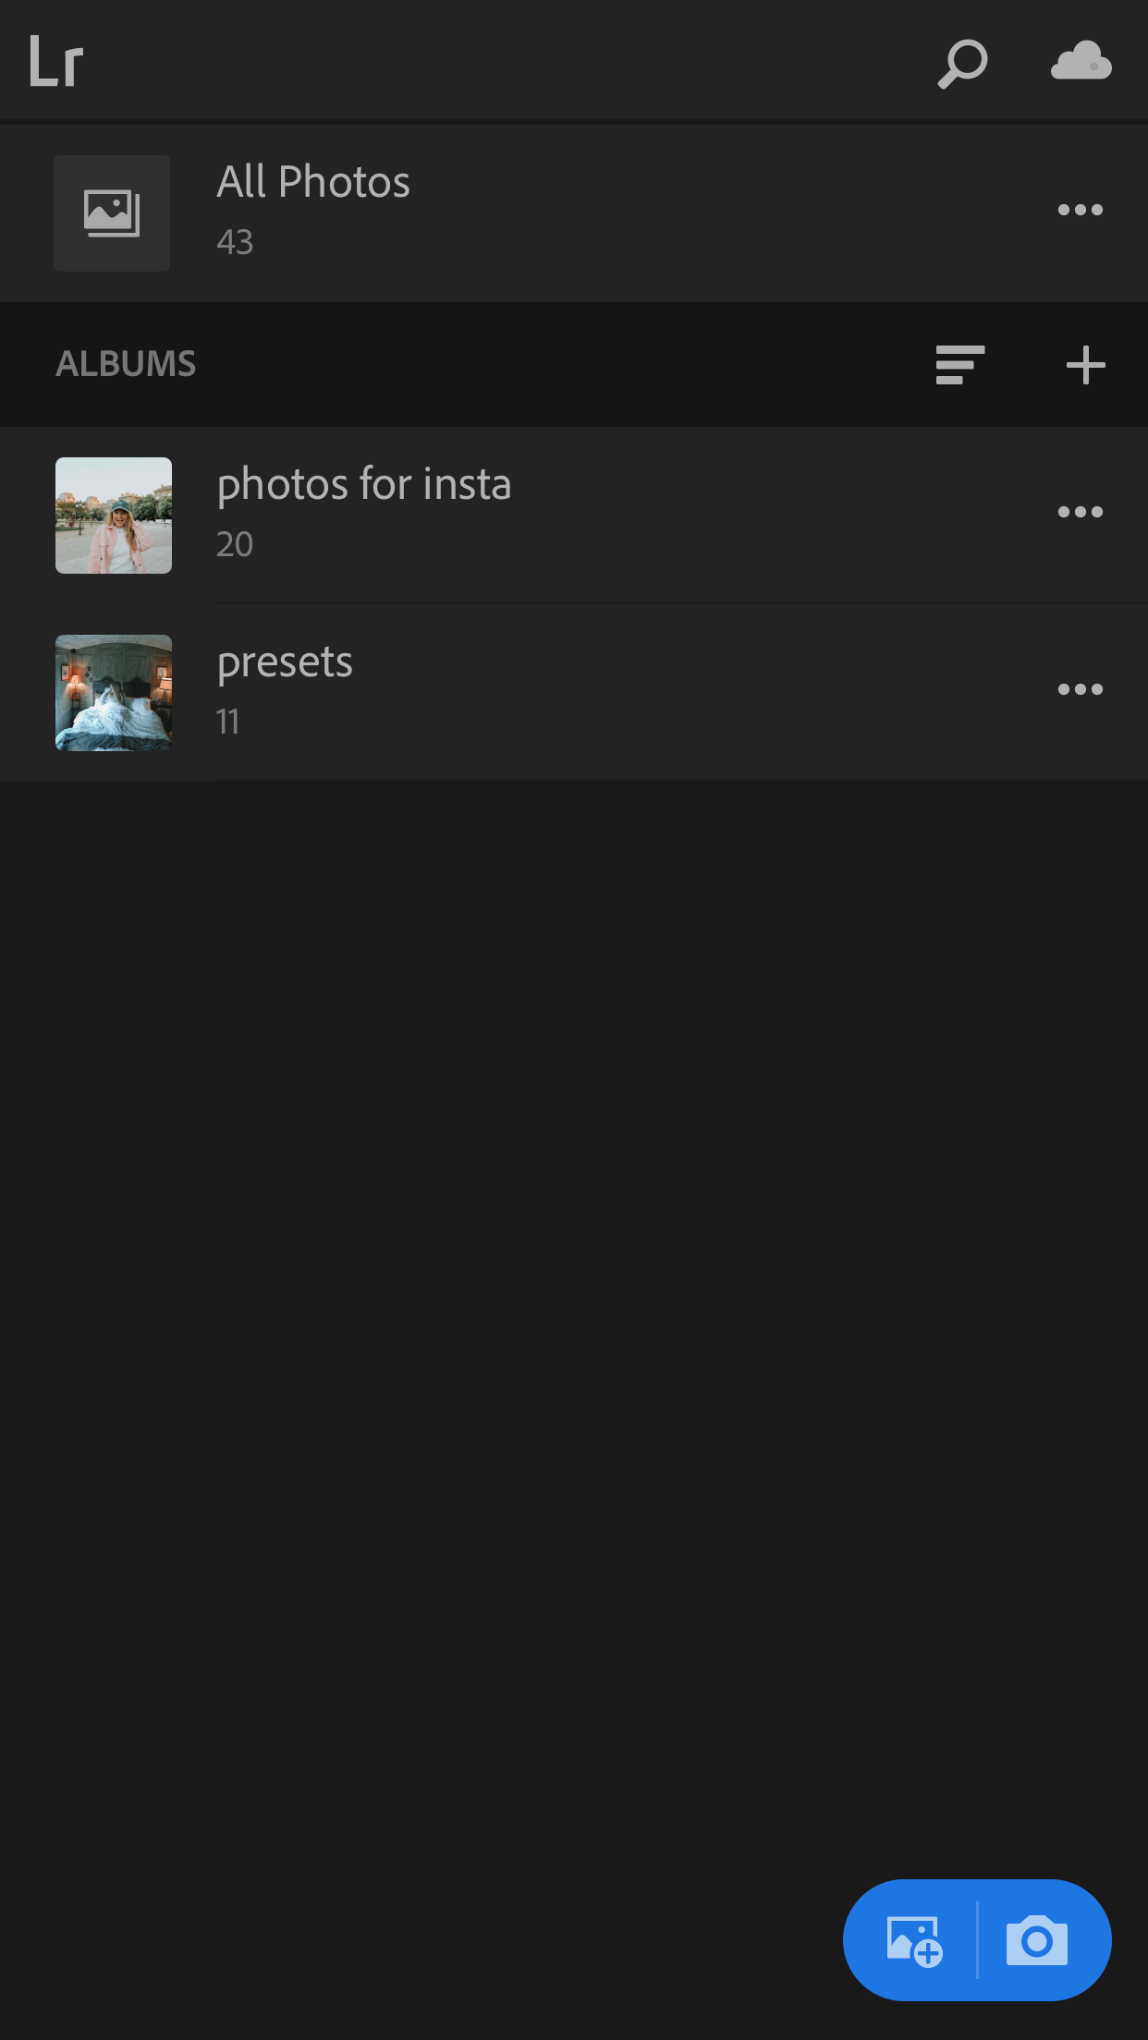
2. Create two folders – this will help you see where you put the presets. I name mine “presets” and “photos for insta”. I also recommend putting a picture in each.
3. Download the presets with your laptop or use the download link sent to your email and open with your phone. If you download on your laptop you can either send them to your phone via Airdrop, iCloud Drive, DropBox, or via email. I find Airdrop works best. Or, you can just use the files sent directly to your email!
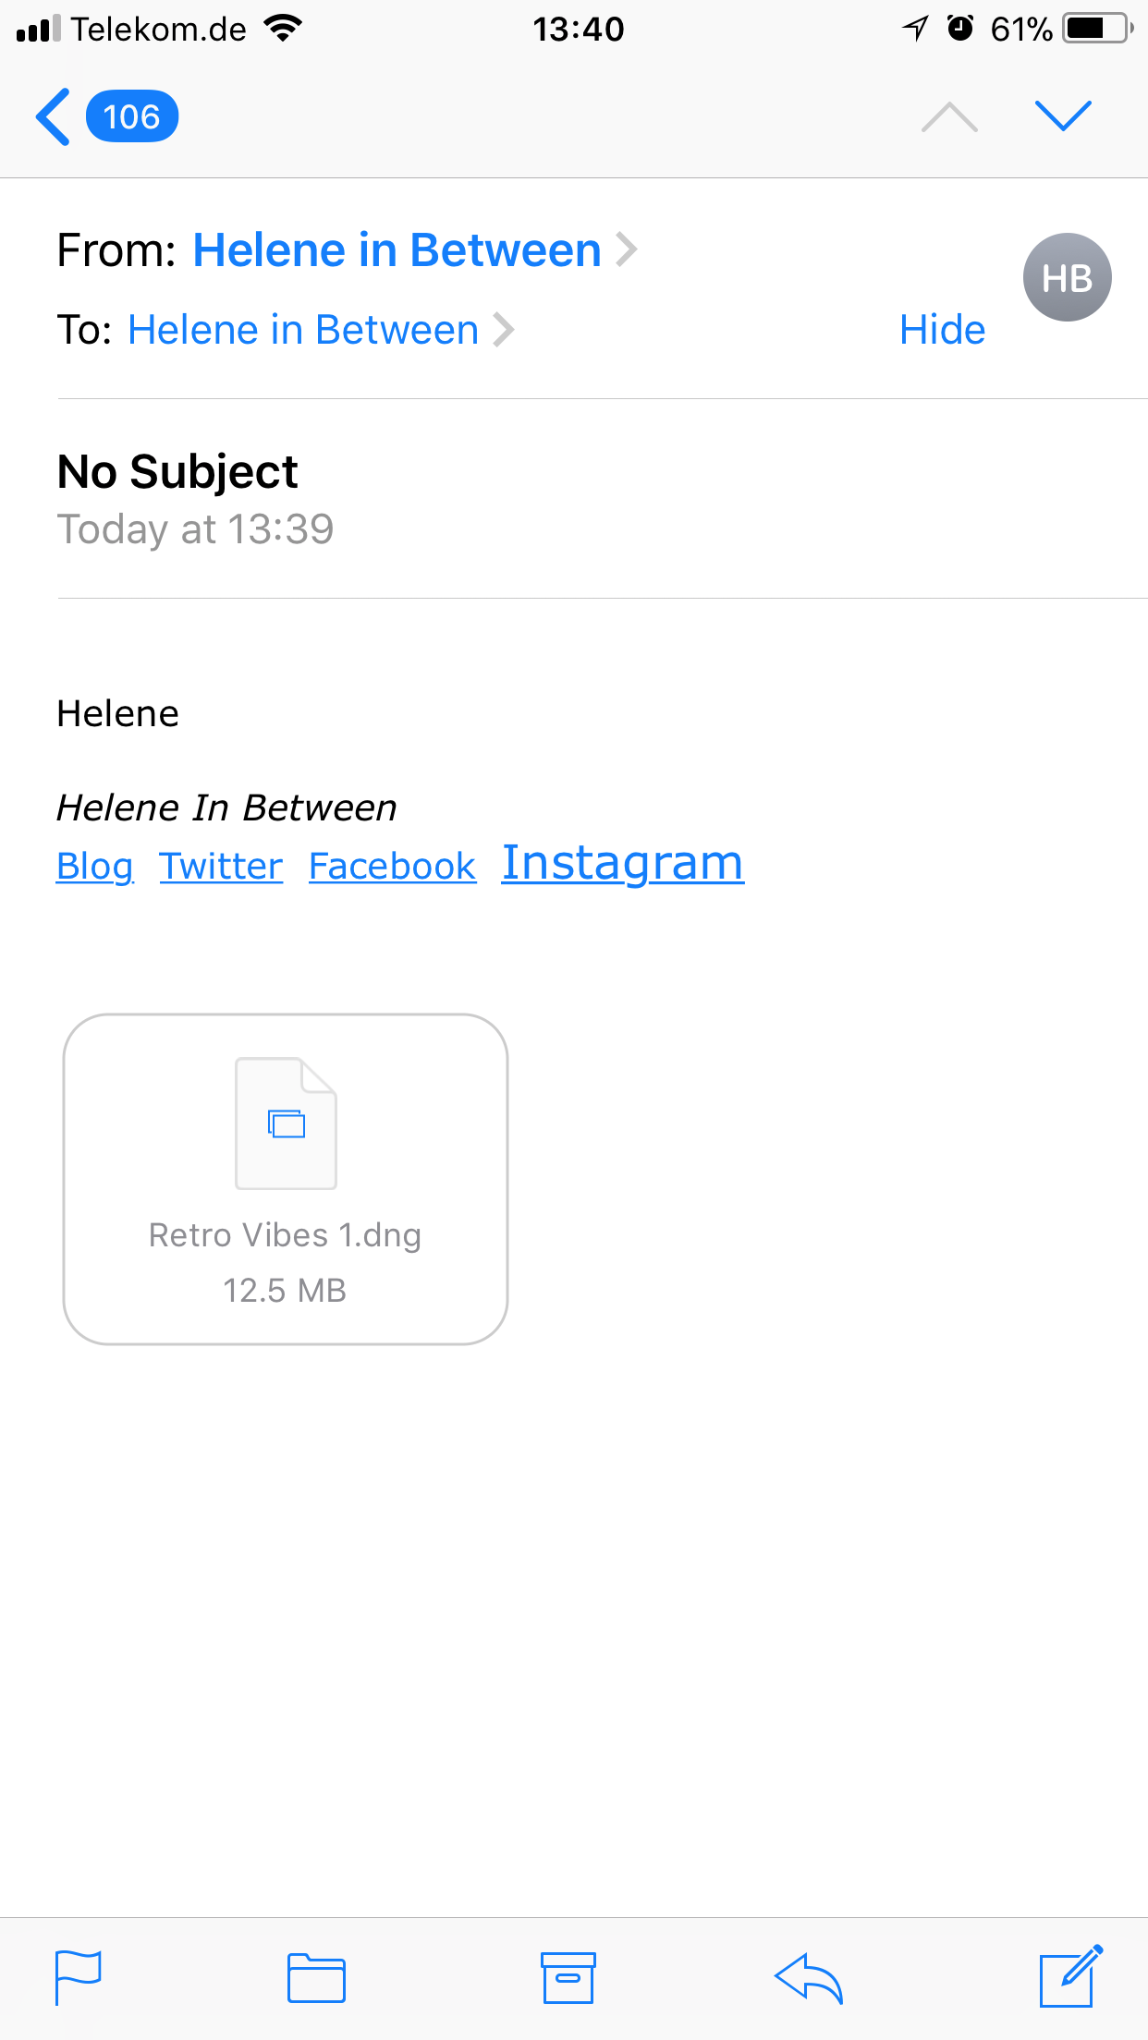
4. On your phone, open the email titled “Mobile Lightroom Presets”. Alternatively, you can do this on your laptop and send them to your phone individually.
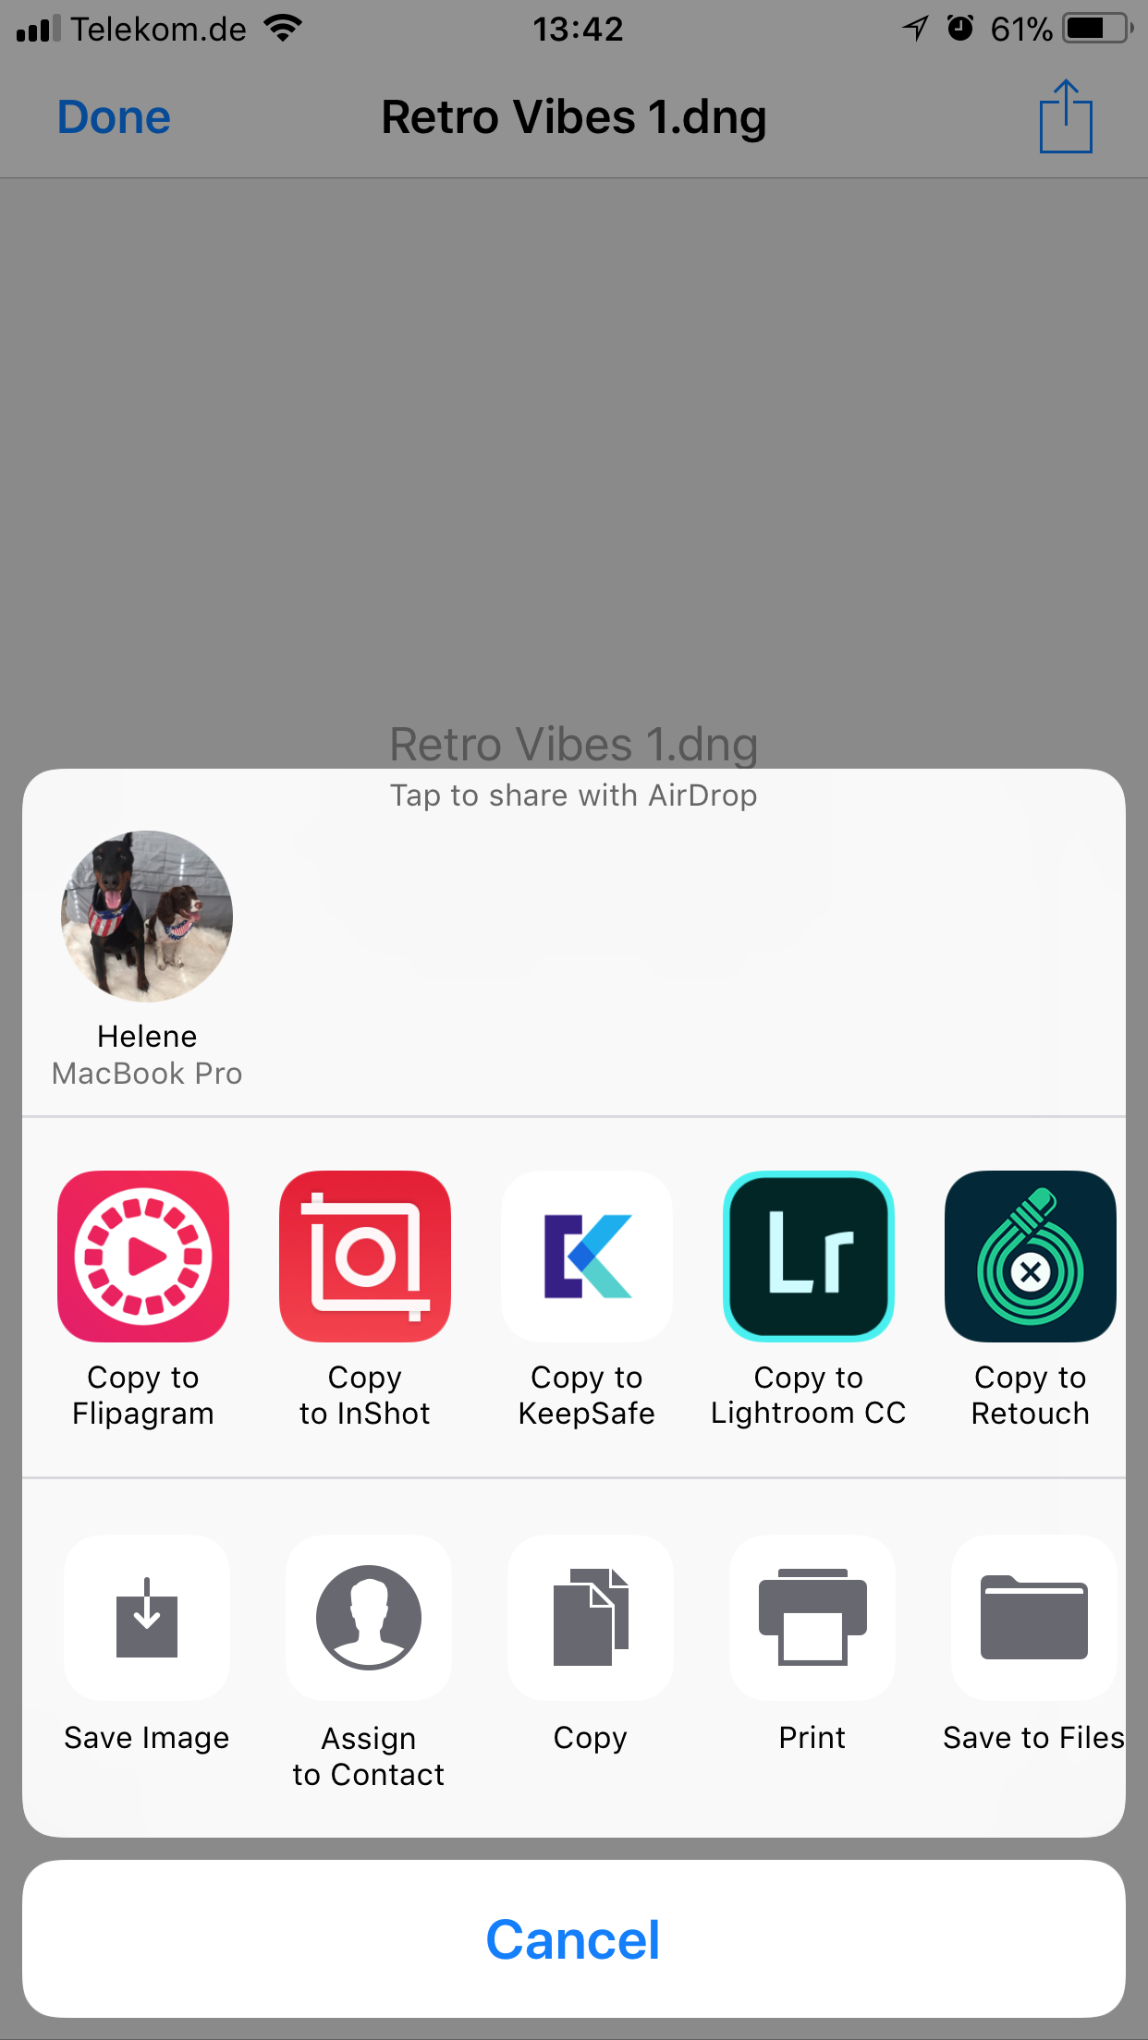
5. Click the preset to download it (one at a time). Then click the arrow on the top right to open it. Scroll through your apps to choose Lightroom CC as pictured below. Click “Copy to Lightroom CC”.
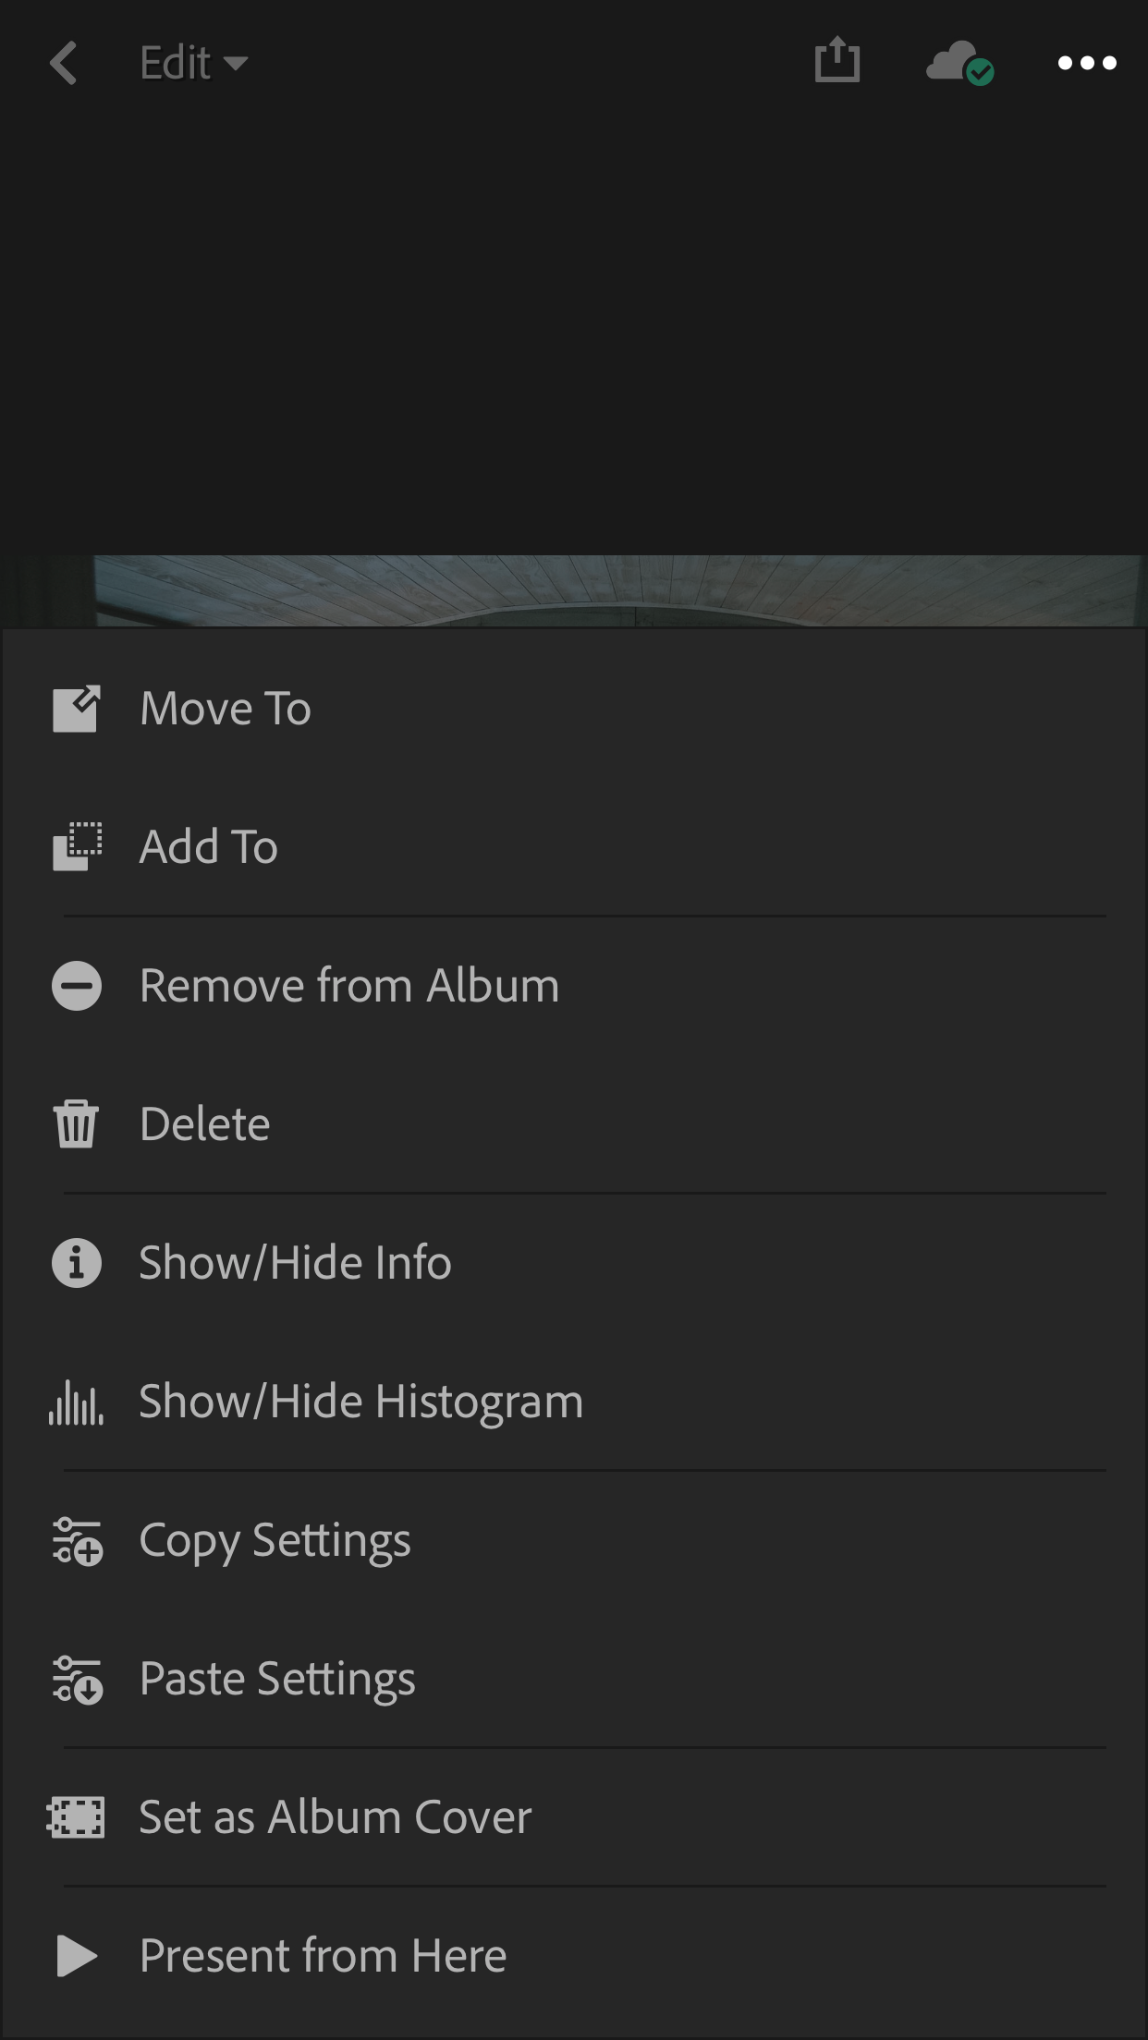
6. Once it’s opened in Lightroom mobile, copy the settings from the image by clicking the ellipsis on the top right.
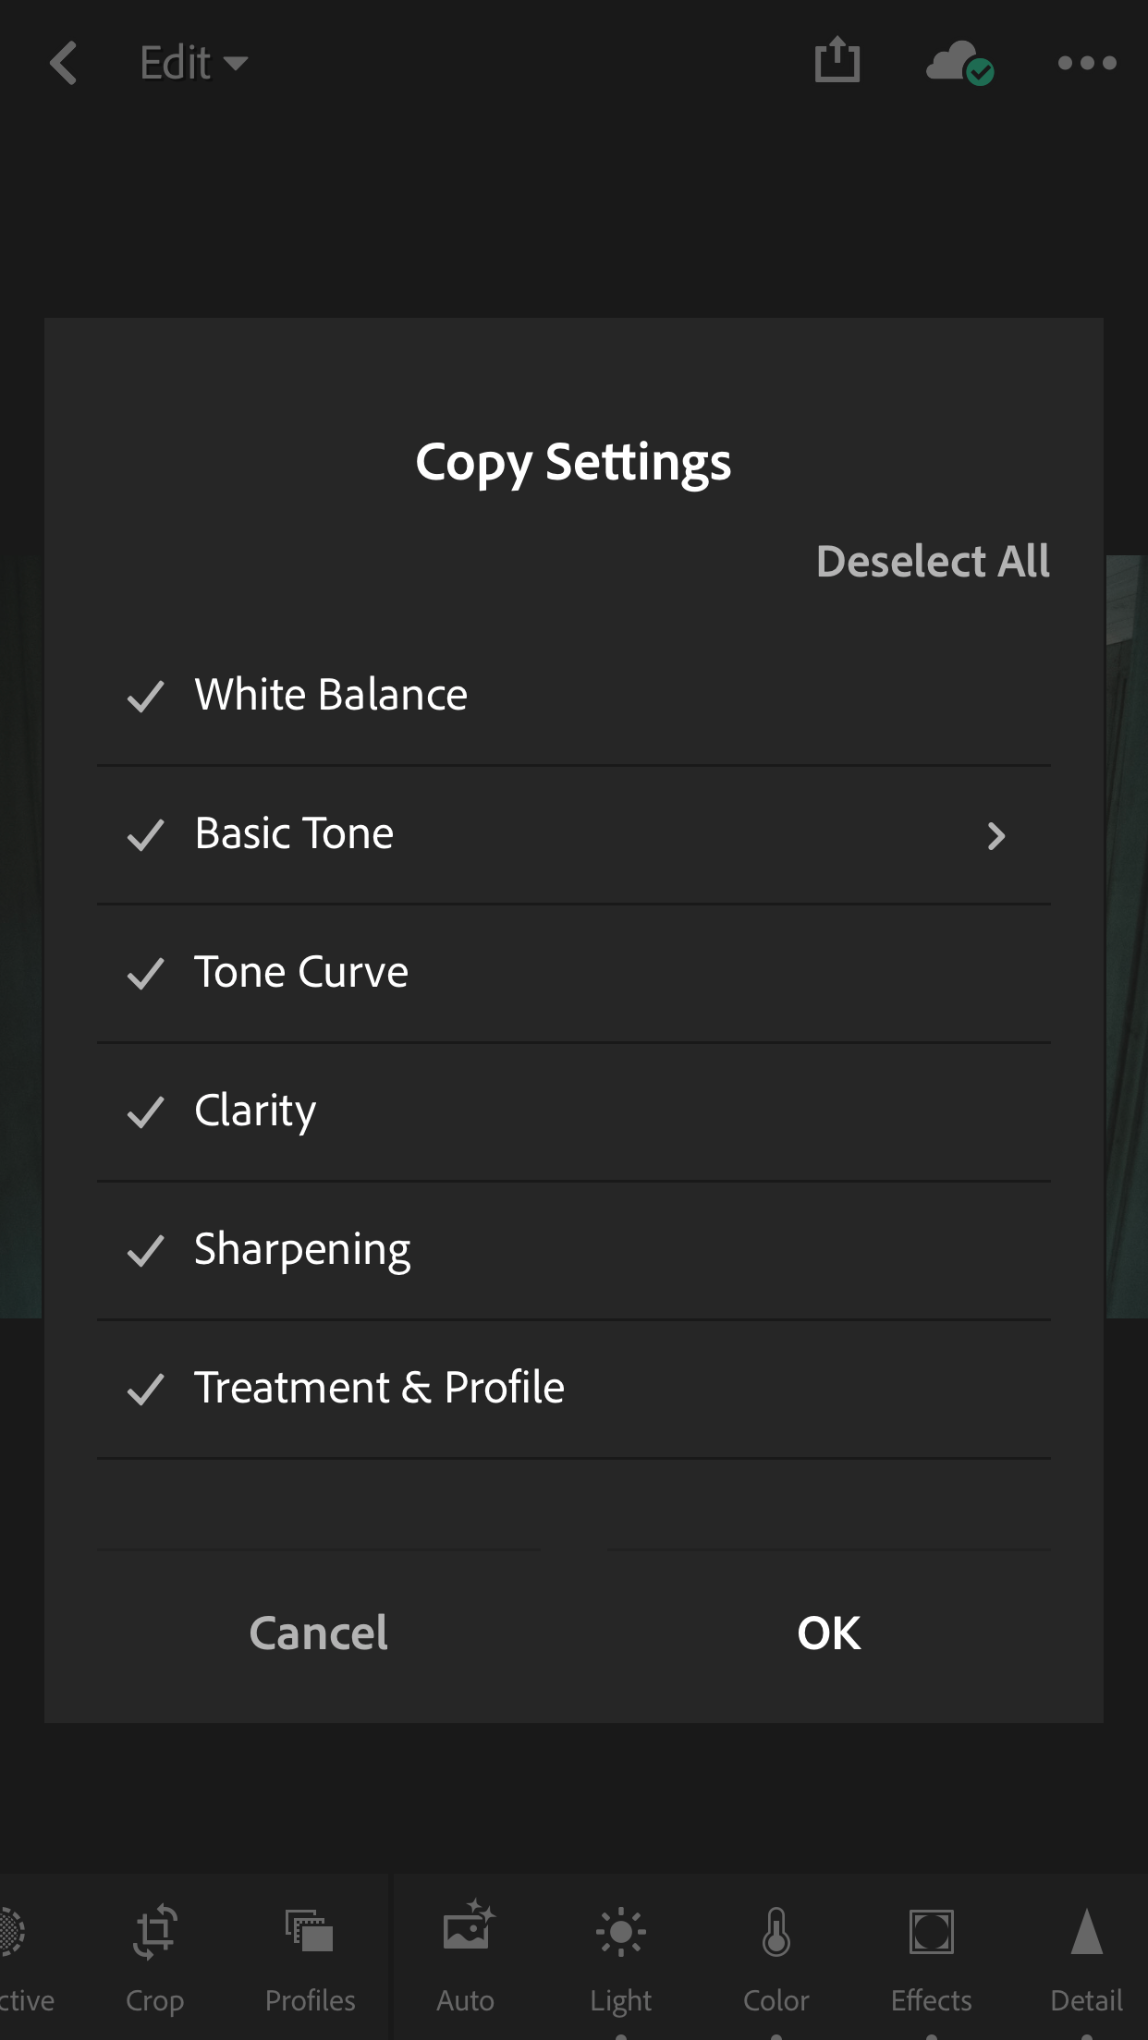
7. Click “Copy Settings” then click “OK”
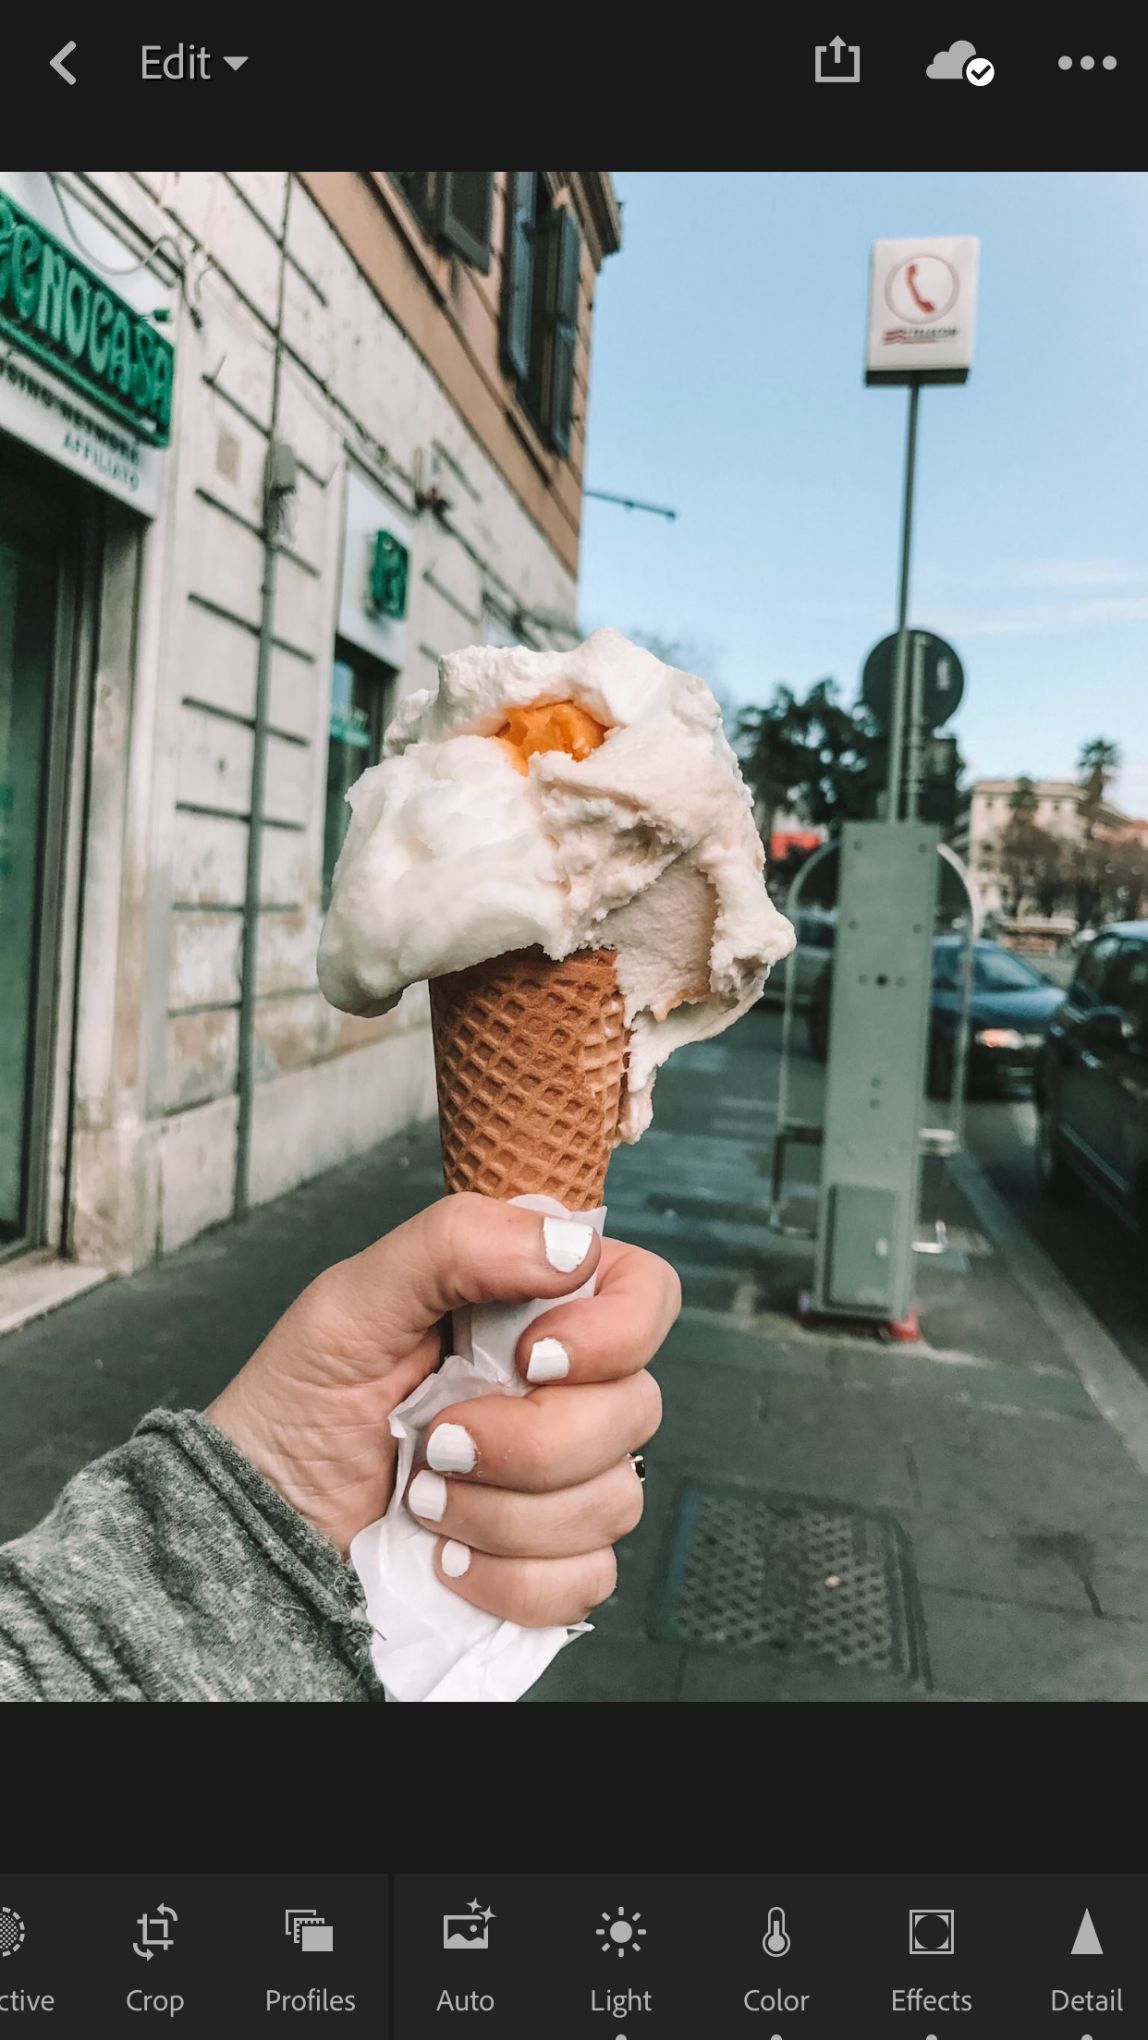
8. Inside the Lightroom app go to a photo you’d like to edit. Usually, you can add it into your new folder.
9. Click the top right button (ellipsis) and then click “Paste Settings”
10. Your photo is transformed with the exact settings!
11. Repeat the process with all the presets and make sure to add all the presets and each time you’d like to edit your photos on mobile you will need to just copy the settings from one of the presets and then paste it into the new photo.
I've also made a video for you to see how to add presets to the Lightroom mobile app. It takes a bit to understand but once you get the process it's as simple as clicking copy and paste. Each time you'd like to edit a photo just copy settings from a previous photo (the ones in the preset folder) and paste the settings for the new photo. Easy!
Why Use Lightroom Mobile?
Of course, the best reason to use Lightroom mobile is because you can use it quickly and on the go. I still prefer desktop, but if I need to share a photo right then and there I use Lightroom mobile. The Lightroom mobile workflow is a bit different than the options you find on your desktop version of Lightroom. What I love is that the mobile version never destroys the quality of the image. Some apps will sometimes harm the quality: lower the resolution, clarity, etc, if you edit in their app. Lightroom doesn't do that.
With all that said… it's time to put the presets to use! Get it right here:
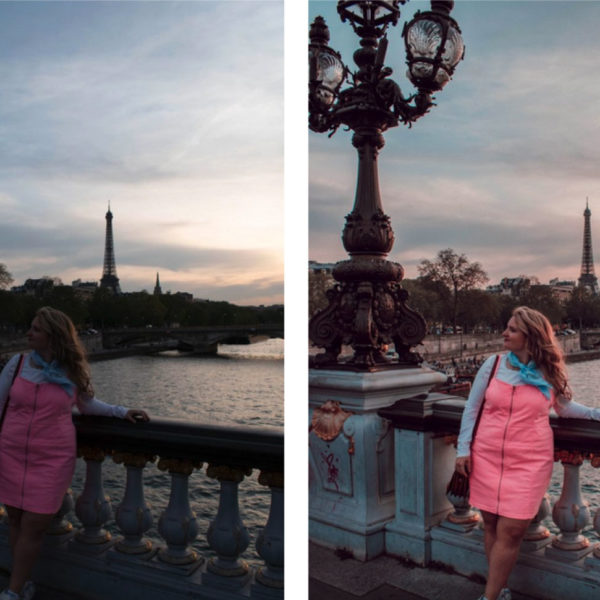
Let's take a look at some before and afters:
Edited with Retro Vibes Preset 2 (on desktop):
Edited with Retro Vibes Preset 4 (on desktop):
Edited with Retro Vibes Preset 8 (on mobile):
Edited with Retro Vibes Preset 1 (on mobile):
Check out more of my presets here!
Or, buy the Retro Vibes Presets here:
Can't wait to see you put the presets to work!

