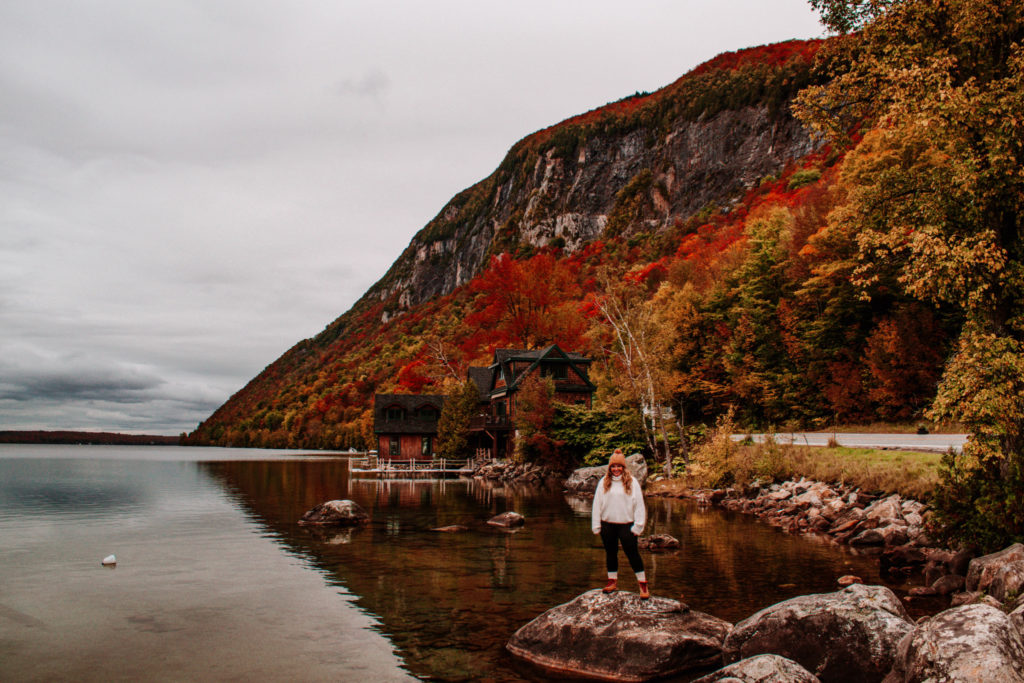
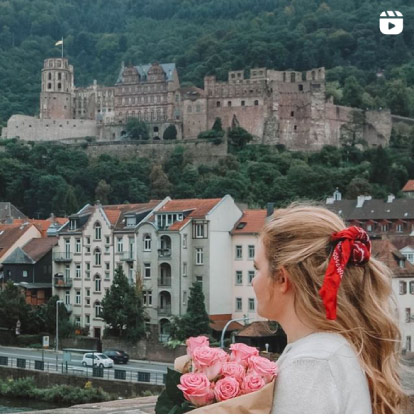
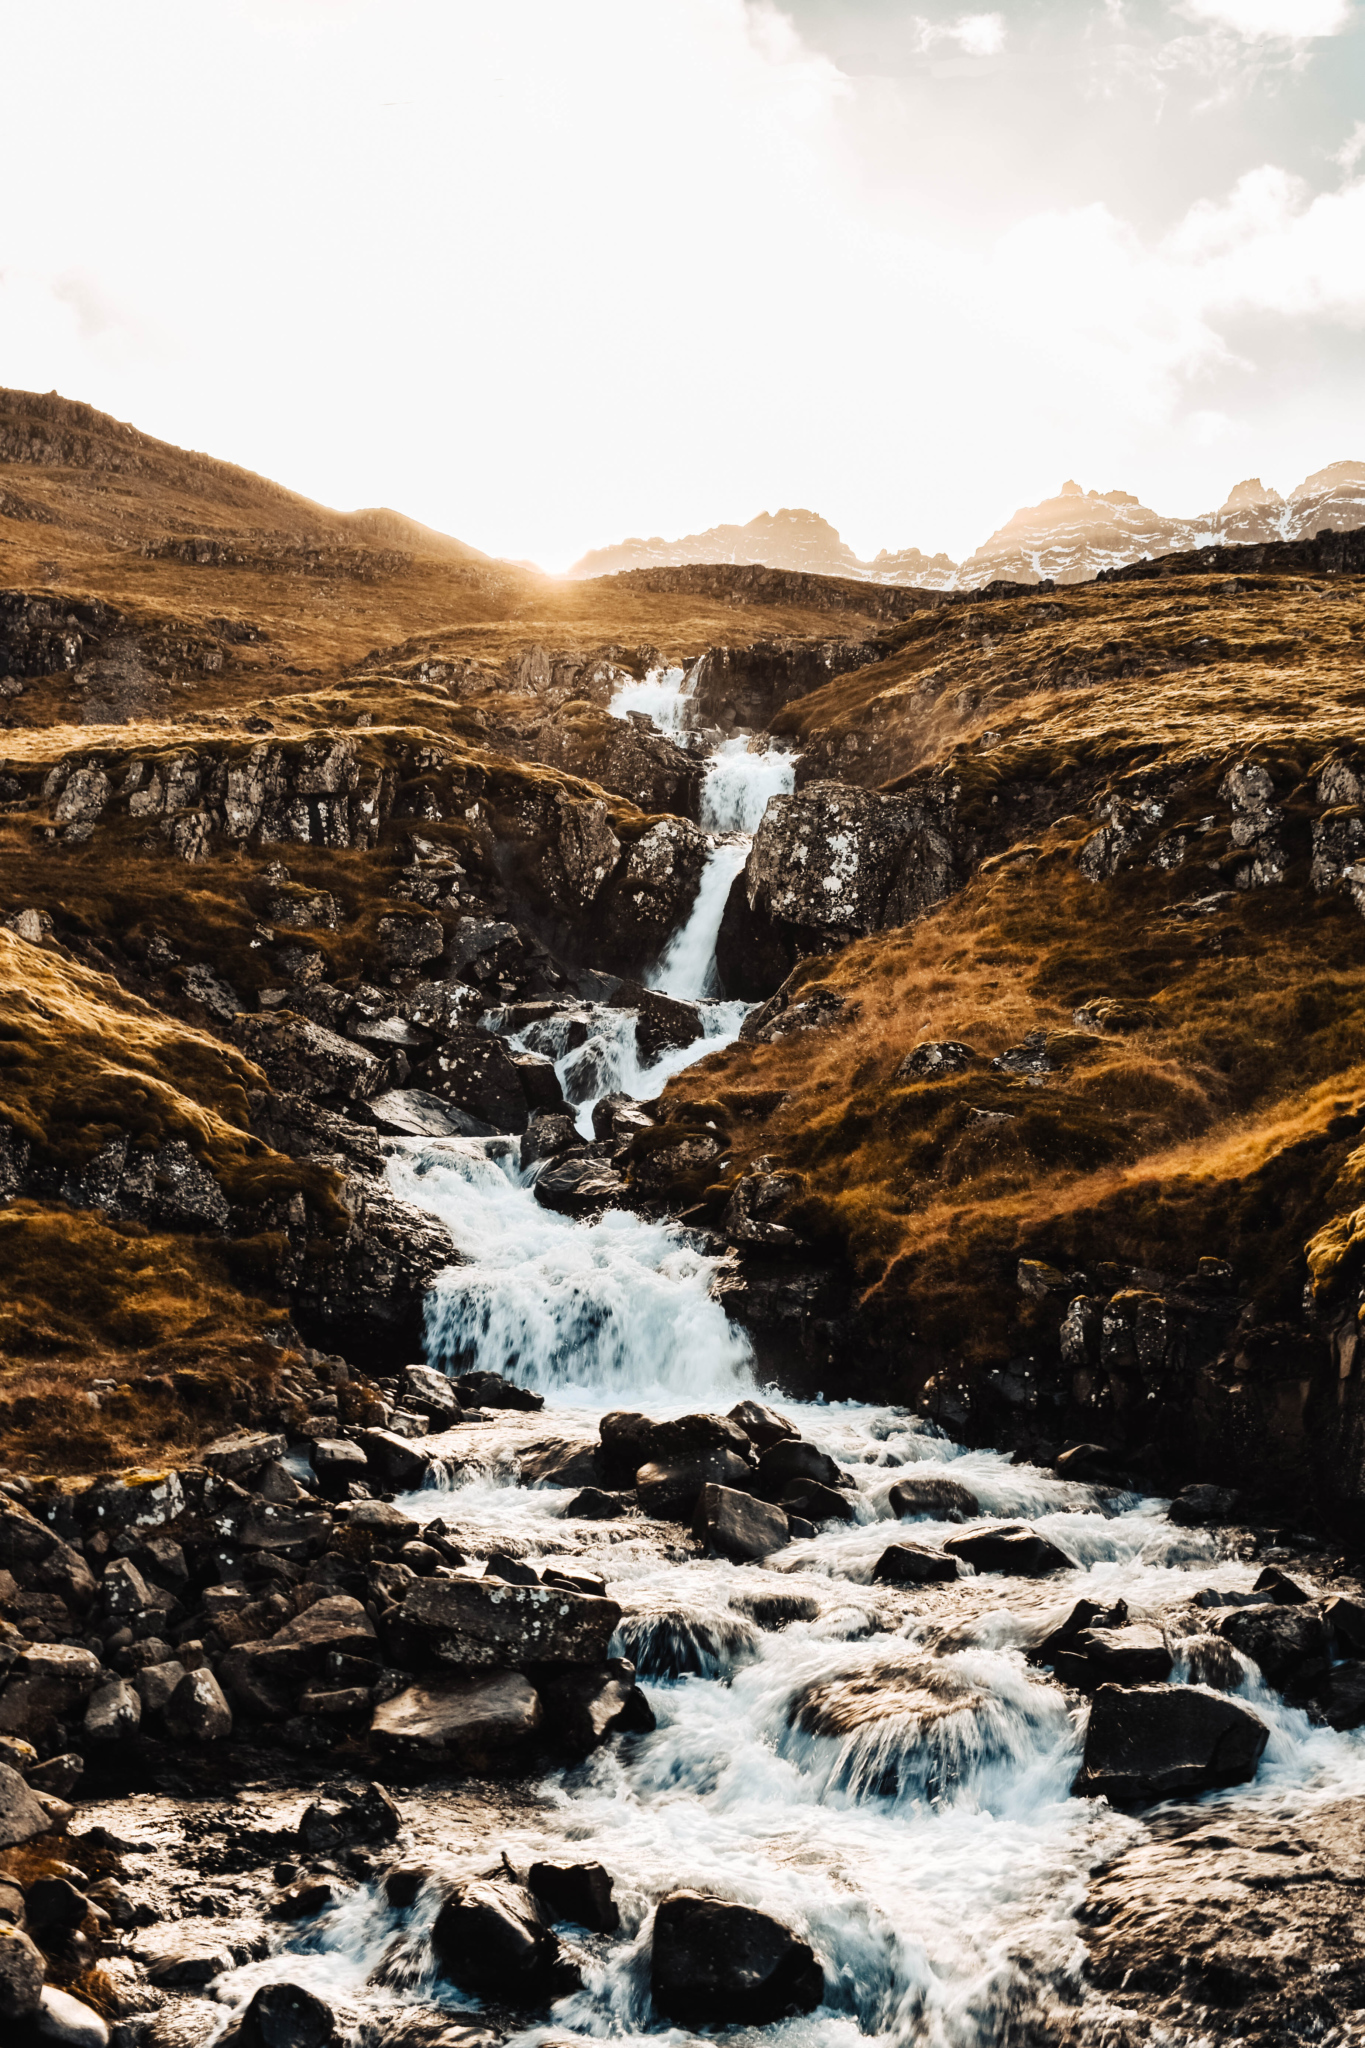
I was in beautiful Iceland. And I wanted to be able to capture the crisp scenery and stunning waterfalls. But how could I capture the magic of the scene with my camera? Should I shoot in Raw or Jpeg? What's the real difference?
I've asked a photography guru, my husband Michael. He has only written one other post on this blog but he's incredible when it comes to cameras and photography. And researching in general.
So now, I'll let him take it from here!
If you’ve ever researched how to create better images for your blog or Instagram, you’ve probably come across the topic of RAW vs JPEG images. You may have decided it was all too complex and swept the discussion under the rug. Today, I’m going to explain why one is vastly better than the other in almost all situations, and provide encouragement to tackle a new process that may seem (but really isn’t) a little daunting.
Why We Shoot in Raw
Cutting to the chase, all professional photographers are shooting in RAW because it creates a better image than JPEG by maximizing your camera’s capability.
You’ll have more room for mistakes that occur during shooting (which we all make), a wider and therefore more vibrant range of color, increased dynamic range (we’ll cover what this means) for difficult shots, and the RAW images will lend themselves better to editing (your creative license) which a lot of us are doing already doing via Lightroom presets.
Notice, I say you will see better photos than when shooting with JPEG. That’s not to say you can’t get excellent images shooting as you always have, but in a world where everyone seems to need stunning photos for their business or just to enjoy in their personal life, why not do everything in your power to make yourself stand out.
You may recall from the article I wrote about our camera buying decision we opted for a smaller, lighter albeit slightly less capable camera than others because we knew we would be lugging it around on our neck and in backpacks while traveling Europe. That was definitely the right decision for us, but we also choose to shoot in RAW because frankly there are almost no downsides if you’re already editing your photos, and we want to maximize the camera and lens purchases we’ve made. After reading this article you can make your own educated decision.
What's the Difference in Raw vs Jpeg?
So what are RAW and JPEG referring to anyway? They are essentially two different files formats for images. We're all familiar with JPEGs files since that's how the final product that programs and apps store the images. RAW files are image file formats specific to camera sensors and are like an unfinished product.
Let me explain that with two different analogies. One that those of us who remember dropping off film at the camera store and waiting a week to get our photos back will understand, and another way for those who may not have had much experience with pictures before the digital camera revolution will get too.
RAW files today are the film of yesterday. They are essentially an unfinished image format that needs to be developed or processed. Instead of the photo lab taking a guess at what you were trying to capture, you get to take the wheel when processing RAW files. This doesn’t mean hours in the darkroom fiddling with chemicals, but can be as easy as applying a Lightroom preset.
Inside of Lightroom you'll immediately see the difference (at least that's where I really saw the transformation!)
Free Lightroom Presets

Transform your images with these three simple and effective Lightroom presets!
JPEGs are the final picture you used to go pick up from the camera store and in the end you will be turning your RAW files into JPEGs after processing them according to your creative vision so they can be shared to your blog or Instagram.
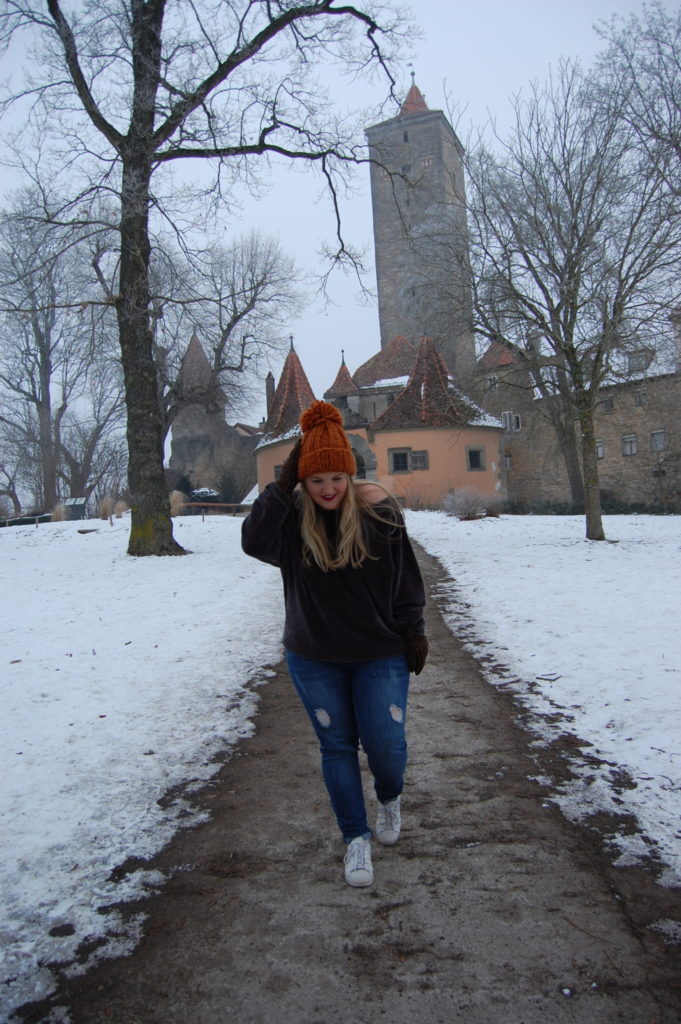
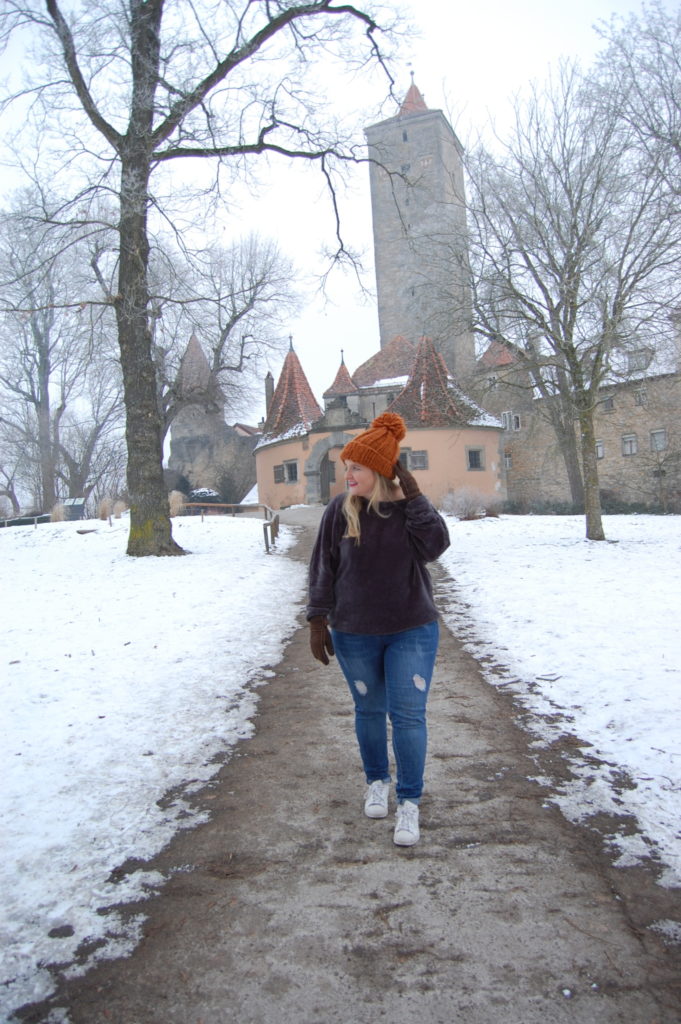
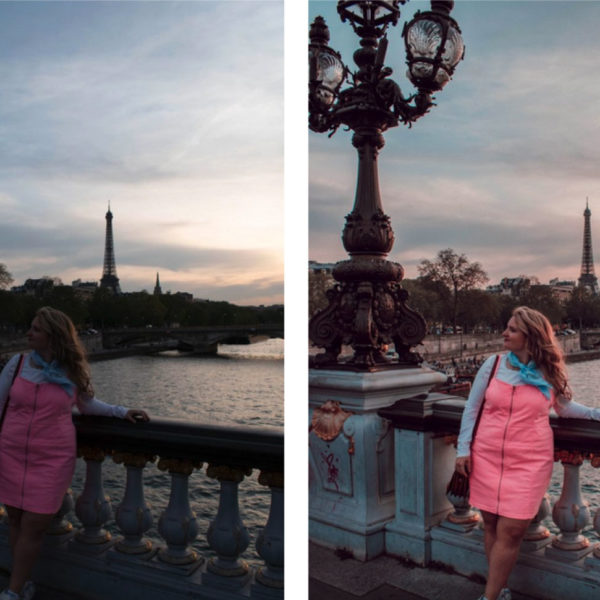
Here's a look at image side by side:
RAW Image Jpeg Image
Above, the RAW image is on the left and the Jpeg image is on the right. I'll have much more ability to edit the RAW file where I have less ability to edit the right, since it's already processed. The Jpeg image was making “judgements” on how to process the image.
To explain this another way, RAW files are like the raw ingredients of a meal, while JPEGs are the final dish. When you’re the cook, and shooting in RAW, you get to make the meal how you know best instead of the camera attempting to do so via the JPEG format. Let me tell you now that your brain and computer are a much more powerful team than the image processing software inside of your camera.
Earlier I previewed some reasons to shoot in RAW and I’d like to explain those in more detail. I said that when shooting in RAW you are maximizing your camera’s abilities.
This is because when you shoot in RAW you will receive every single piece of data your camera was able to capture and then you’ll process it accordingly. When you shoot in JPEG your camera is going to process that data for you, but in a destructive way. There’s a reason RAW files are several times larger in memory than JPEG because when a RAW file is converted to a JPEG by the camera it loses a lot the data captured. This translates to lost colors, highlights, lowlights, etc.
Camera manufacturers chose to set JPEG as the default format because when digital cameras came on the market most people didn’t want to have to develop their photos and there used to be a concern for saving memory space.
Now everyone and their grandma knows how to throw on a filter or favorite Lightroom preset, and memory is extraordinarily cheap and getting more so every day! So please take full advantage of that expensive camera or smartphone (yes you can shoot raw on these too which we’ll talk about later) and do everything you can to stand out.
Here's a look at how you'll see the editing process look slightly different when editing in Jpeg vs Raw:
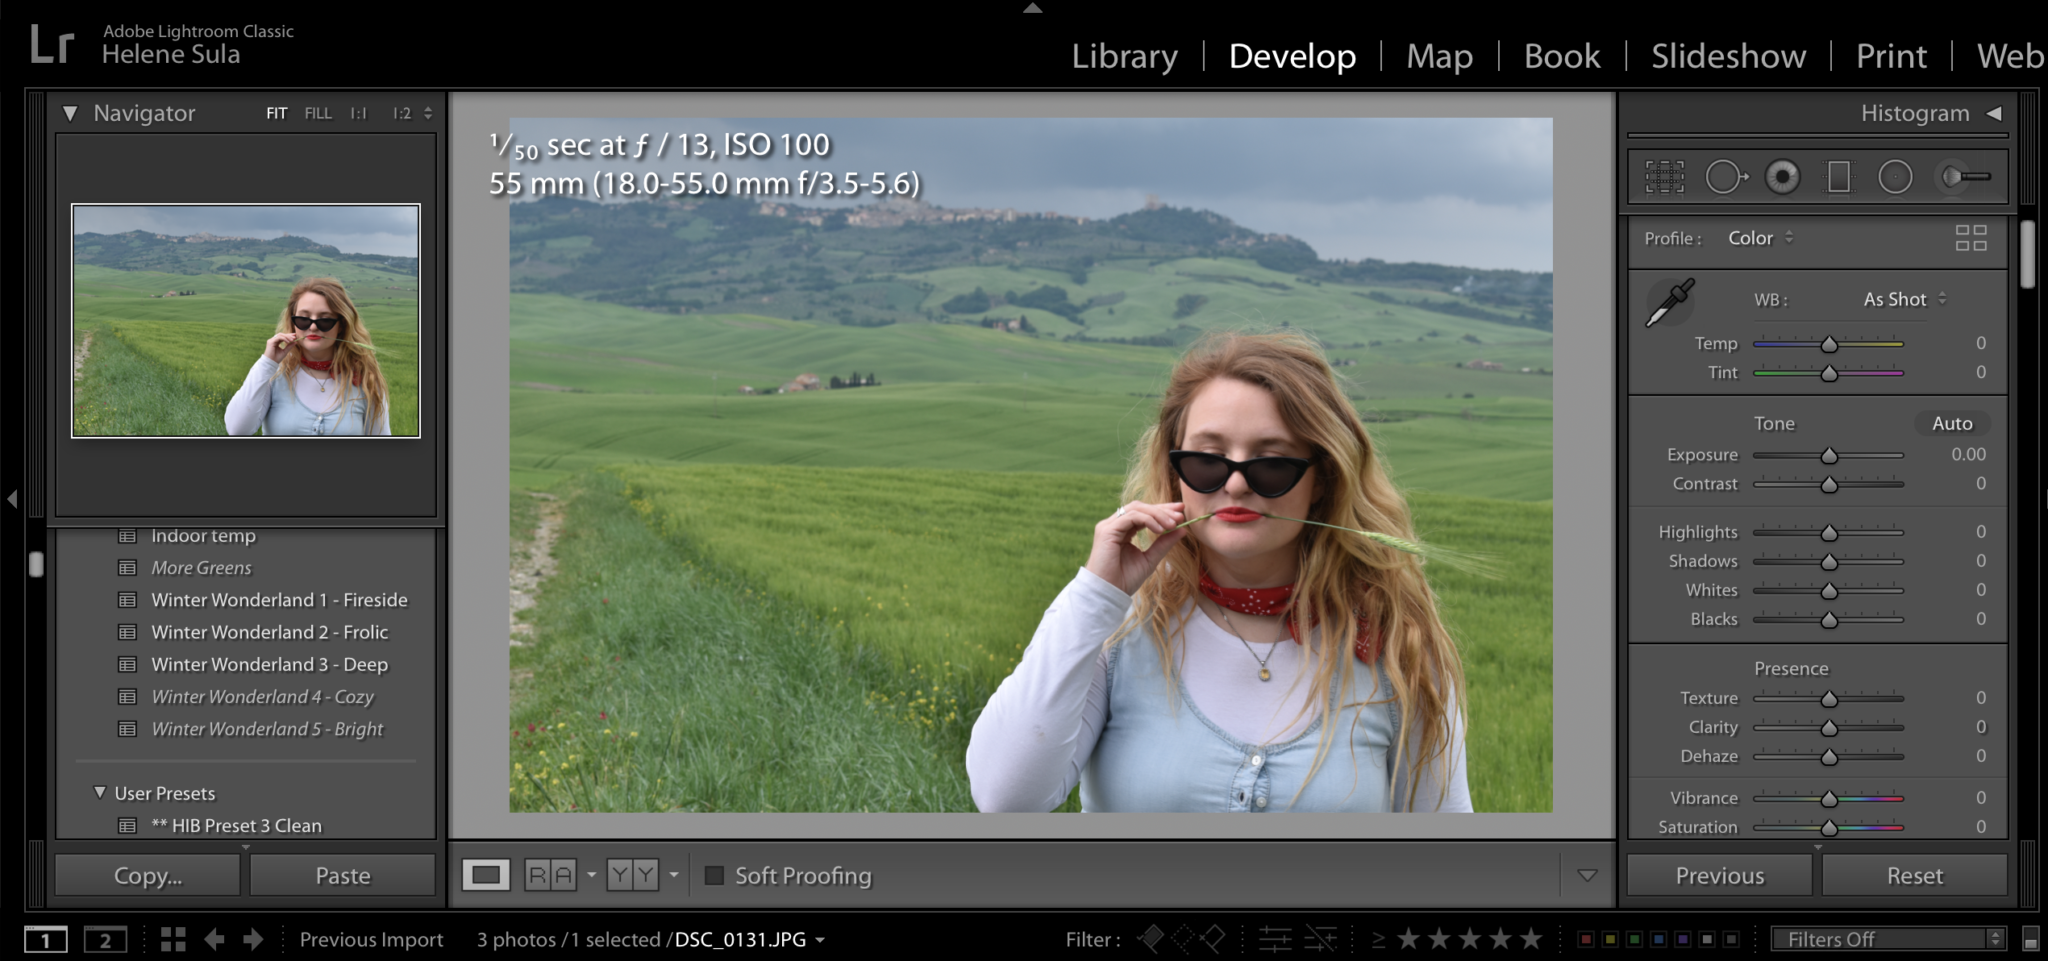
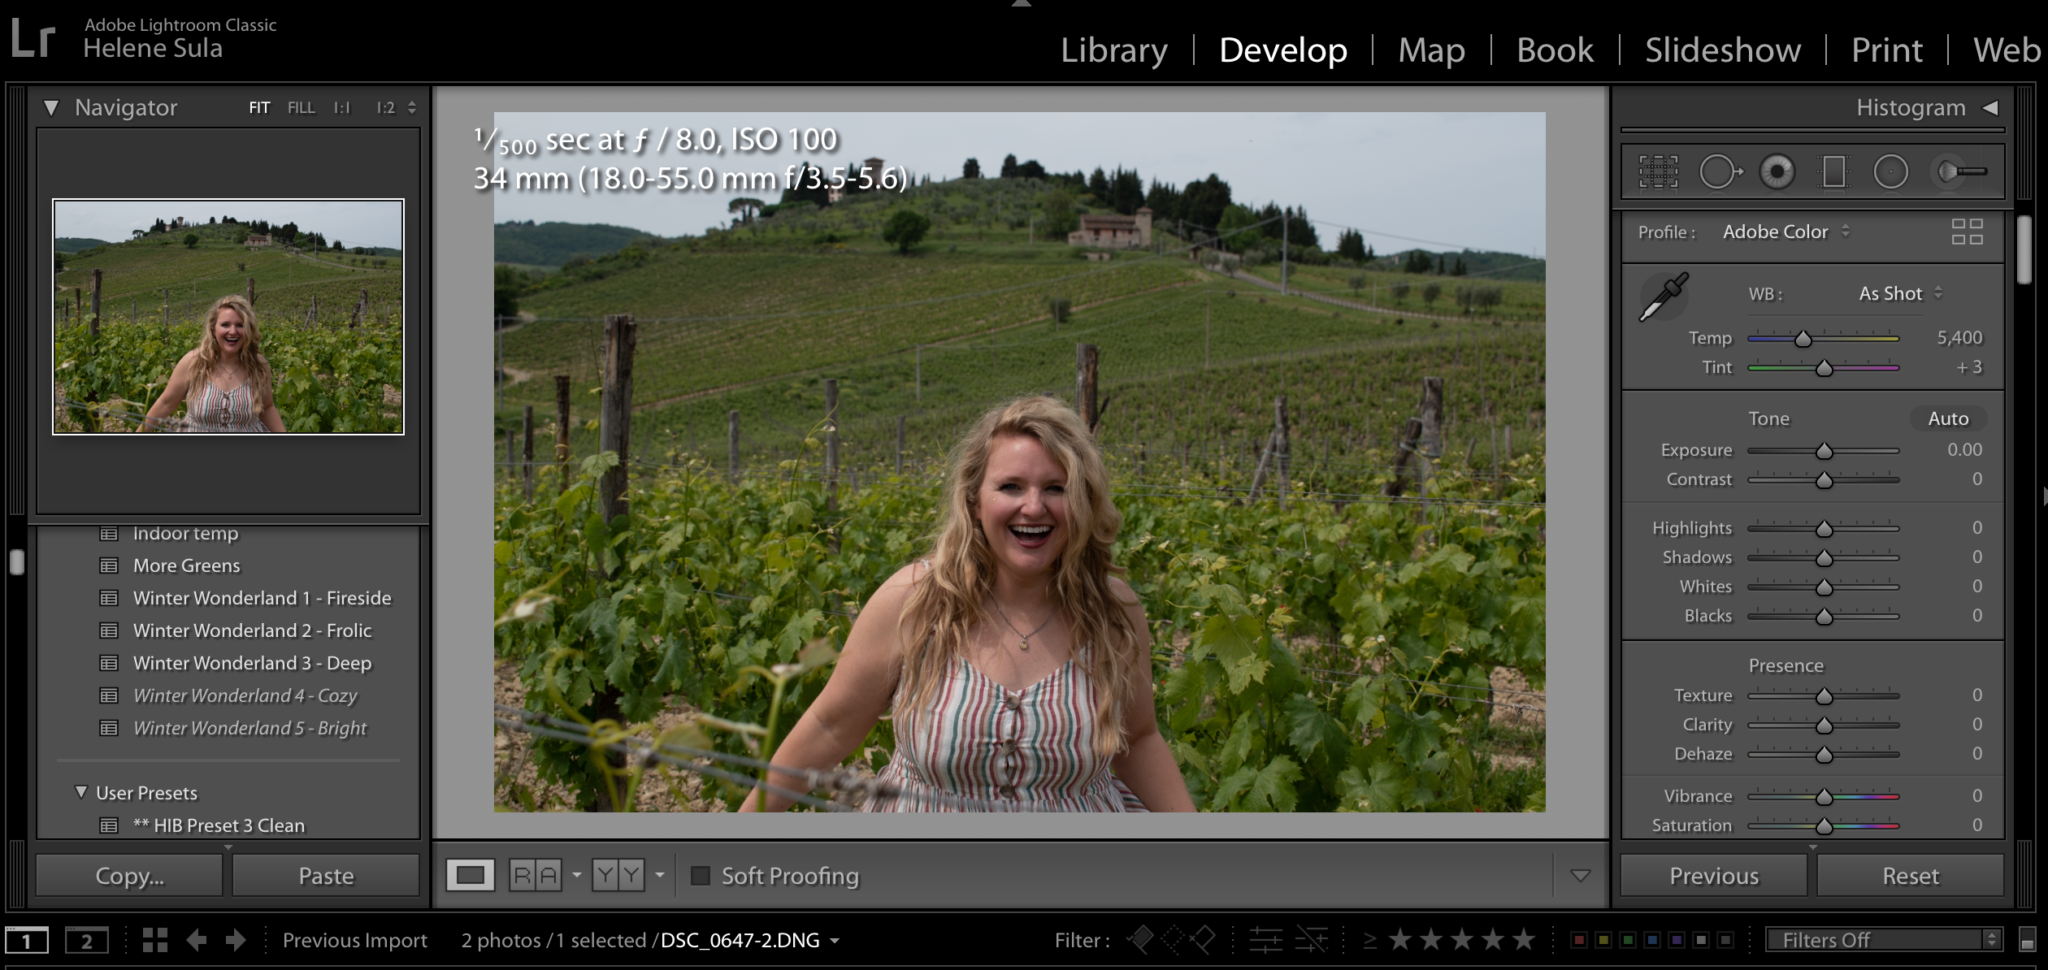
You might notice on the top right the different in numbers for adjusting warmth. You have more for RAW because you have more control of how you edit the image.
Since you’ve held on to every piece of data available, shooting in RAW is more forgiving than shooting in JPEG. We’ve all taken photos that weren’t perfectly exposed AKA were just a little too light or dark. Maybe way too light or dark on occasion, but once you start playing with editing in RAW you’ll be shocked at how far back from gone editing can bring an image. This flexibility applies to all forms of editing across the board.
Again, it’s because there is more data or information there to play with. When you try and manipulate the little data you’ve captured through a JPEG you start getting weird visual abstractions if you make anything more than slight nudges with your editing tools.
Color gives such emotion to an image it wouldn’t be fair to sell it short. The JPEG format supports an 8-bit color scheme and most raw will be in 14 or 16-bit. If a two fold increase doesn’t sound impressive enough, you have to realize these are exponential relationships we’re talking about making the difference really between millions and trillions.
Of course there are limitations to what the human eye can perceive and more importantly what the brain can interpret, but wouldn’t you rather make those color decisions in development than a JPEG possibly mishandling the colors you were trying to capture. RAW images will be more vibrant, saturated, just more colorful.
Let's look at all 3 types Unprocessed Jpeg, Unprocessed RAW, and Developed RAW:
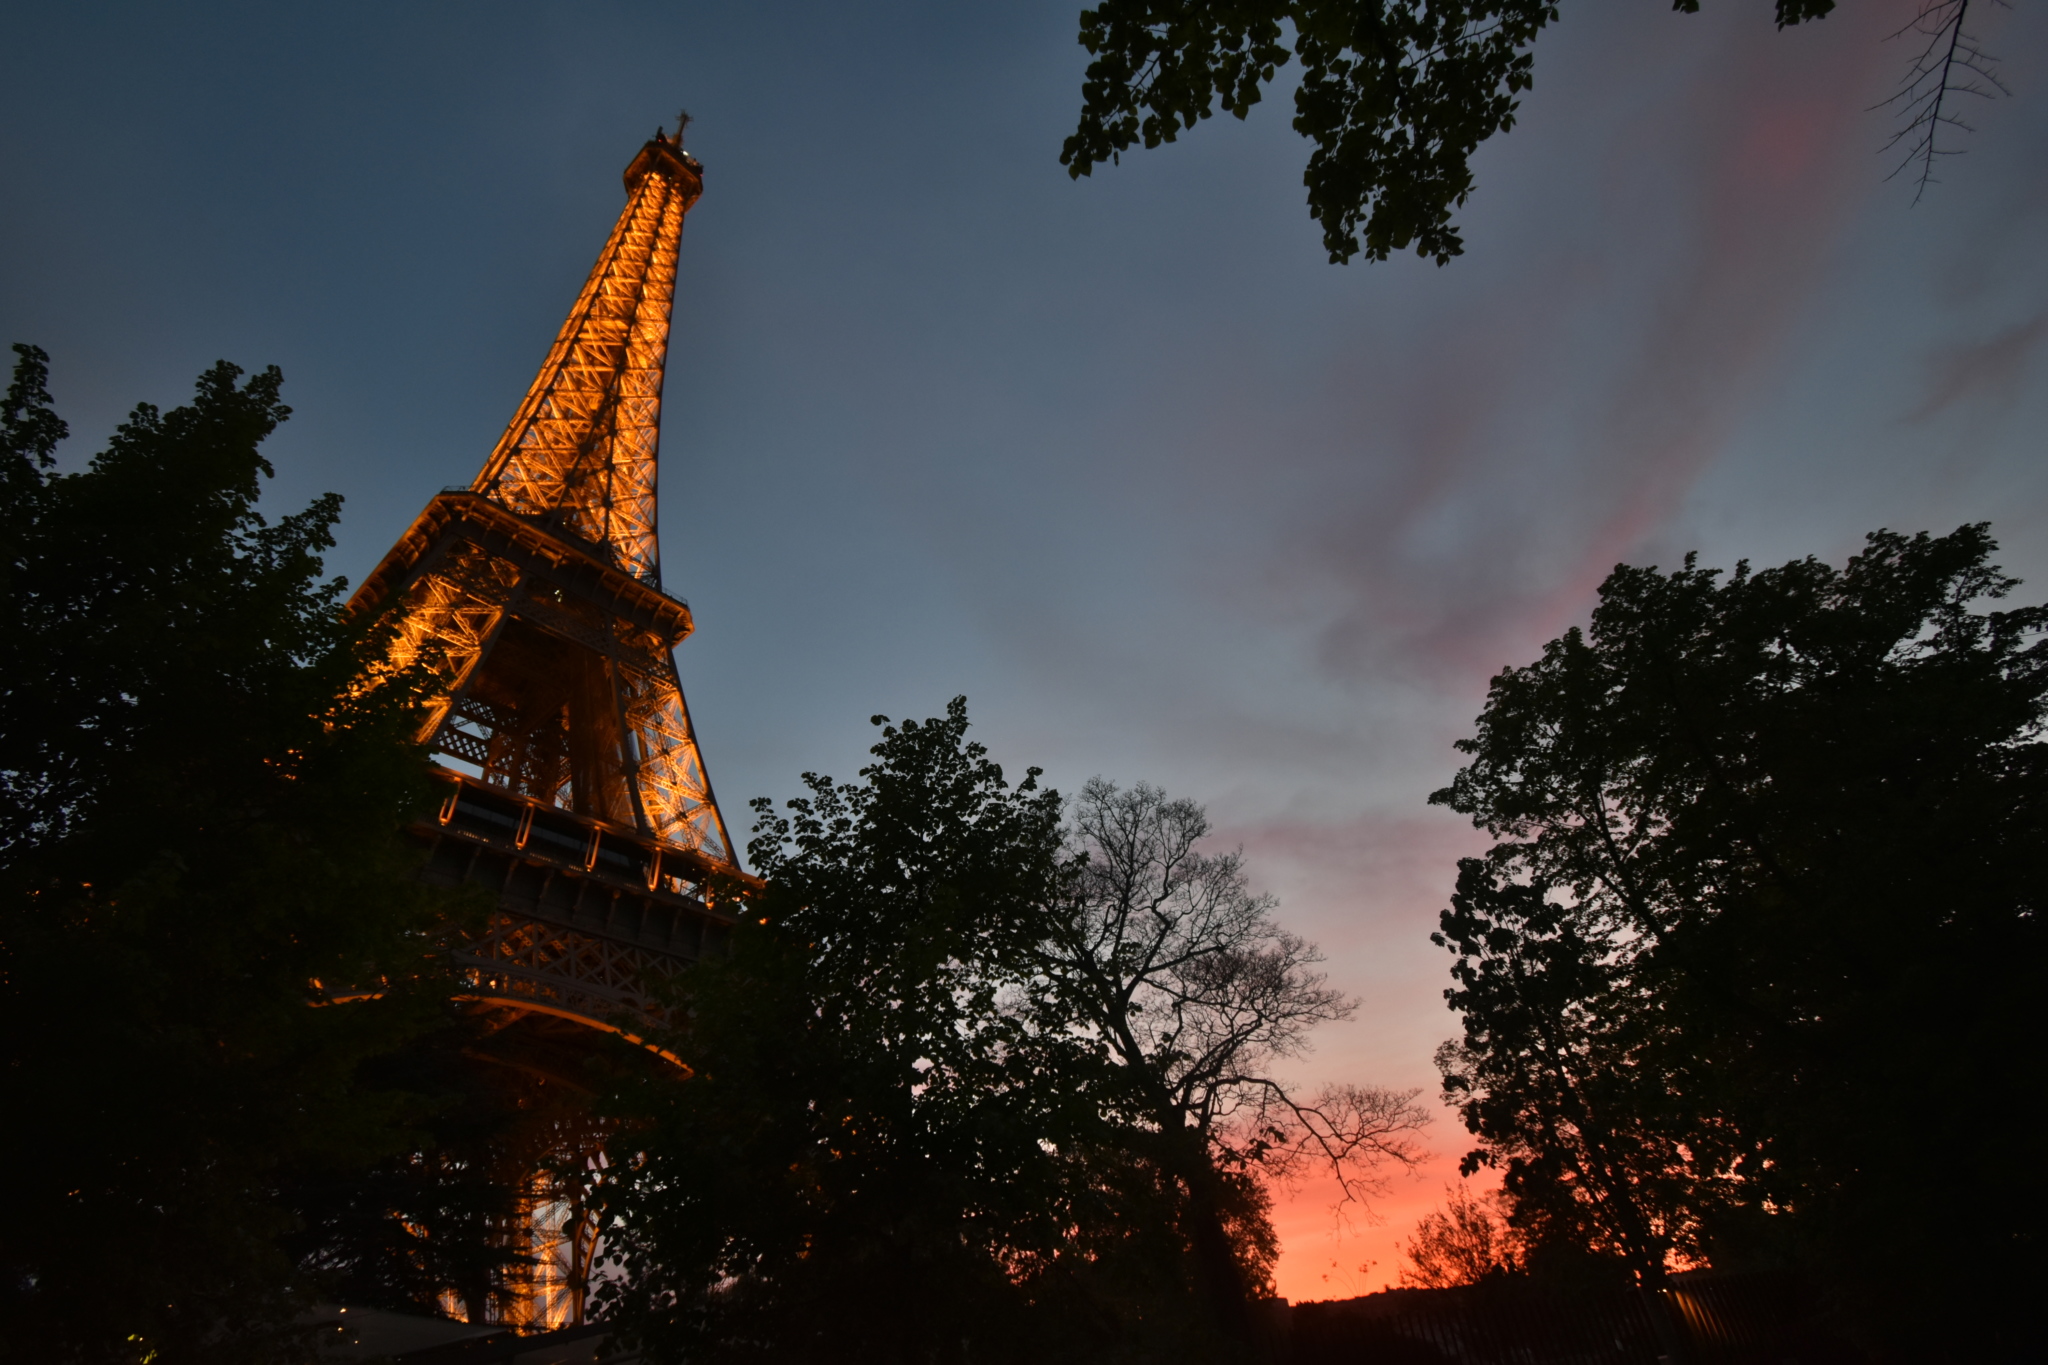
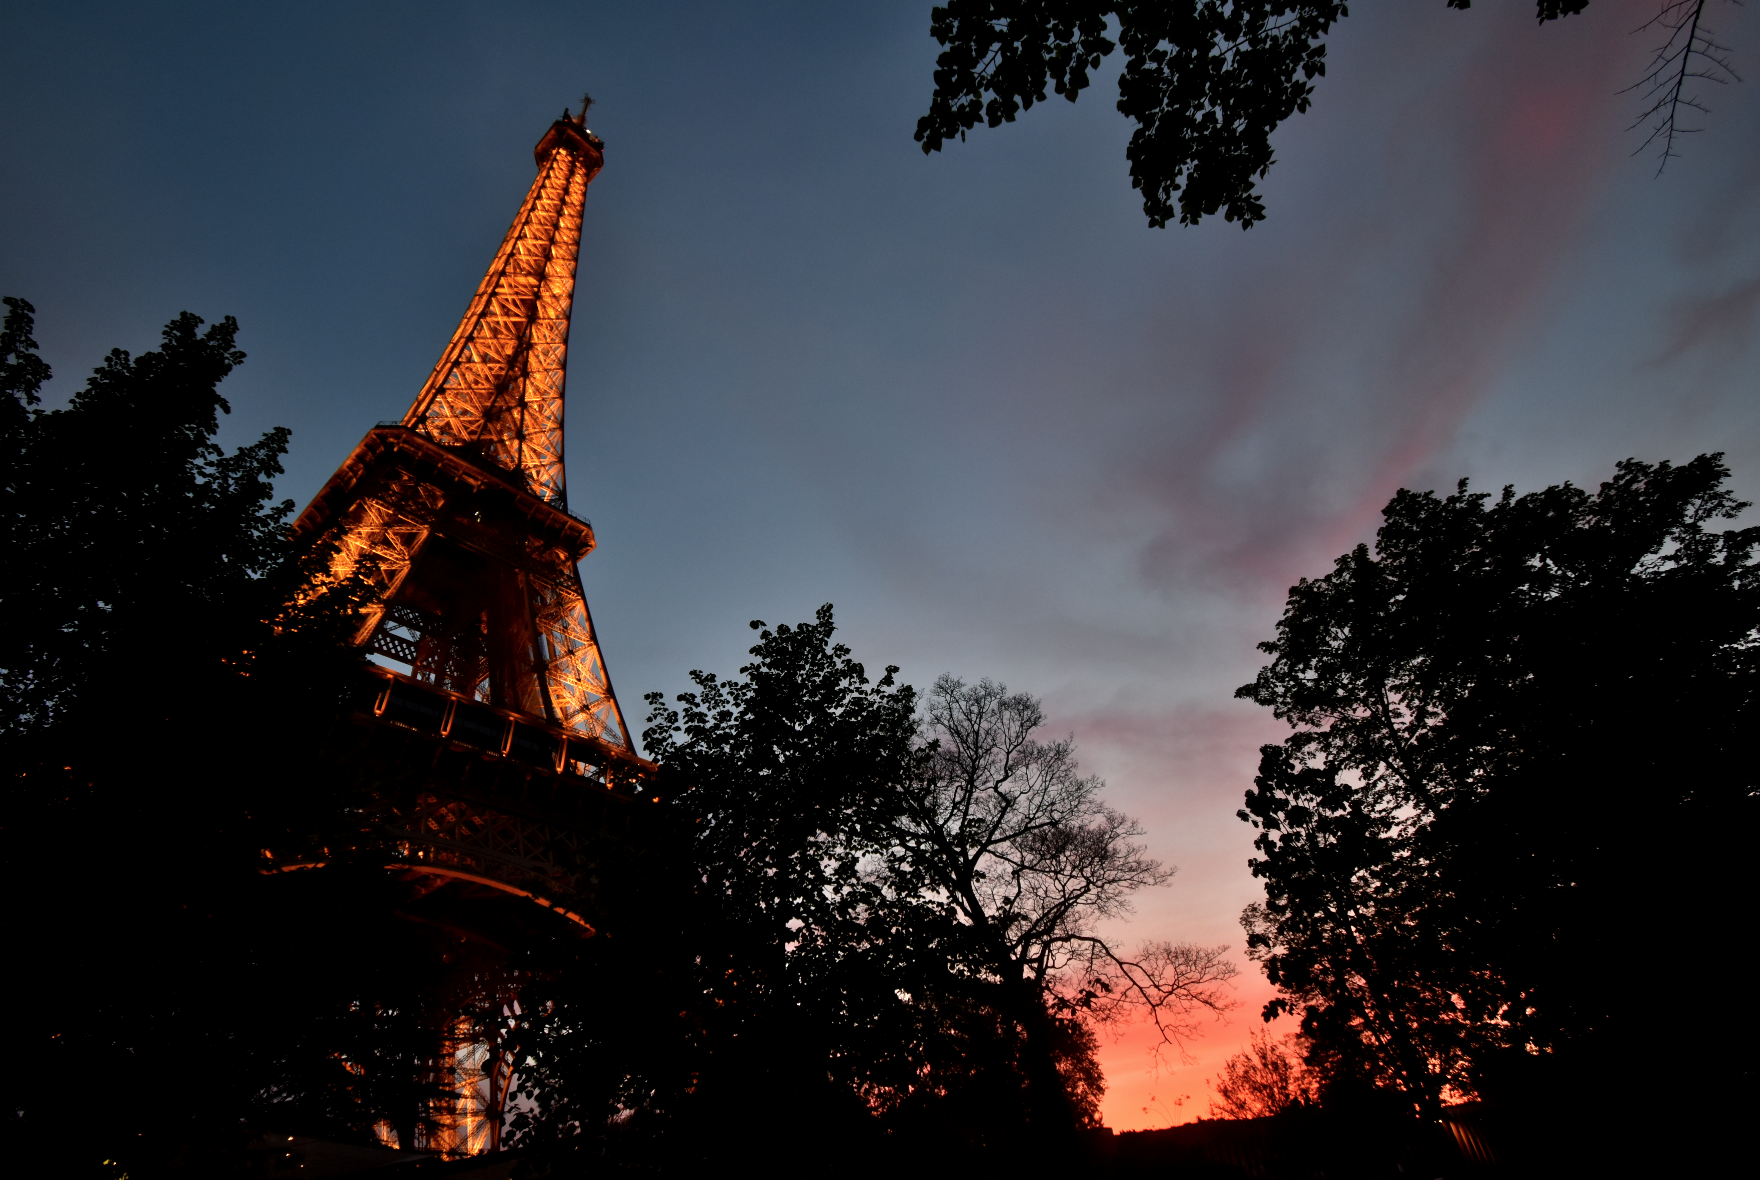
We already discussed instances when you may have overexposed or underexposed, i.e. shot a photo too bright or dark. We've also looked at how RAW can help save you from your accident, but what about those tough shots where the frame has both bright and dark aspects to it?
Think about trying to capture that perfect sunset. The sky even as the sun sets is very bright compared to the rest of the landscape or even your pretty face in front of the camera. If you’re a savvy shooter you may recognize this a great time to use your cameras HDR or High Dynamic Range capability.
Well guess what? Shooting in RAW is like shooting in HDR all the time. Because you’ve kept all the data you’ve gathered and haven’t had the camera discard it producing a JPEG, you’re able to see the details of the bright highlights and dark shadows more clearly. These details would have been washed out white or made boring black in the destructive JPEG.
Again a little bit of editing in RAW goes a long way to bringing back those beautiful colorful clouds that would have been dull and muted in a JPEG. You just can’t bring that information out in a JPEG because the data simply isn’t there any longer.
Shooting Raw On Your Smartphone
While this article is mostly geared toward those who have made the leap to start shooting on DSLR (those cameras with interchangeable lenses attached), I did clue earlier to the fact that you can shoot RAW images on your smartphone. I’ll stick to what I know about iPhones and not those other green text types because let’s face it with a market share almost twice the next leading competitor it’s what most of us are using. That being said it’s fairly well known iPhones don’t necessarily have the best cameras on the market but with the newly released iPhone 11 Pro the race is tightening.
So, no you can’t just take photos as you normally do with your iPhone and change a setting to start shooting in RAW. Apple still thinks JPEG is good enough for most people, and if they’re interested in RAW they likely have an extra camera.
But if you don’t have an extra camera or don’t have it with you, and are curious to try out the advanced capabilities of RAW why not use the tool you have in hand. All you’ll need to do to shoot in RAW is download a photography app like Halide or Lightroom which you may already have for presets.
In those apps you can switch the camera from shooting in JPEG to RAW or DNG (Digital Negative, a type of RAW named as an homage to film negatives). After that start playing with your editing tools to find out what your iPhone is really capable of.
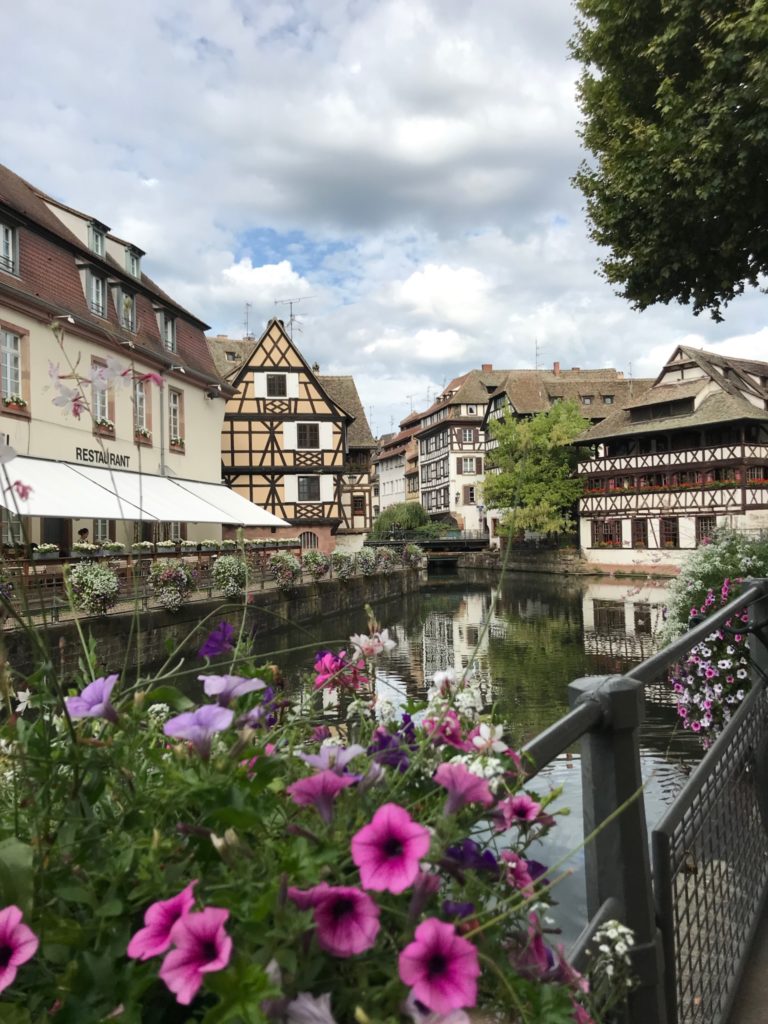
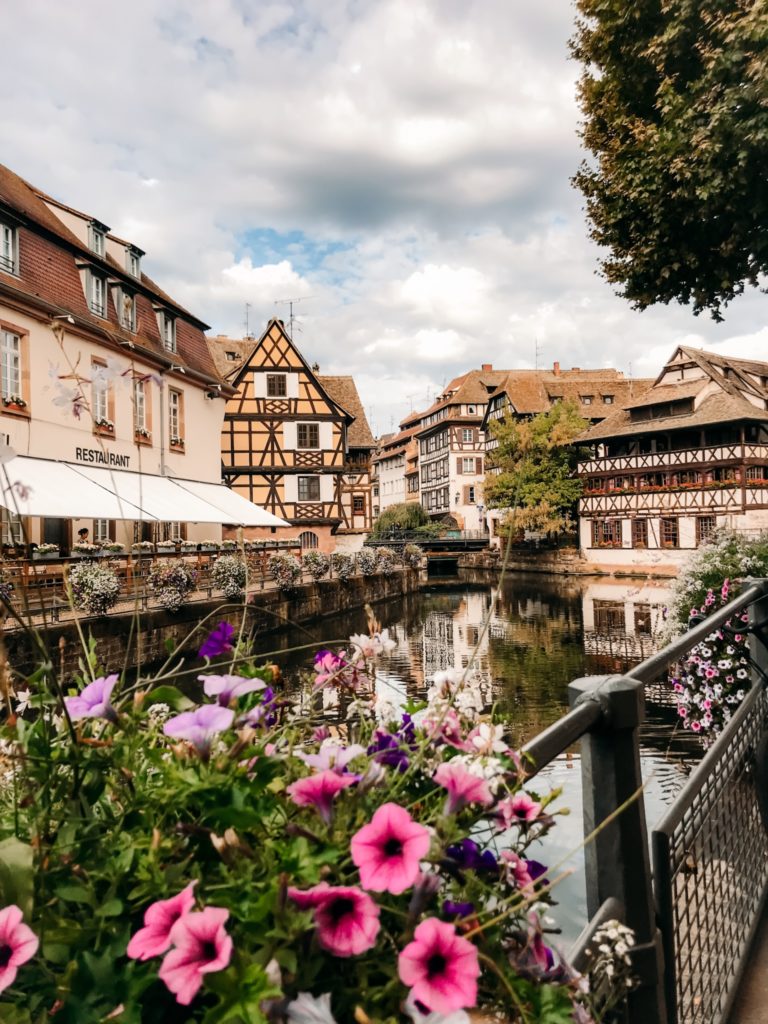
Images shot on my iPhone:
Are there ever any instances in which you should choose to shoot JPEG over RAW?
A couple very specific ones. If you’re shooting pictures that need to be sent to a client or presented right away with zero time for processing don’t forget to switch your camera back to JPEG. On a side note, a nice feature to utilize while learning how to shoot RAW is that most cameras have the option to capture in RAW and JPEG simultaneously. Then you can really see the capabilities of RAW side by side with JPEG.
The next situation is during high speed action shots. Since RAW files are larger they take your camera just a little bit longer to process and save to the memory card. This will slow down your shooting speed slightly which may cause you to miss that photo finish.
So all in all the only the only difference from a workflow perspective for shooting in RAW is that you have to process your photos. If you edit your photos at all as most of us do, you are already doing this. If you aren’t editing at all give shooting in RAW and processing a try to see how much more beautiful, stunning, and eye catching your photography can be!
In layman's terms, it's wise to shoot in RAW to get the most out of your images. And don't worry, we won't leave you hanging! Below you can download FREE Lightroom presets that you can try out on your RAW or Jpeg images so you can really see the difference.
Free Lightroom Presets

Transform your images with these three simple and effective Lightroom presets!

