It seems every time I check my direct messages on Instagram I have a new notification. Luckily, it's nothing scandalous like something from the male nether regions. Most of the time it's a question: how do you edit your Instagram photos? I am so intrigued by how others edit photos and I catch myself watching videos or clicking on blog posts where someone explains their edit process. Over the years I have changed this up a lot. But it's time to tell you how I take and edit my Instagram photos.
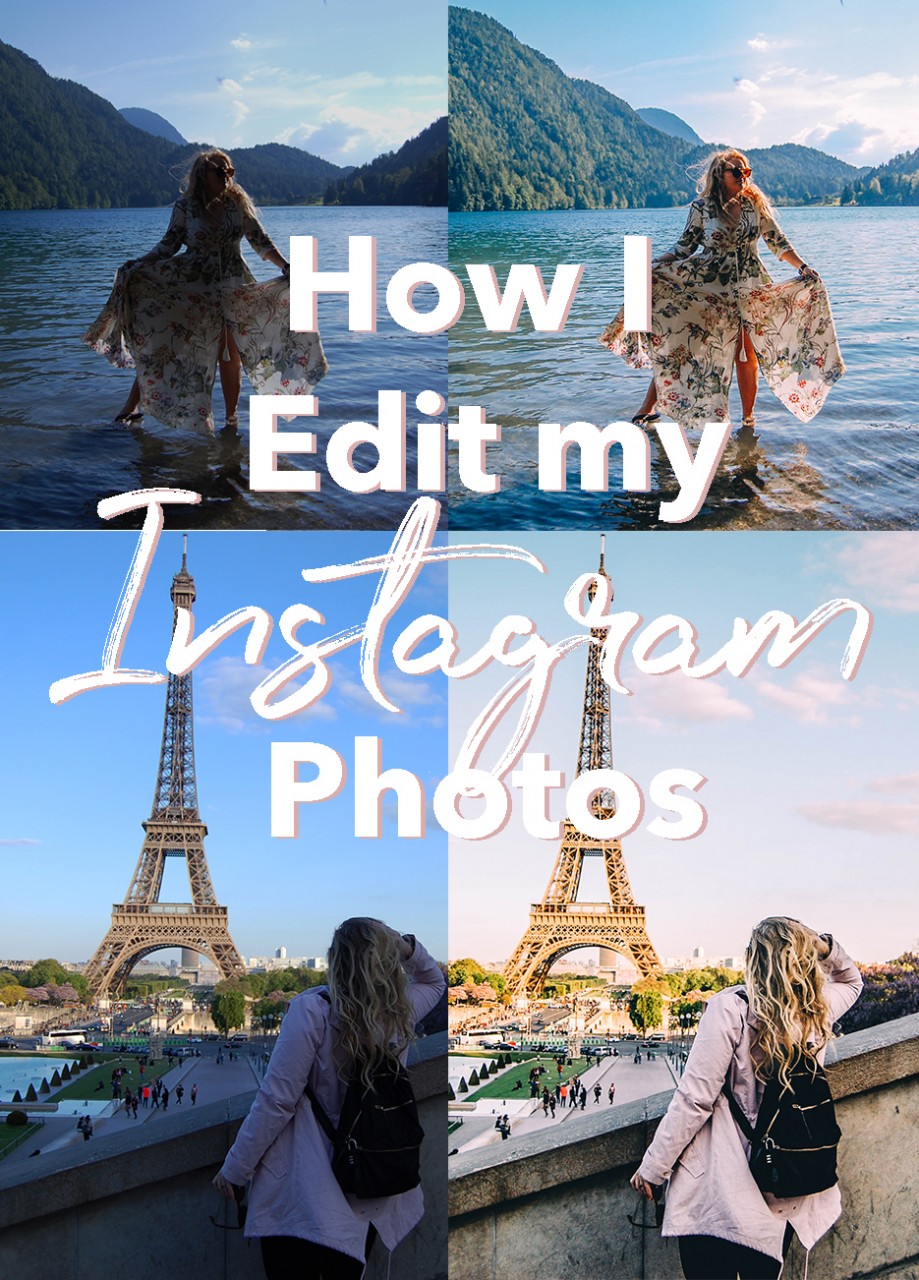
First, I gotta tell you, yes editing is super important, but that's only a part of making your Instagram grow. You need great photos, yes, but you also need a committed and engaged audience, an idea of who your audience is, and a few other things that can really change the game for your Instagram. But more on that at the bottom of the post.
I'm going to break down how I take and edit my Instagram photos, what tools I use, and how you can get the most out of your photos. I'll also share tips and tricks on how to take the best photos.
I think one thing we notice on Instagram is expertly edited photos. This makes us stop scrolling and pay attention to the sharer. This means more engagement and more followers on Instagram. I love having a consistent Instagram theme on my feed, but with editing, this means I can easily change it up.
Before I actually take a picture I consider this:
Lighting
Natural lighting, for me, is key to a great photo. That yellow or bluish tint that comes from indoor lighting can ruin a picture. But so can super harsh sunlight. The best time to take a picture is generally in the morning or later in the afternoon. Now, that doesn't always happen, especially while traveling, which is why editing is so key. Lighting, especially natural light, helps produce crisp, clean photos. So when you need to take a photo inside I suggest getting as close to windows as possible. It always produces a better effect.
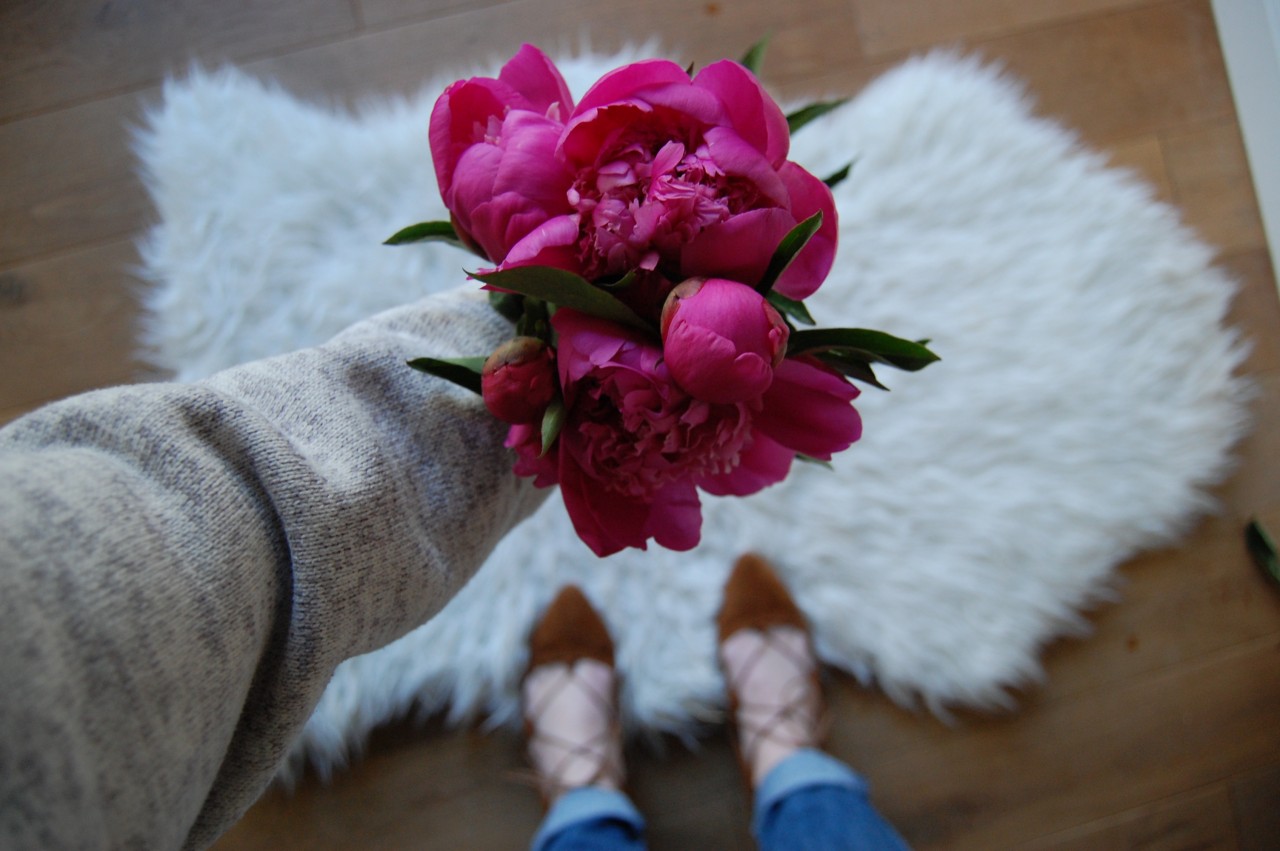
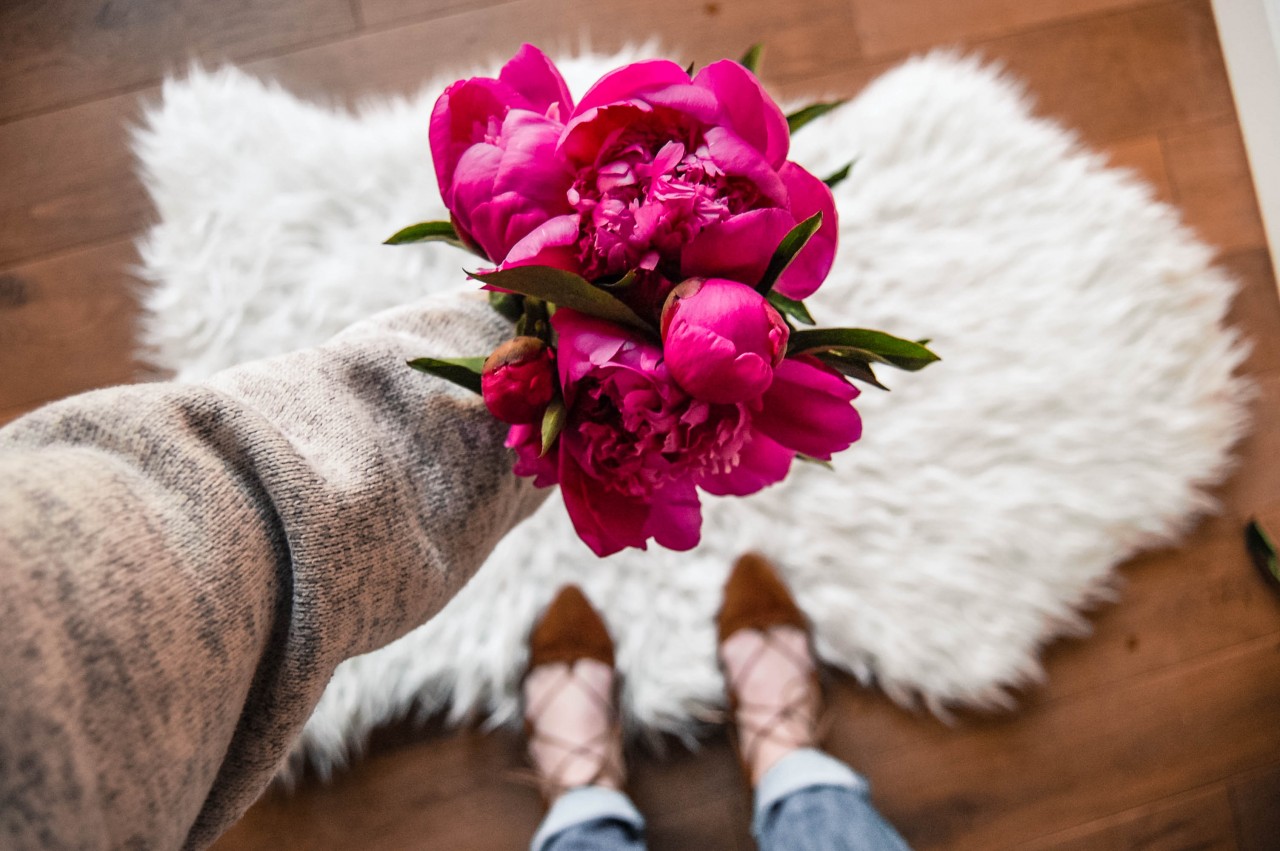
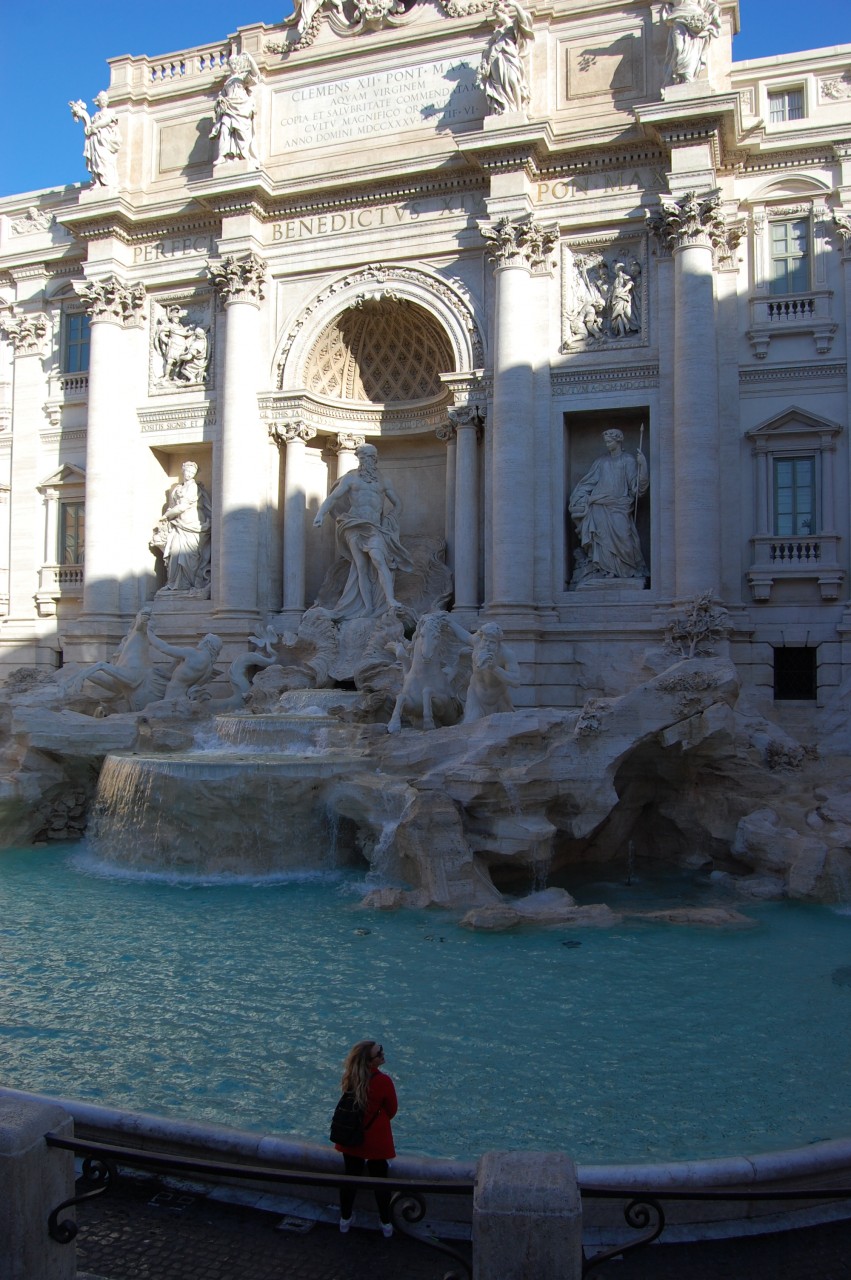
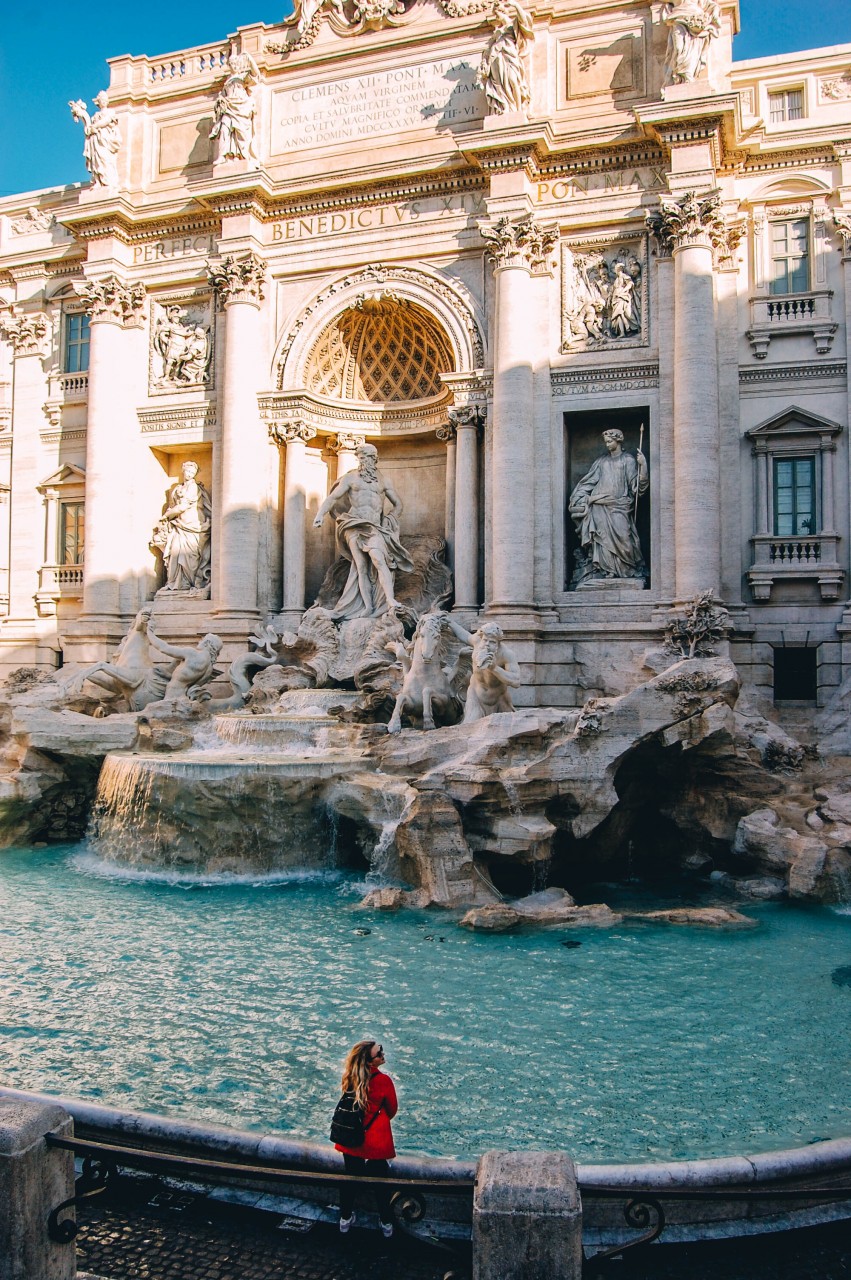
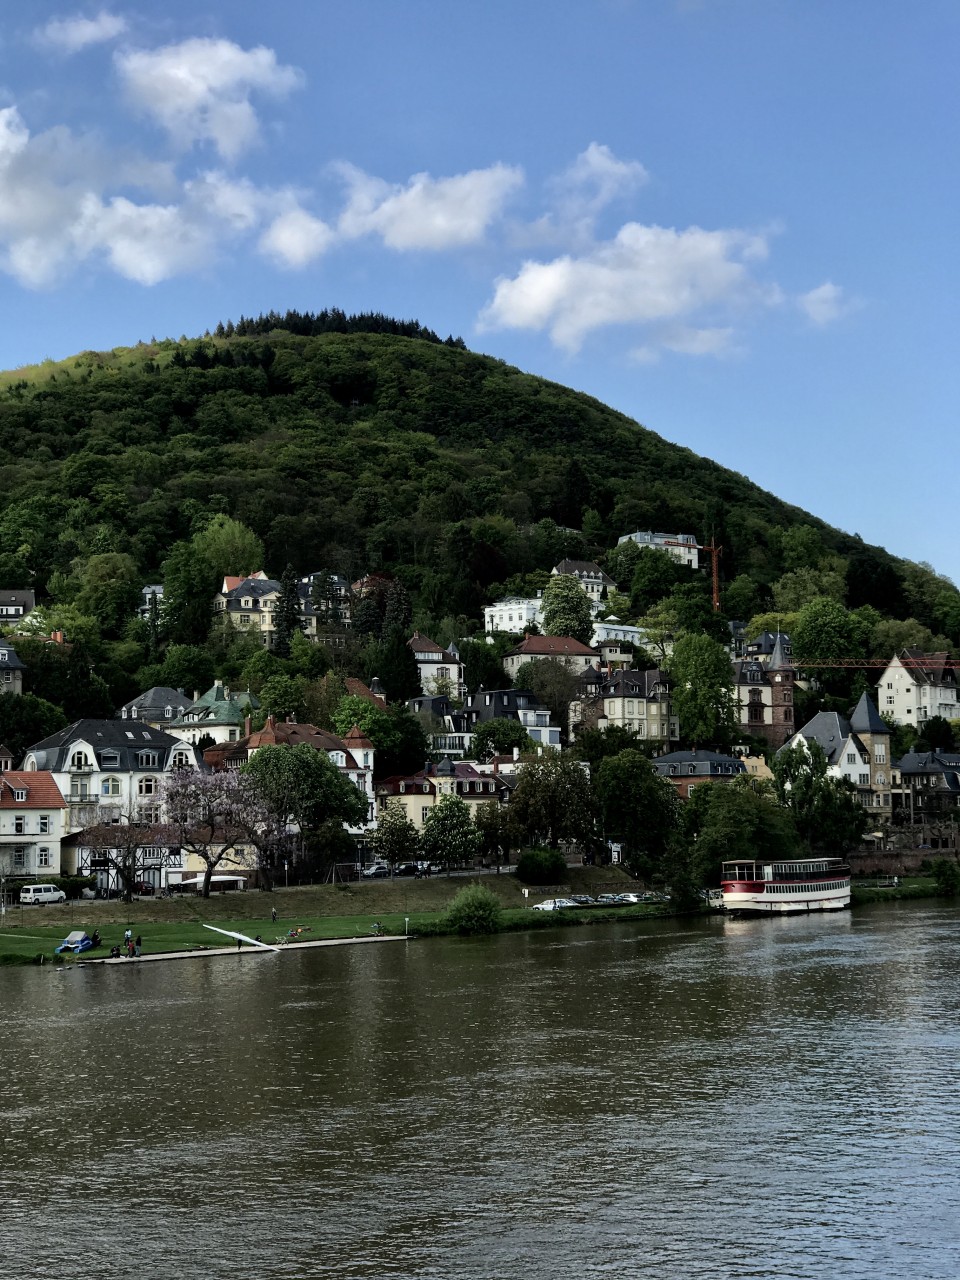
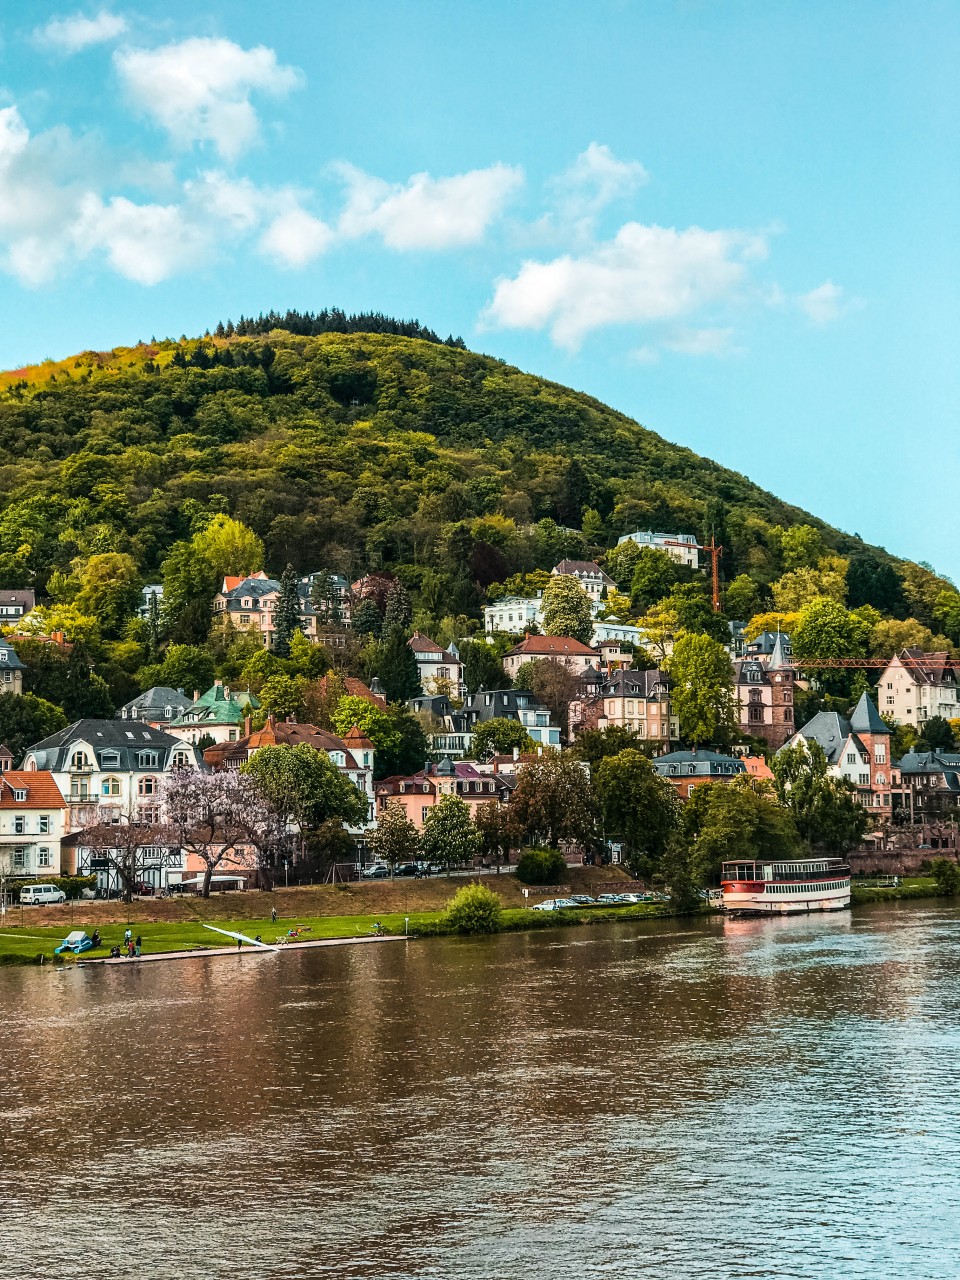
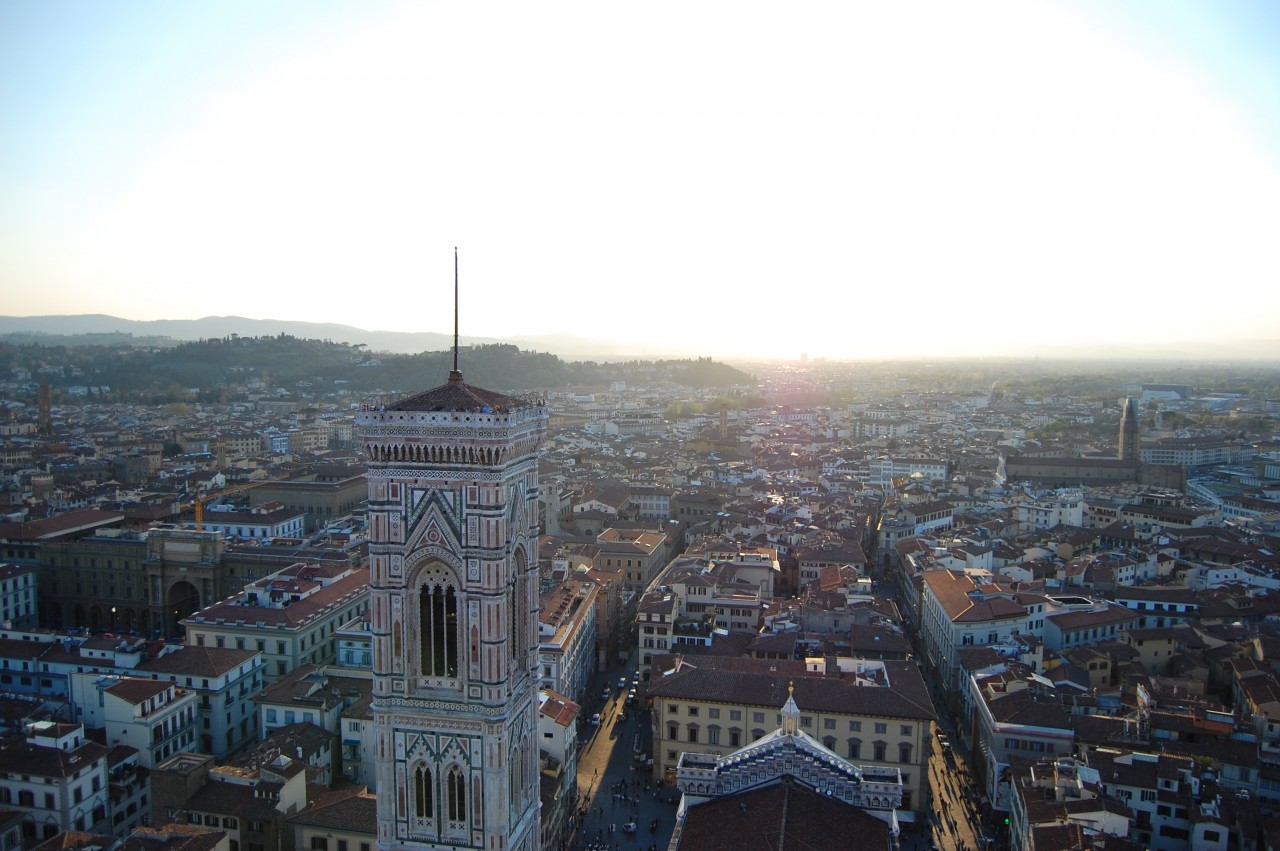
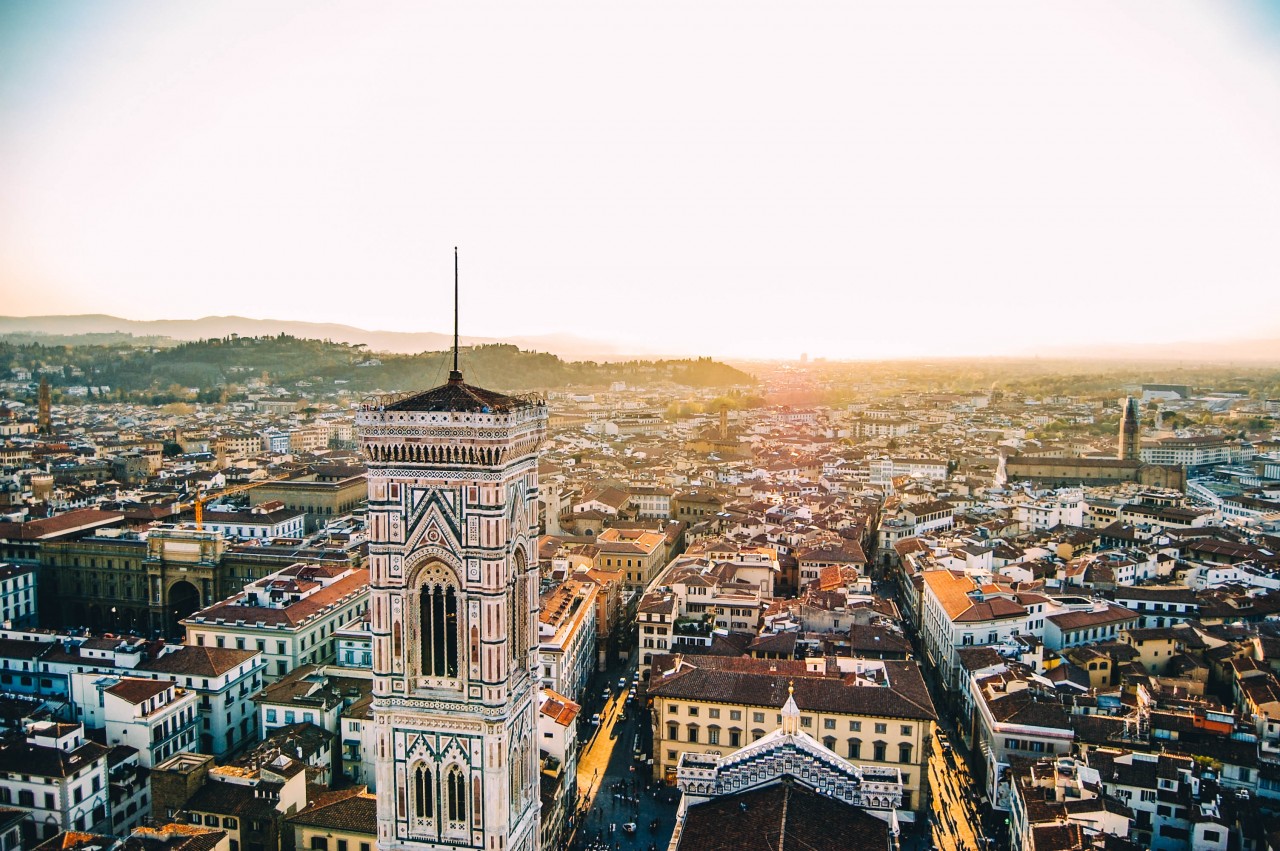
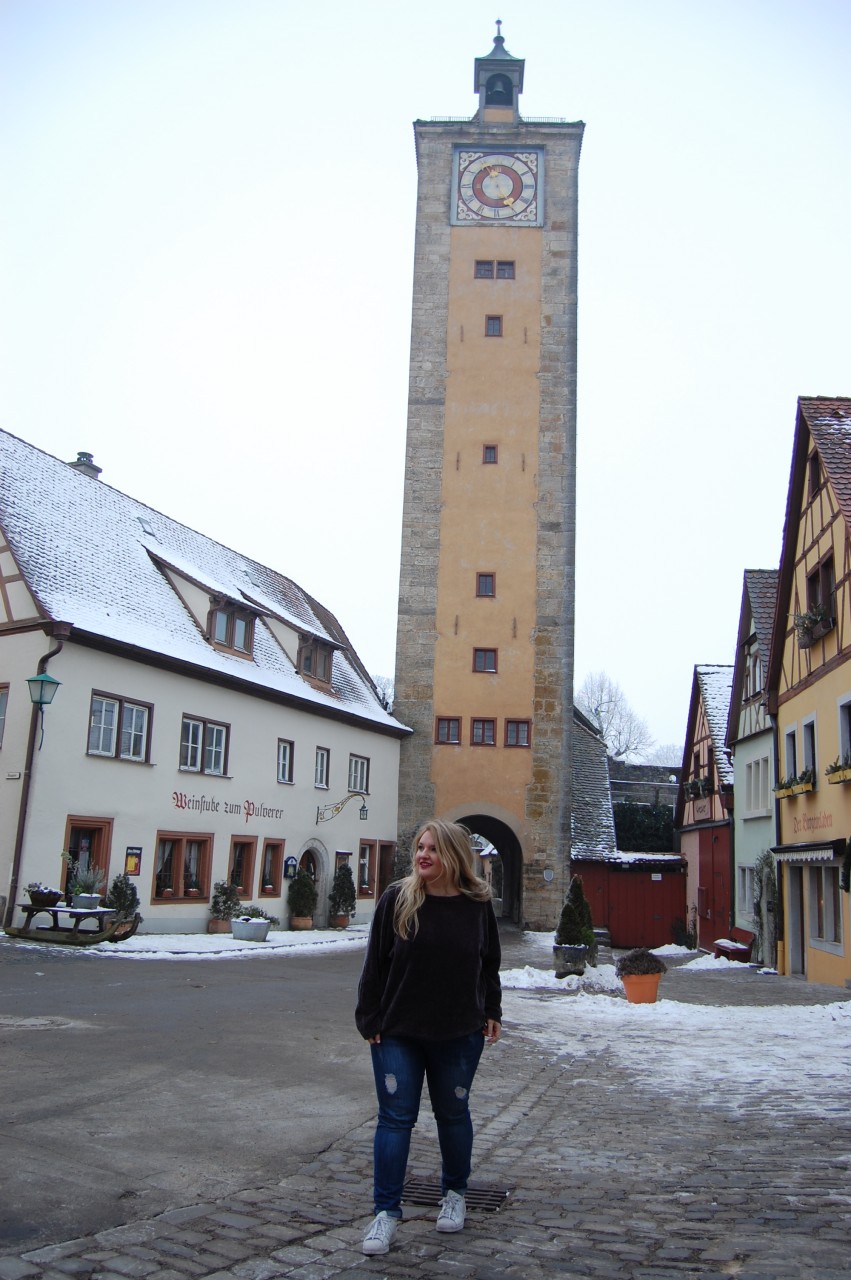
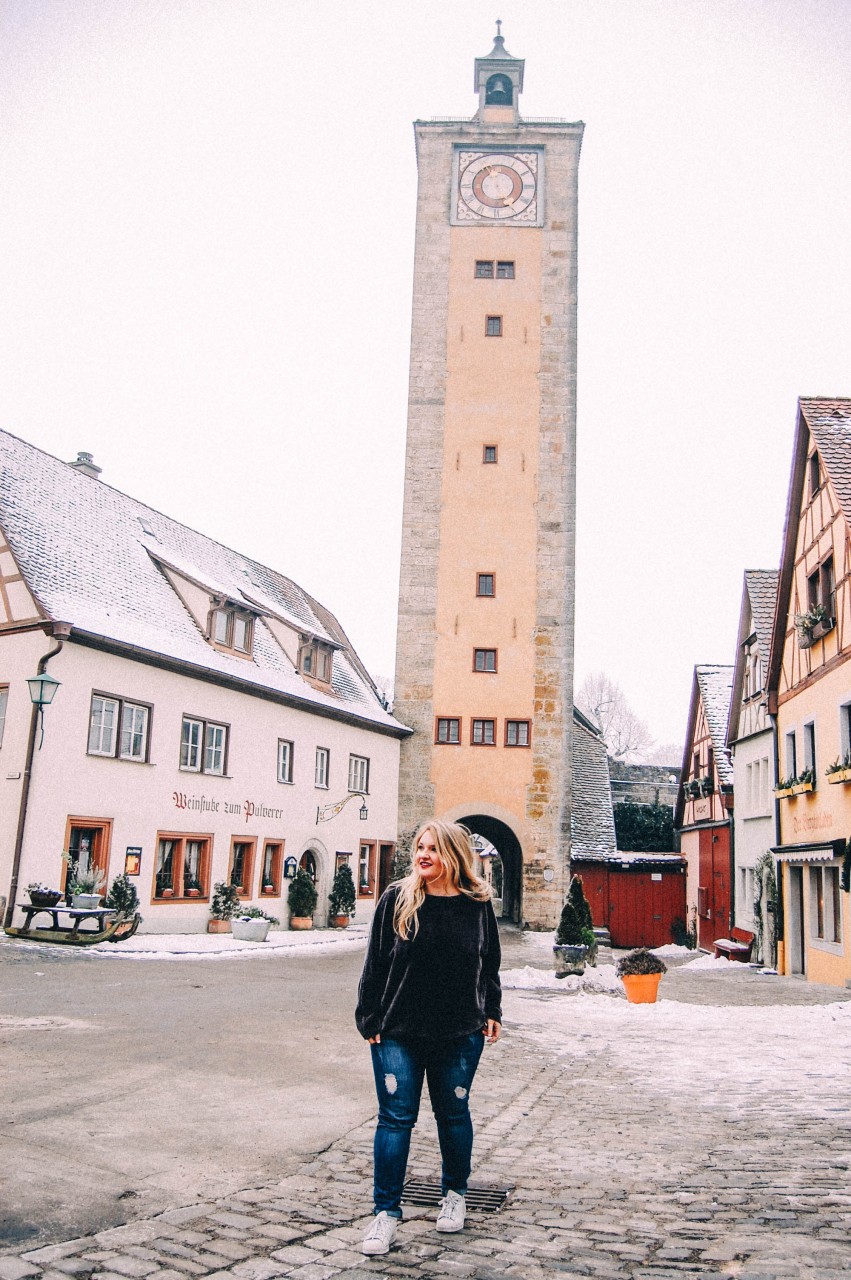
You can move the slider back and forth to see the before and after on any of these images.
Here, I'm standing right by a window inside.
Perspective
I really try to look at my surroundings. What or who is in the picture? How can I shoot this so that someone will feel like they're here? I try to find an angle without people in it. (P.S. here's a whole post on how I avoid lines and people while traveling.) I look at how much sky is in the picture, colors, and what's in the frame.
Setting up the camera
For 90% of my pictures I use a Nikon D5600. This is an old camera that was passed down to me from my little sister when she stopped taking photography class in school. I love this camera. No, it's not crazy expensive. It just takes great pictures. No, this isn't a huge camera that's a pain to lug around while traveling. I think that you only really need something of that magnitude if you're a professional photographer. Meaning, someone is paying you to take pictures. While I do make money from my blog and Instagram, my profession isn't photography, so I don't bother with that.
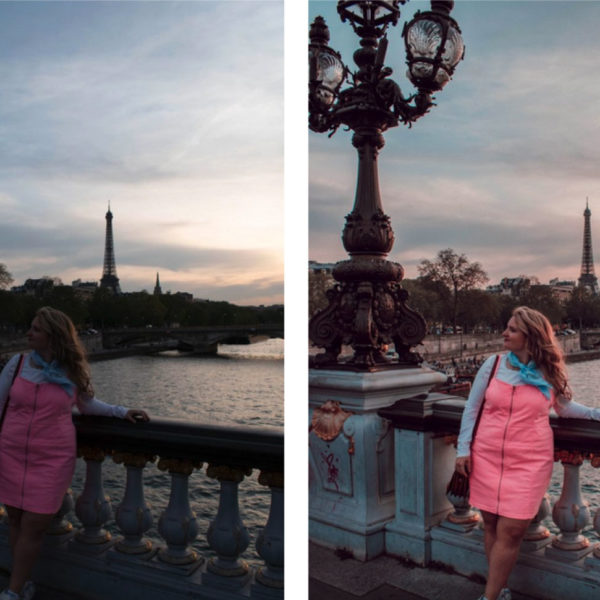
I also think today's cell phones are super powerful for taking pictures. I still use my iPhone and I love the images it takes. Here's a before and after with an image I took on my phone:
Take more than one
If you can take one shot and it's perfect, then you are lucky. Most photographers take multiple photos of the same shot or change up the angles. I take a few different photos every time. And it doesn't take too much time to just switch it up. Often I'm surprised which photos end up being the best or are my favorites.
Instagram Photo Editing
For me, editing changed the game. I took a photography course when I lived in Nashville that helped me move from from automatic to manual mode. But that was just the start. Once I got the hang of Lightroom it really help me to make my pictures come to life. I used Photoshop for years, and while it's great for many purposes such as adding text overlays and manipulating the photo, Lightroom completely changed my photos.
Why use Lightroom?
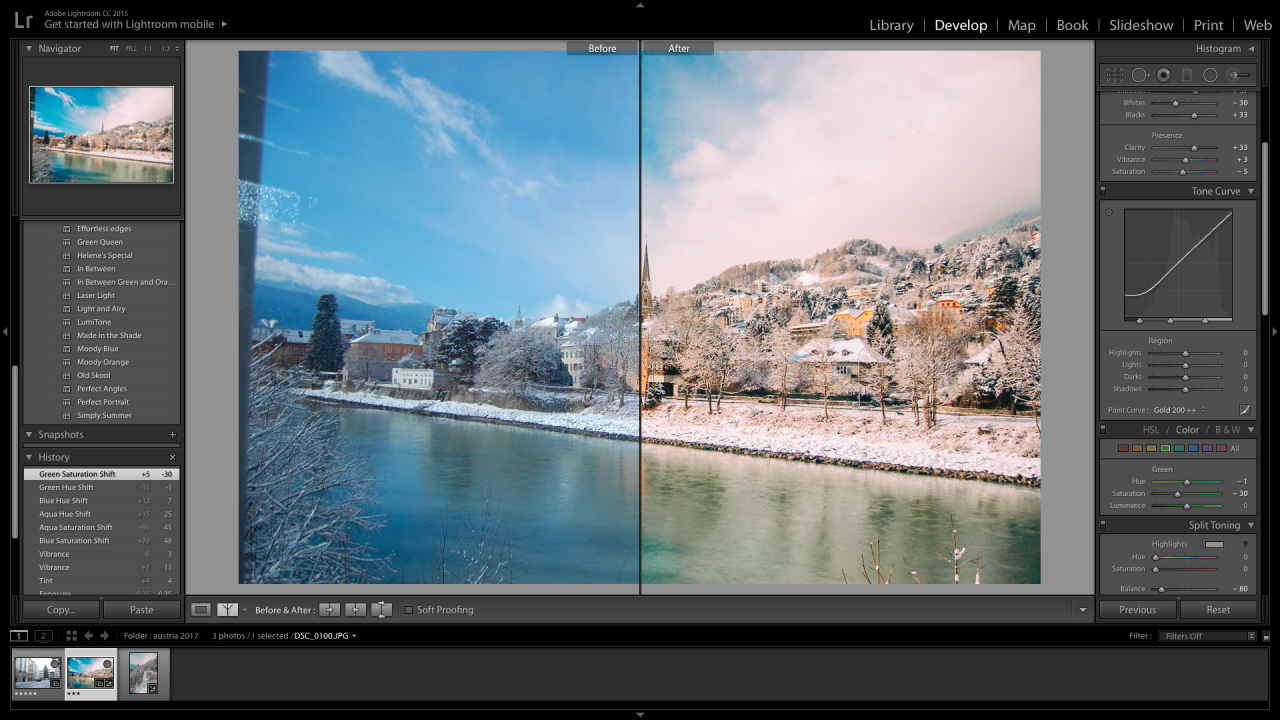
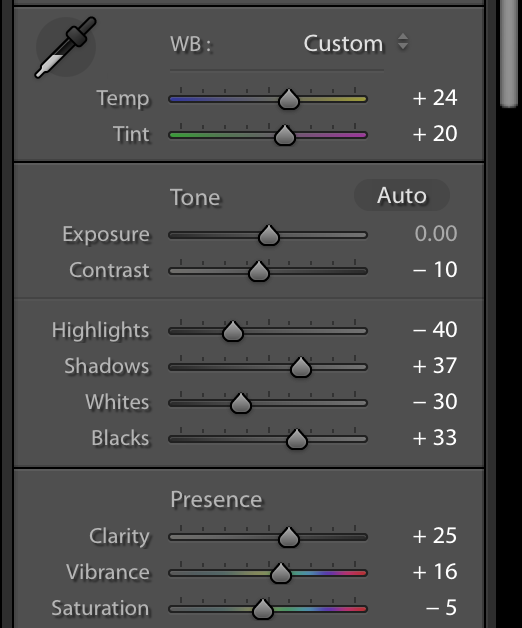
The reason why I adore Lightroom is the ability to create my own presets. Once I create an edit that I like, I can save it and use it again and again! I can also batch edit my photos. So if I take 100 pictures I can edit them all in one click. That's pretty powerful. The truth is most professional photographers use Lightroom since it's such a great tool. Because I like a warm tone and soft pink hints as well, I like to up those when editing in Lightroom. Here's a direct look inside when I edit:
Apps
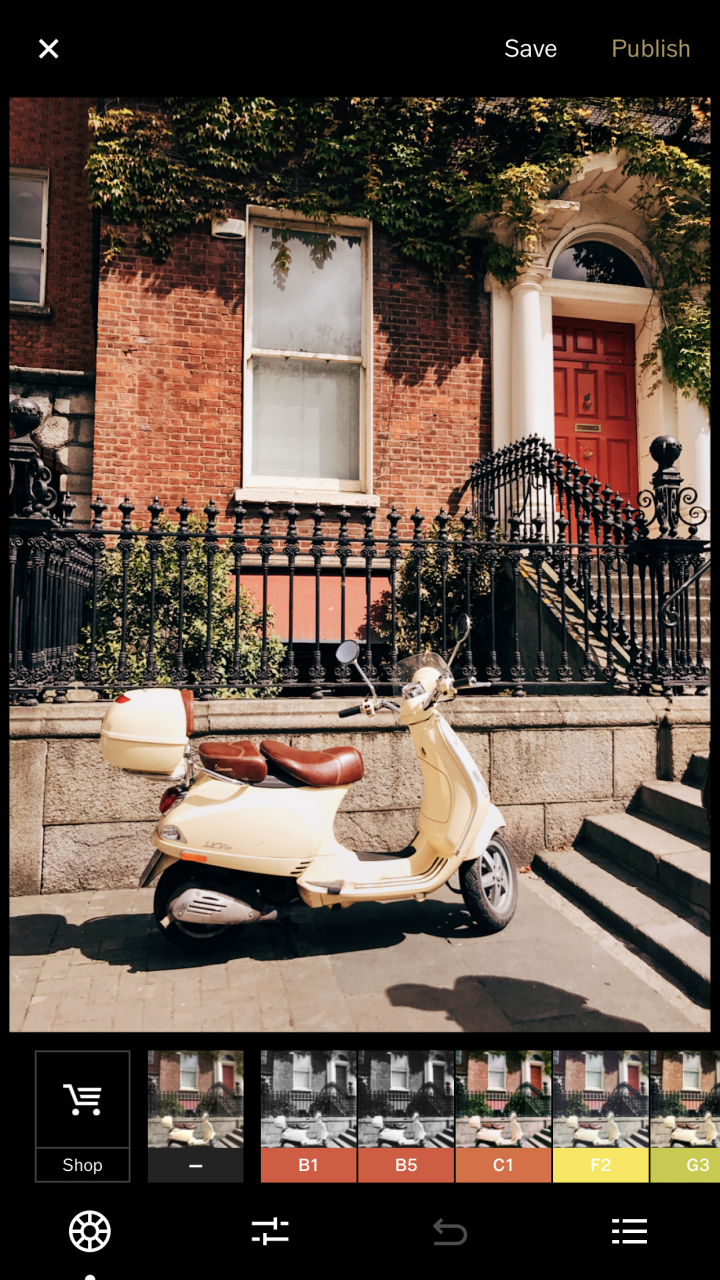
Of course, there are some awesome apps that you can use as well. I love apps like Vscocam and A Color Story which are very similar to Lightroom, just on your smart phone. And I really think they can transform your photos.
How I Edit
I tend to like a warm tone, so in Lightroom or the apps, I increase the temperature slightly. I tend to like a bright, crisp feeling to my photos, so I'll adjust the vibrance, and up the shadows and black tones in the photo. I like to increase the clarity and decrease the saturation, so the photo doesn't look overly processed. I want you to feel like you're there!
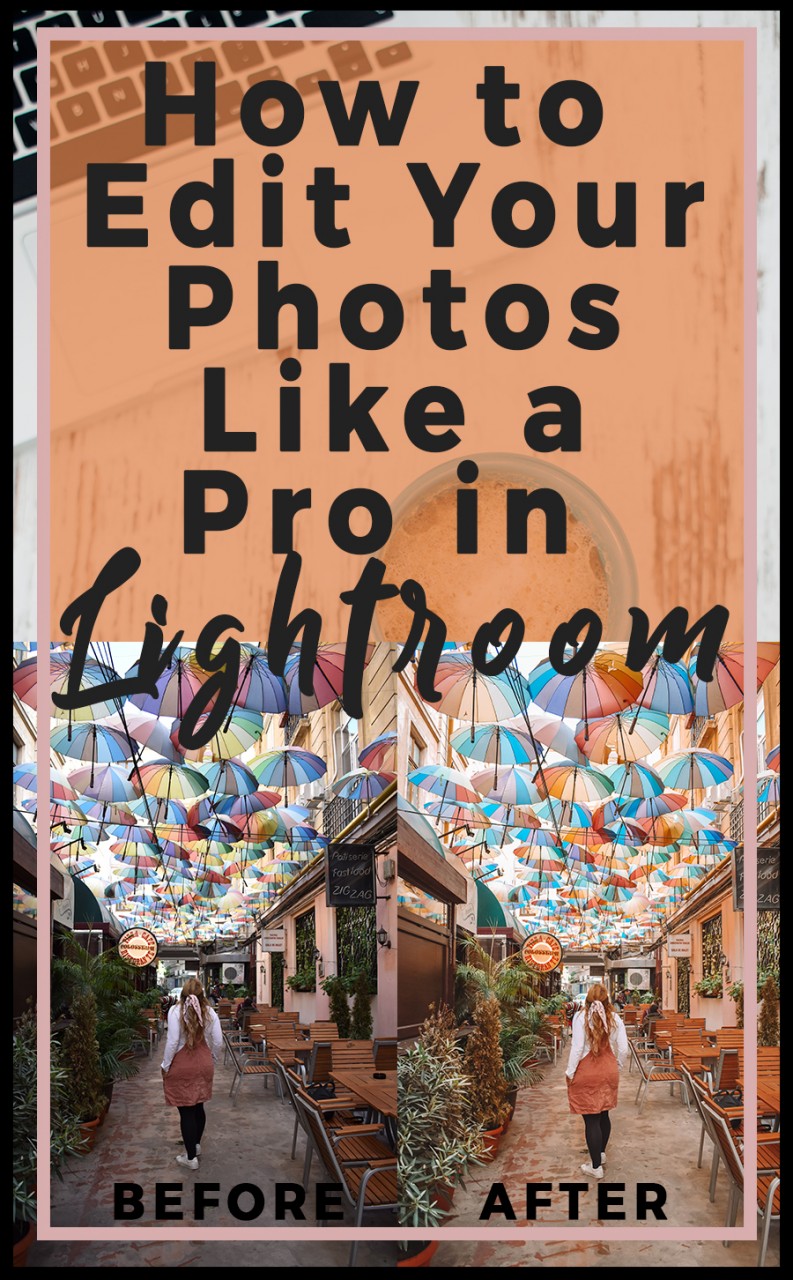
This post details how to edit your photos in Lightroom desktop, while this post focuses on how to edit in Lightroom mobile.
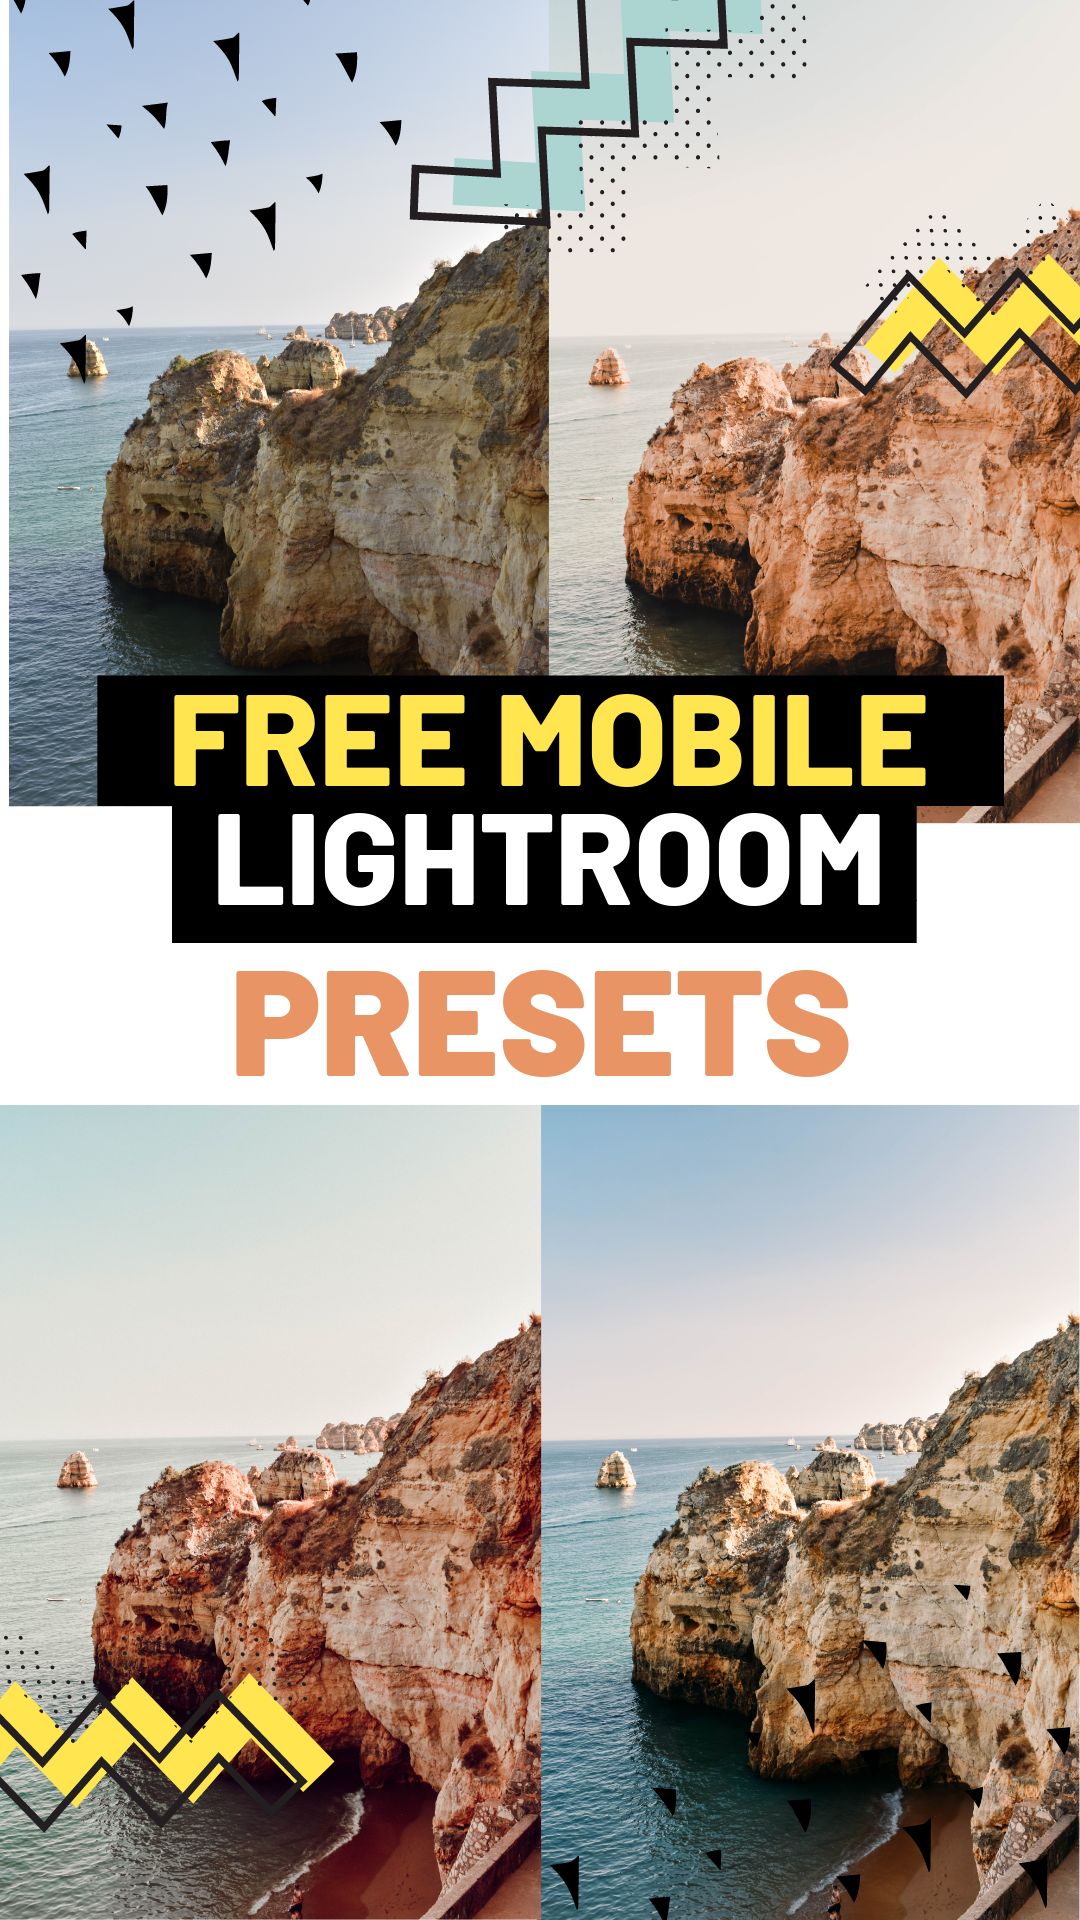
I have free mobile (and desktop, too!) Lightroom presets! This way you can start playing around with Lightroom and find your own way to edit your Instagram photos.
Free Mobile Lightroom Presets

Transform your images with these three simple and effective Mobile Lightroom presets!

